Today I’m sharing an interactive card that I made for the Altenew Educator Certification Program (AECP) class called “Cards In Motion”. This class taught several different types of interactive cards – including cards that had more than one interactive component. I have made shaker cards in the past (here and here), so I thought I’d try my hand at an interactive technique I’d never even seen before: a twist-pop card.
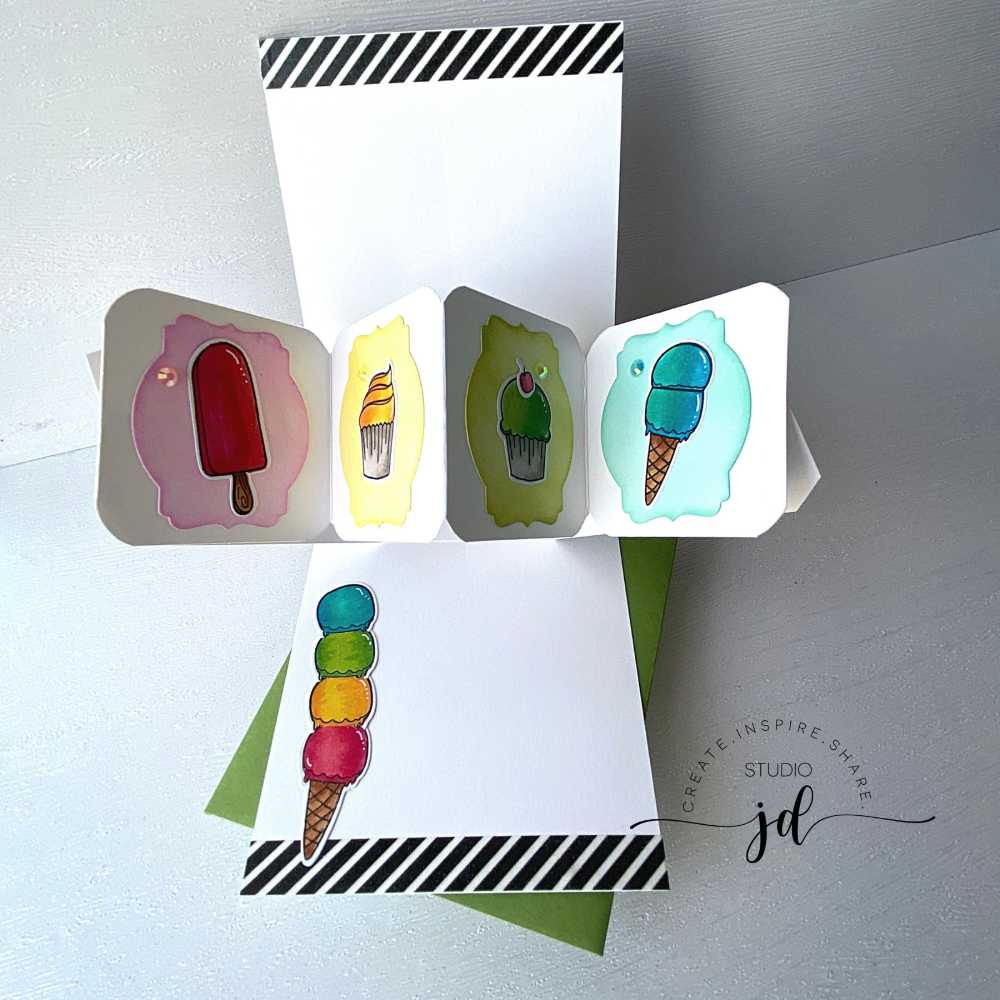
It turns out, the “twist-pop” part of this card was way easier to make than I thought it would be (likely because Ashley Tucker (IG: @ashleytuckerdesigns), who taught this course, is an amazing instructor)! Here is a look at what the card looks like on the inside:

Note: I am not providing details on how to create the twist-pop mechanism for this card because I think that it is much easier to learn to do via a video and because Ashley Tucker did a great job of demonstrating the mechanism in the class.
Create your sweet treat images:
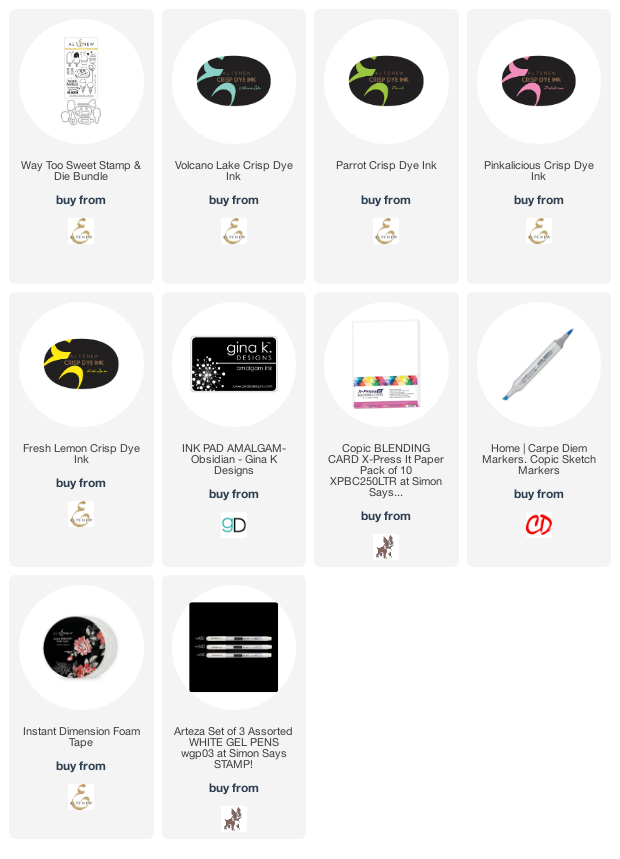
1. Stamp your sweet treats using a Copic-friendly black ink (I used Gina K Amalgam Obsidian) on Copic Xpress It! card stock and color them in with your favorite Copic marker color combinations. I’ve listed the colors I used below.
2. Die cut your images and assemble them if needed (I added a cherry to the top of one of my cupcakes and did some fussy cutting to stack my ice cream for the inside of the card).
Create the pop-up treats for the inside of the card:
3. Use a decorative label die to cut out four medallion shapes from white card stock. Each medallion must fit in a 2.5” square area.
4. Ink blend each medallion to coordinate with your Copic-colored treats.
5. Glue the treats to the medallions.
Create the card front:
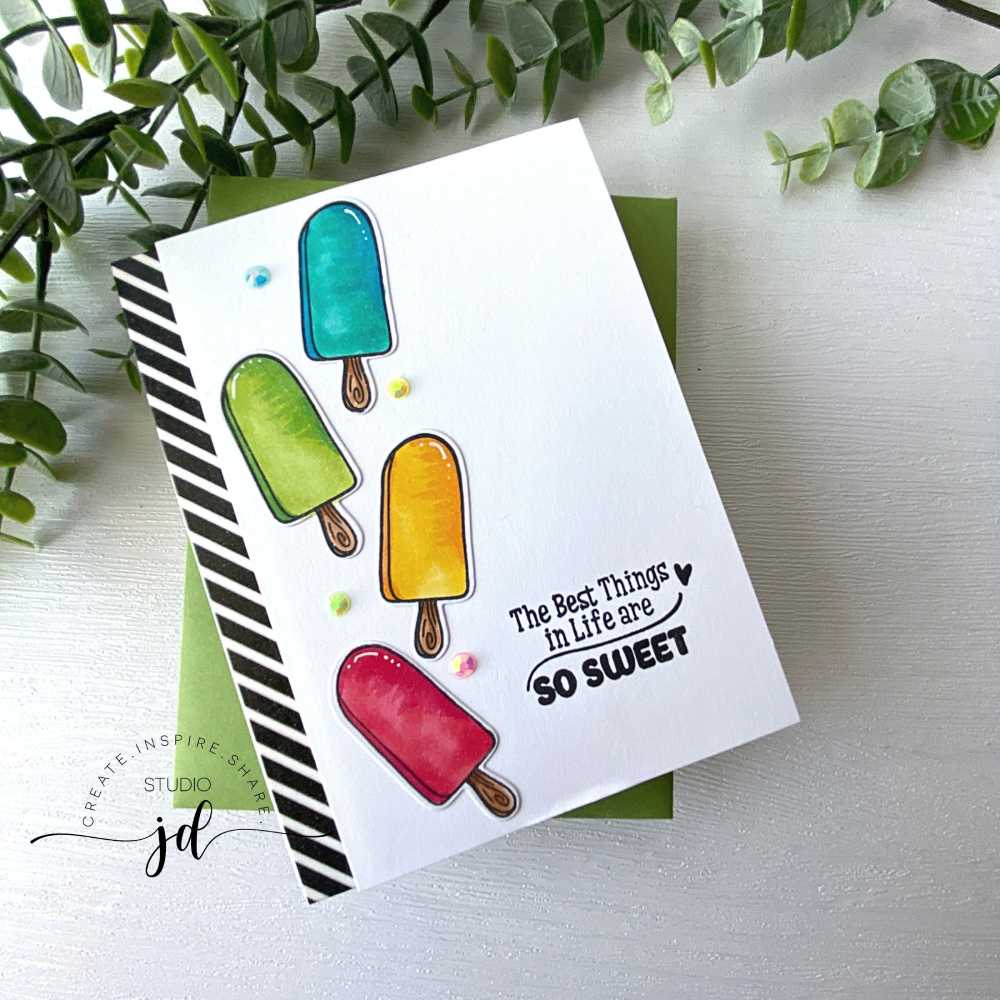
6. I used a ½” strip of black and white washi tape on the left side of my card front. You could also use patterned paper. Adhere your black/white washi/paper directly to the left side of your card front.
7. Cut a panel of white card stock to be 3 ¾” x 5 ½”.
8. Stamp your sentiment in the bottom right corner of the panel.
9. Arrange and adhere your sweet treats along the left side of the panel.
10. Attach the panel to your card front using foam adhesive.
Create the twist-pop mechanism:
11. Follow the instructions that Ashley Tucker provided in class for the twist-pop mechanism and the base for your treats. I used a corner-rounder on the strip that serves as the base for the treats.
12. Add your sweet treat medallions to the center of each twist-pop square before adhering it to the mechanism.
Decorate the inside of the card:
13. Add washi tape or patterned card stock to the top and bottom of the inside of your card.
14. Add your stacked ice cream cones to the inside bottom left corner of the card.
Add your sparkle:
15. Use a white gel pen to add accents to your sweet treats.
16. Add gems to the front and inside of the card to add a little sparkle.

Red: RV29, R35
Blue: BG15, B06 (used a tip-to-tip method to get a smooth blend)
Yellow: YR15, Y15
Green: YG03, G07
Brown: E33, E37
Gray: W1, W3, and W5
This card was so fun to make! I know a couple of kids that will definitely love it (and a few adults too)!
What do you think of interactive cards? Do you like the twist-pop technique? Let me know in the comments!
Hope you have a wonderfully creative day!


THIS IS BRILLIANT!! So good! Now I want to have some lollies!!
Thank you for submitting your wonderful project to the AECP assignment gallery.
Aw! Thank you so much, Erum!