Hi there!
Each year I get more and more excited for STAMPtember®! This year is the 15th anniversary and there are so many wonderful, exclusive products in store for all of us!

Today is Day 1 – which means that today is the day Simon releases its own, exclusive, Simon Says Stamp products in celebration of STAMPtember®! These products will be available for the entire month and restocked if needed!
In addition to the Simon release, Simon will be releasing new stamp sets (nearly) every day for the entire month! These stamp sets are sets designed in collaboration with other companies (like Altenew, Whimsy, Hero Arts, Gina K Designs, and many, many others). You won’t know which company’s collaboration set will be released so you’ll need to check back daily (at NOON Eastern time) to find out. Unlike the Simon product release, these collaboration sets are only available while supplies last – and believe me, that’s not very long! Last year, some sets ran out within an hour!
Throughout STAMPtember® Simon will be celebrating every day and posting exclusive collaborations, contests, prizes, special promotions, announcements, and more! Simon’s blog will announce what they have planned every day and will include details about the timing of the collaboration set releases.
All the details about STAMPtember® can be found in the STAMPtember® FAQ on the Simon Blog: https://www.simonsaysstampblog.com/stamptember-faq/

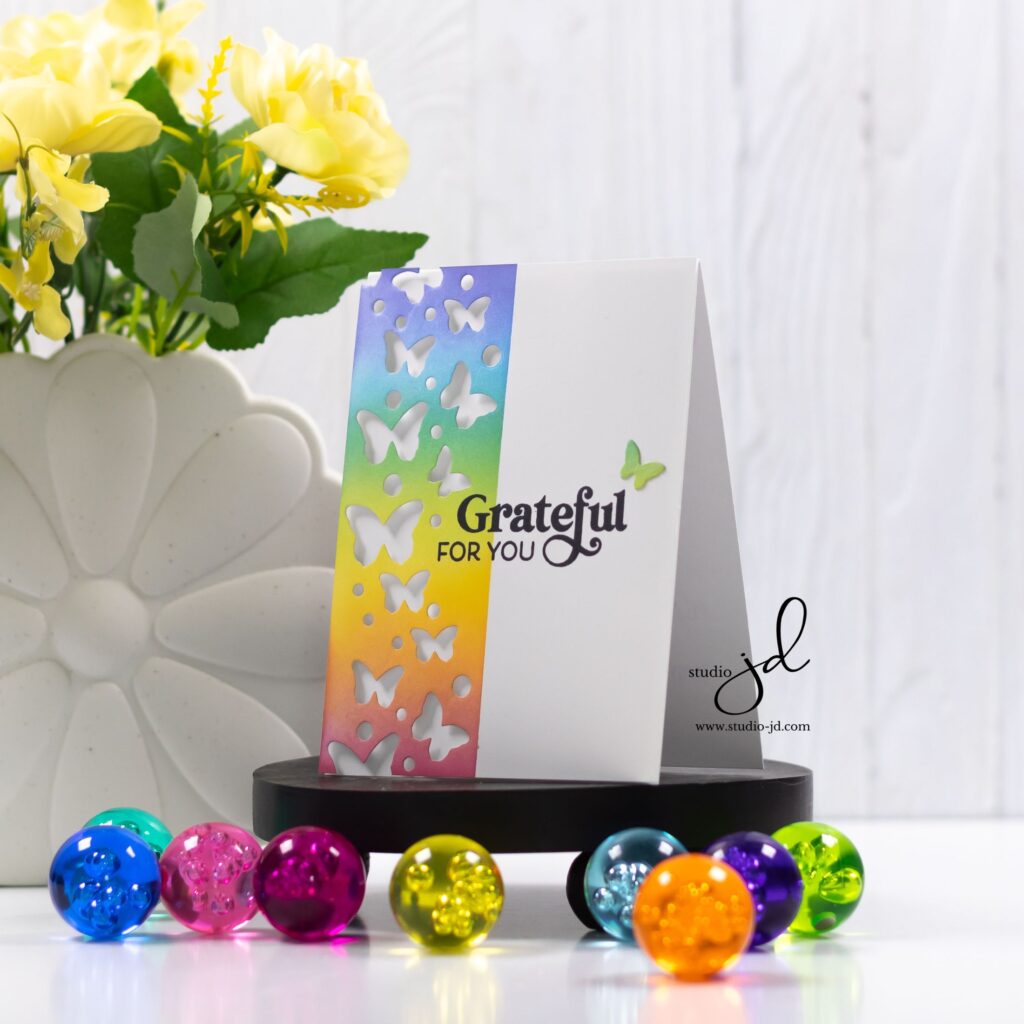
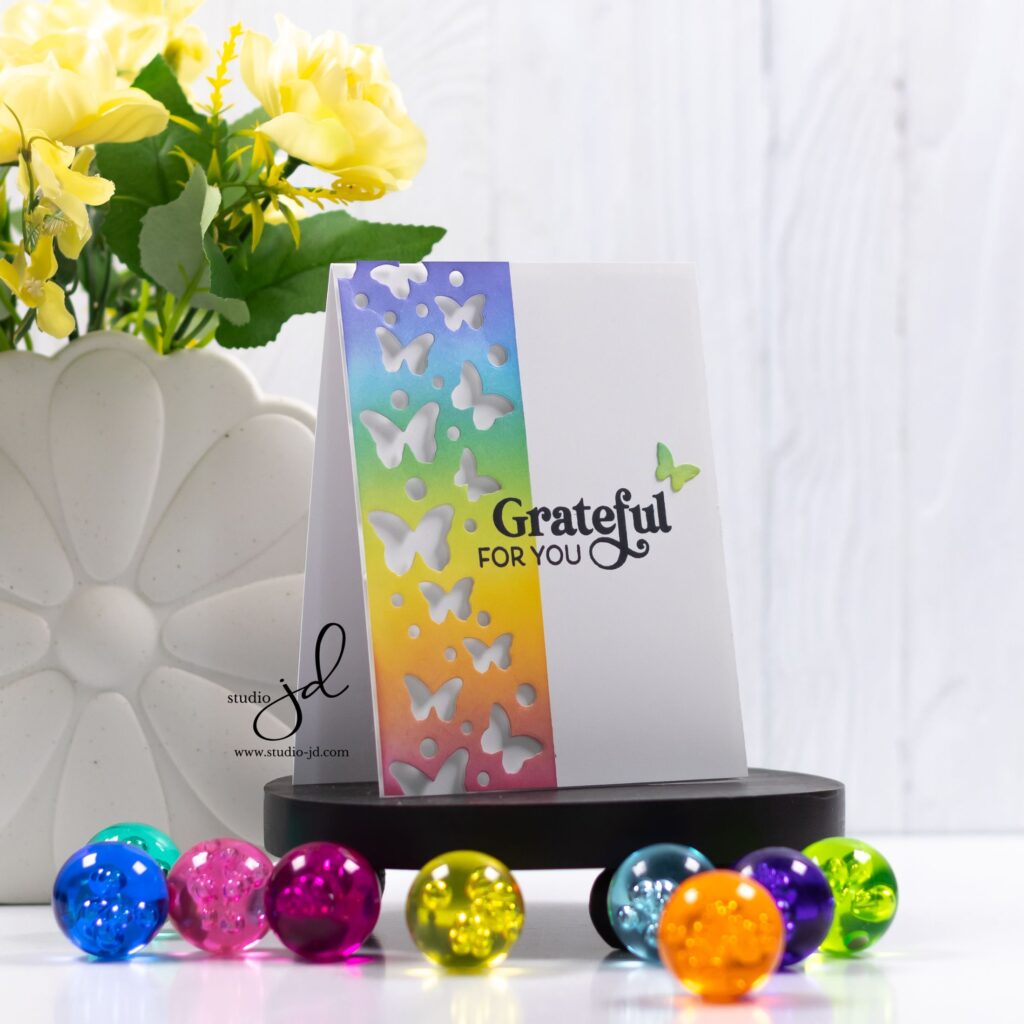
OK. Enough of the logistics! Let’s talk about my card for today! It’s super easy to make and full of dimension (the pictures do not do it justice)!
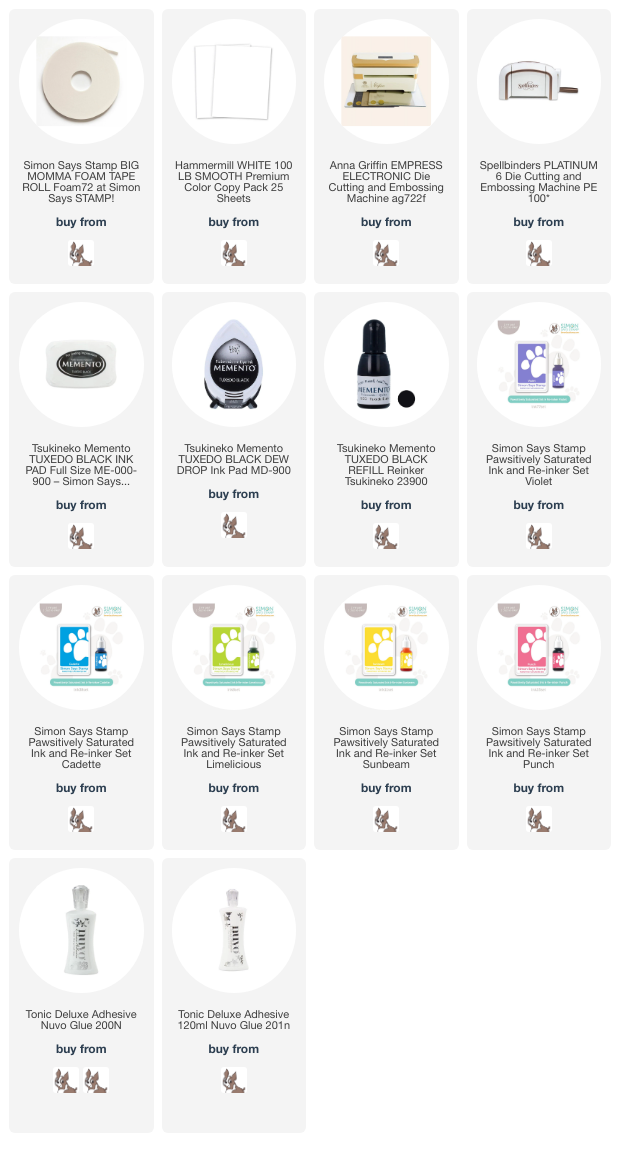
To make this card (all products linked below):
- I started out by masking off a stripe on the left side of a card panel and ink blending a rainbow of colors using the Simon Says Stamp Pawsitively Saturated Inks.
- I used the new Ooh La La Butterflies die to die cut the butterflies and dots into the ink blended stripe. I wanted the butterflies to go off the panel on the top and the bottom so I die cut the Ooh La La Butterflies die twice, making sure it extended off the panel at the top and the bottom.
- I stamped a greeting from the new Grateful Florals stamp set so that it was part way in the stripe and part way out. I find that extending beyond lines like this adds interest, but you could certainly keep your sentiment to the right, outside the ink blended area.
- I kept one of the butterflies that came out of the panel when I die cut it and added it as an accent by the sentiment.
- I then popped the panel up on my card base using foam adhesive.
And that was it! Like I said: super easy and full of dimension! I hope you like it!

Be sure to check back the STAMPtember® site daily for the unique collaboration sets that will be released nearly every day throughout the month.
Have a wonderfully creative day, everyone!


This is GORGEOUS!!!!!!!!!! I adore this!
Lori S in PA