AD: DT Post
Hi there!
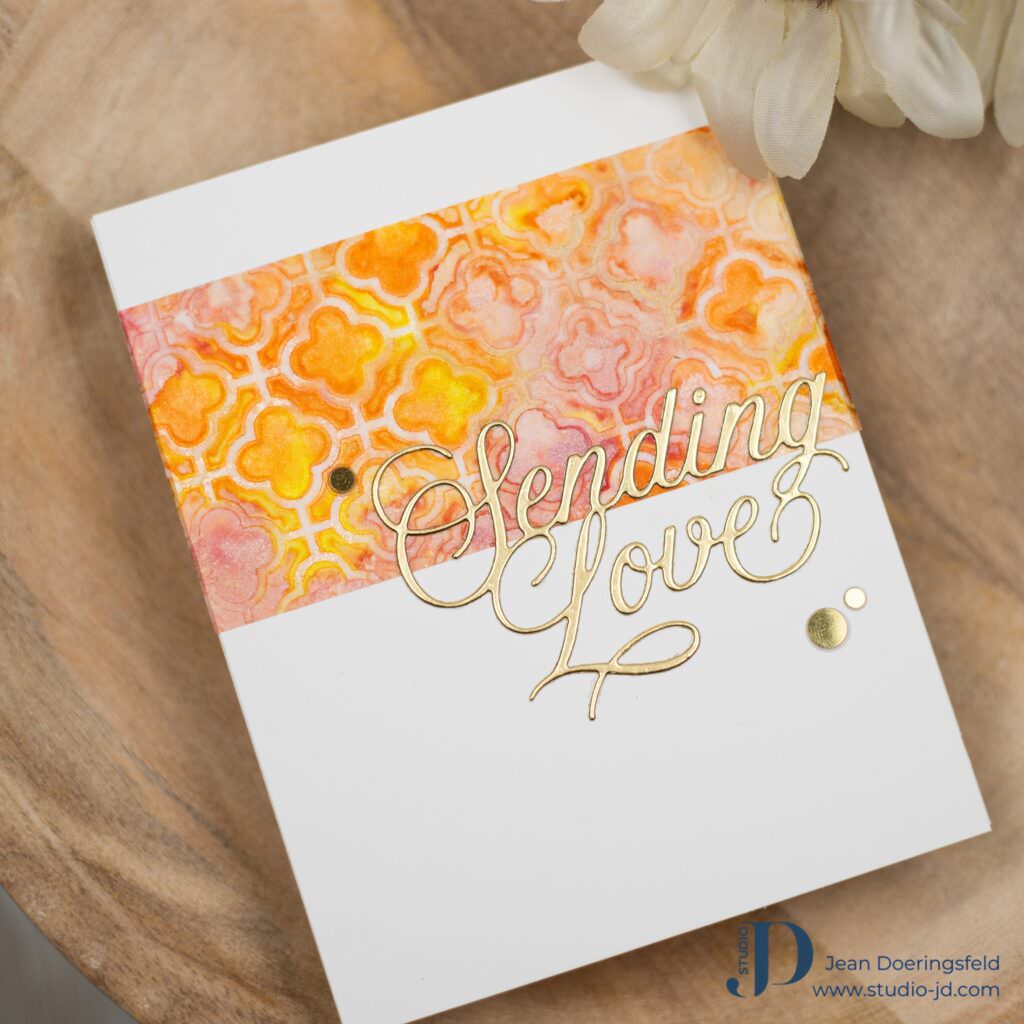
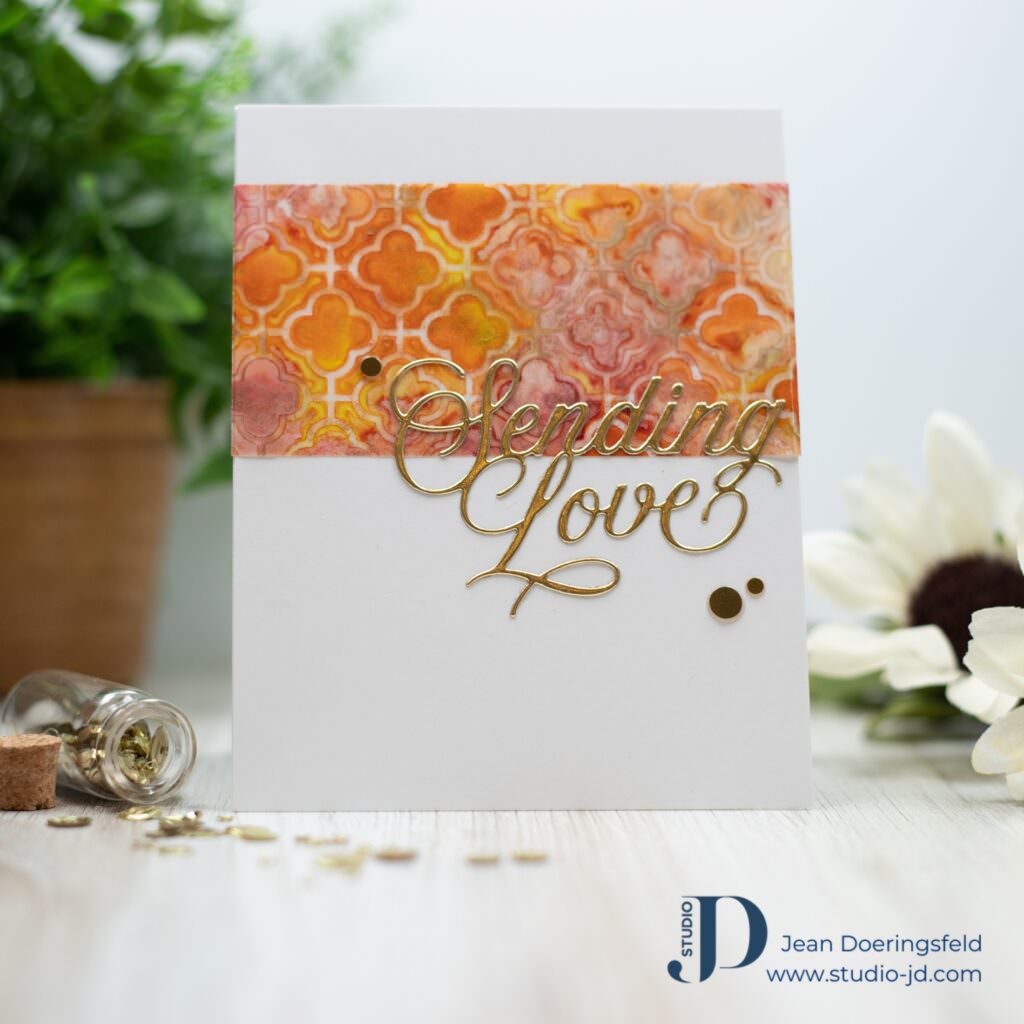
My card today features a fun, new-to-me technique using alcohol ink and vellum! Have you ever used alcohol inks on vellum? It is super easy and a lot of fun! I thought this technique made the perfect background for the new “Sending Love” die that is part of the @simonsaysstamp Just For You release! I hope you’ll check out the release and see what techniques it might inspire you to try!

To make this card:
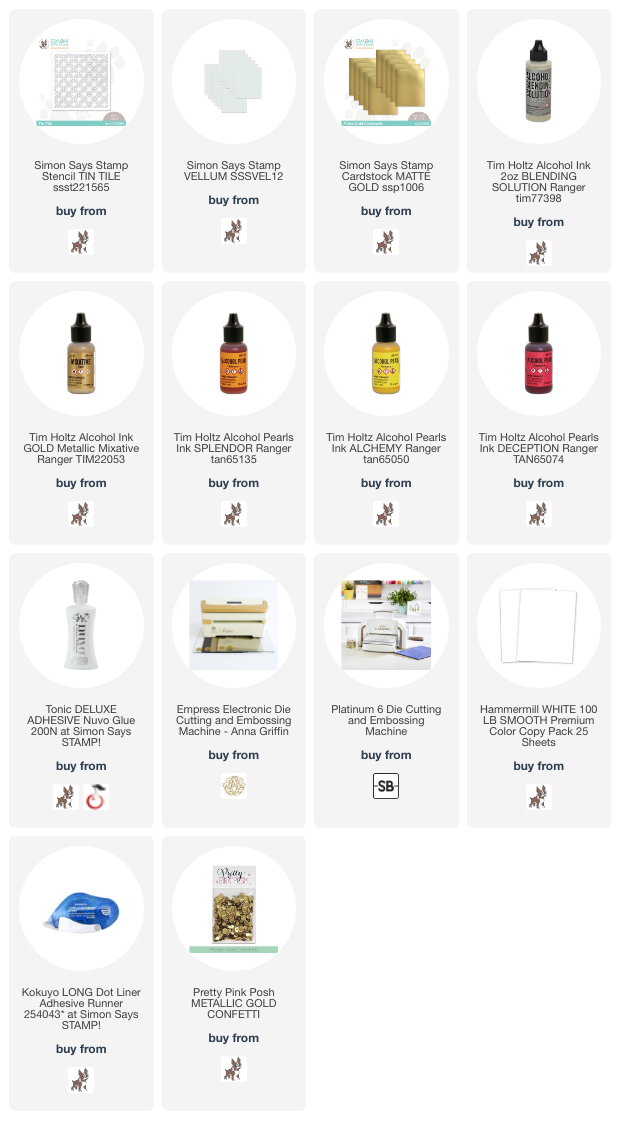
- 1.I used Pixie Spray to lightly tack my stencil to my piece of vellum.
- I added drops of alcohol pearl inks here and there, and used some alcohol ink blending solution to move it around and get it to mix in places.
- I used a second piece of vellum over the top to use up any excess alcohol ink. I didn’t get the stencil image on these (probably because I used too much ink) but I still love how they turned out and will be keeping them to use on another card.
- I set my stenciled panel aside to dry with the stencil still in place.
- While my inky panel was drying I die cut the “Sending Love” sentiment from gold cardstock.
- My panel was still a bit tacky in a few places so I used low heat on my heat tool to dry the rest. If you do this, you need to be careful not to warp or melt your vellum or to boil the alcohol ink. You will also want some good ventilation!
- I removed the stencil to reveal the results! OH MY! So pretty! Note: You will need to use rubbing alcohol to clean your stencil.
- I trimmed down the panel to make a wide strip and folded the edges over a panel of white cardstock, securing them with strong adhesive tape on the back of the panel.
- I then adhered the gold sentiment onto my panel, overlapping the wide strip.
- I adhered my panel to my card base using a strong tape runner.
- Lastly, I added a few pieces of gold confetti.

What do you think? Don’t you just love how the alcohol ink looks on vellum!?
I hope you like this card and that you have a wonderfully creative day!</p


0 Comments