Hi everyone!
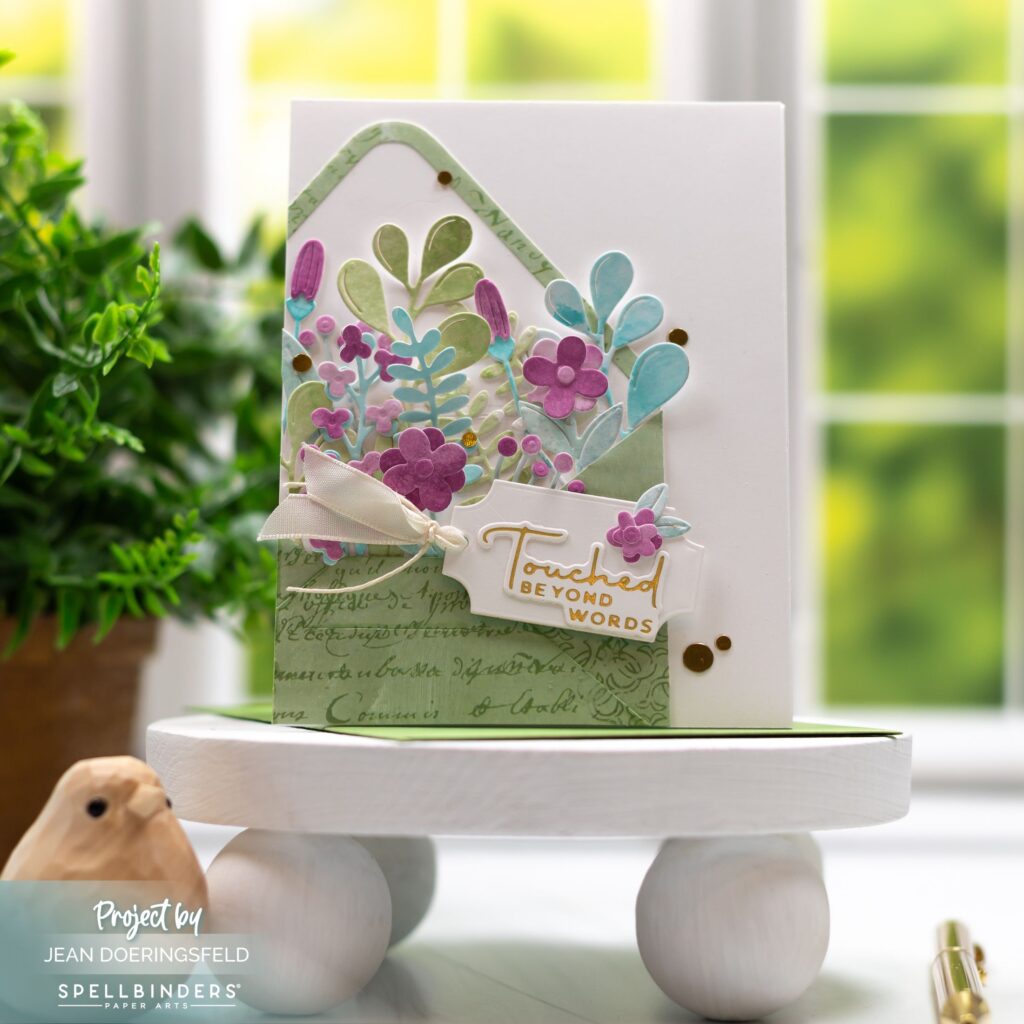
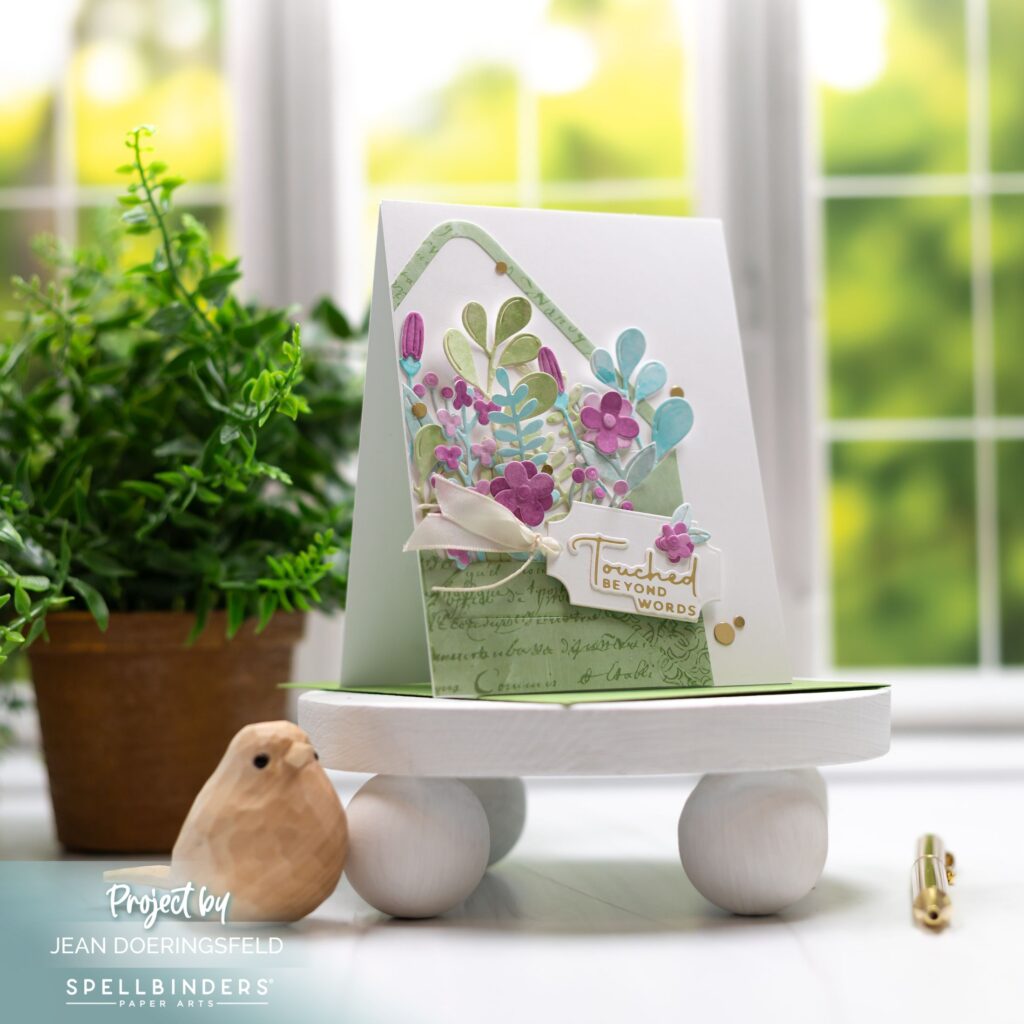
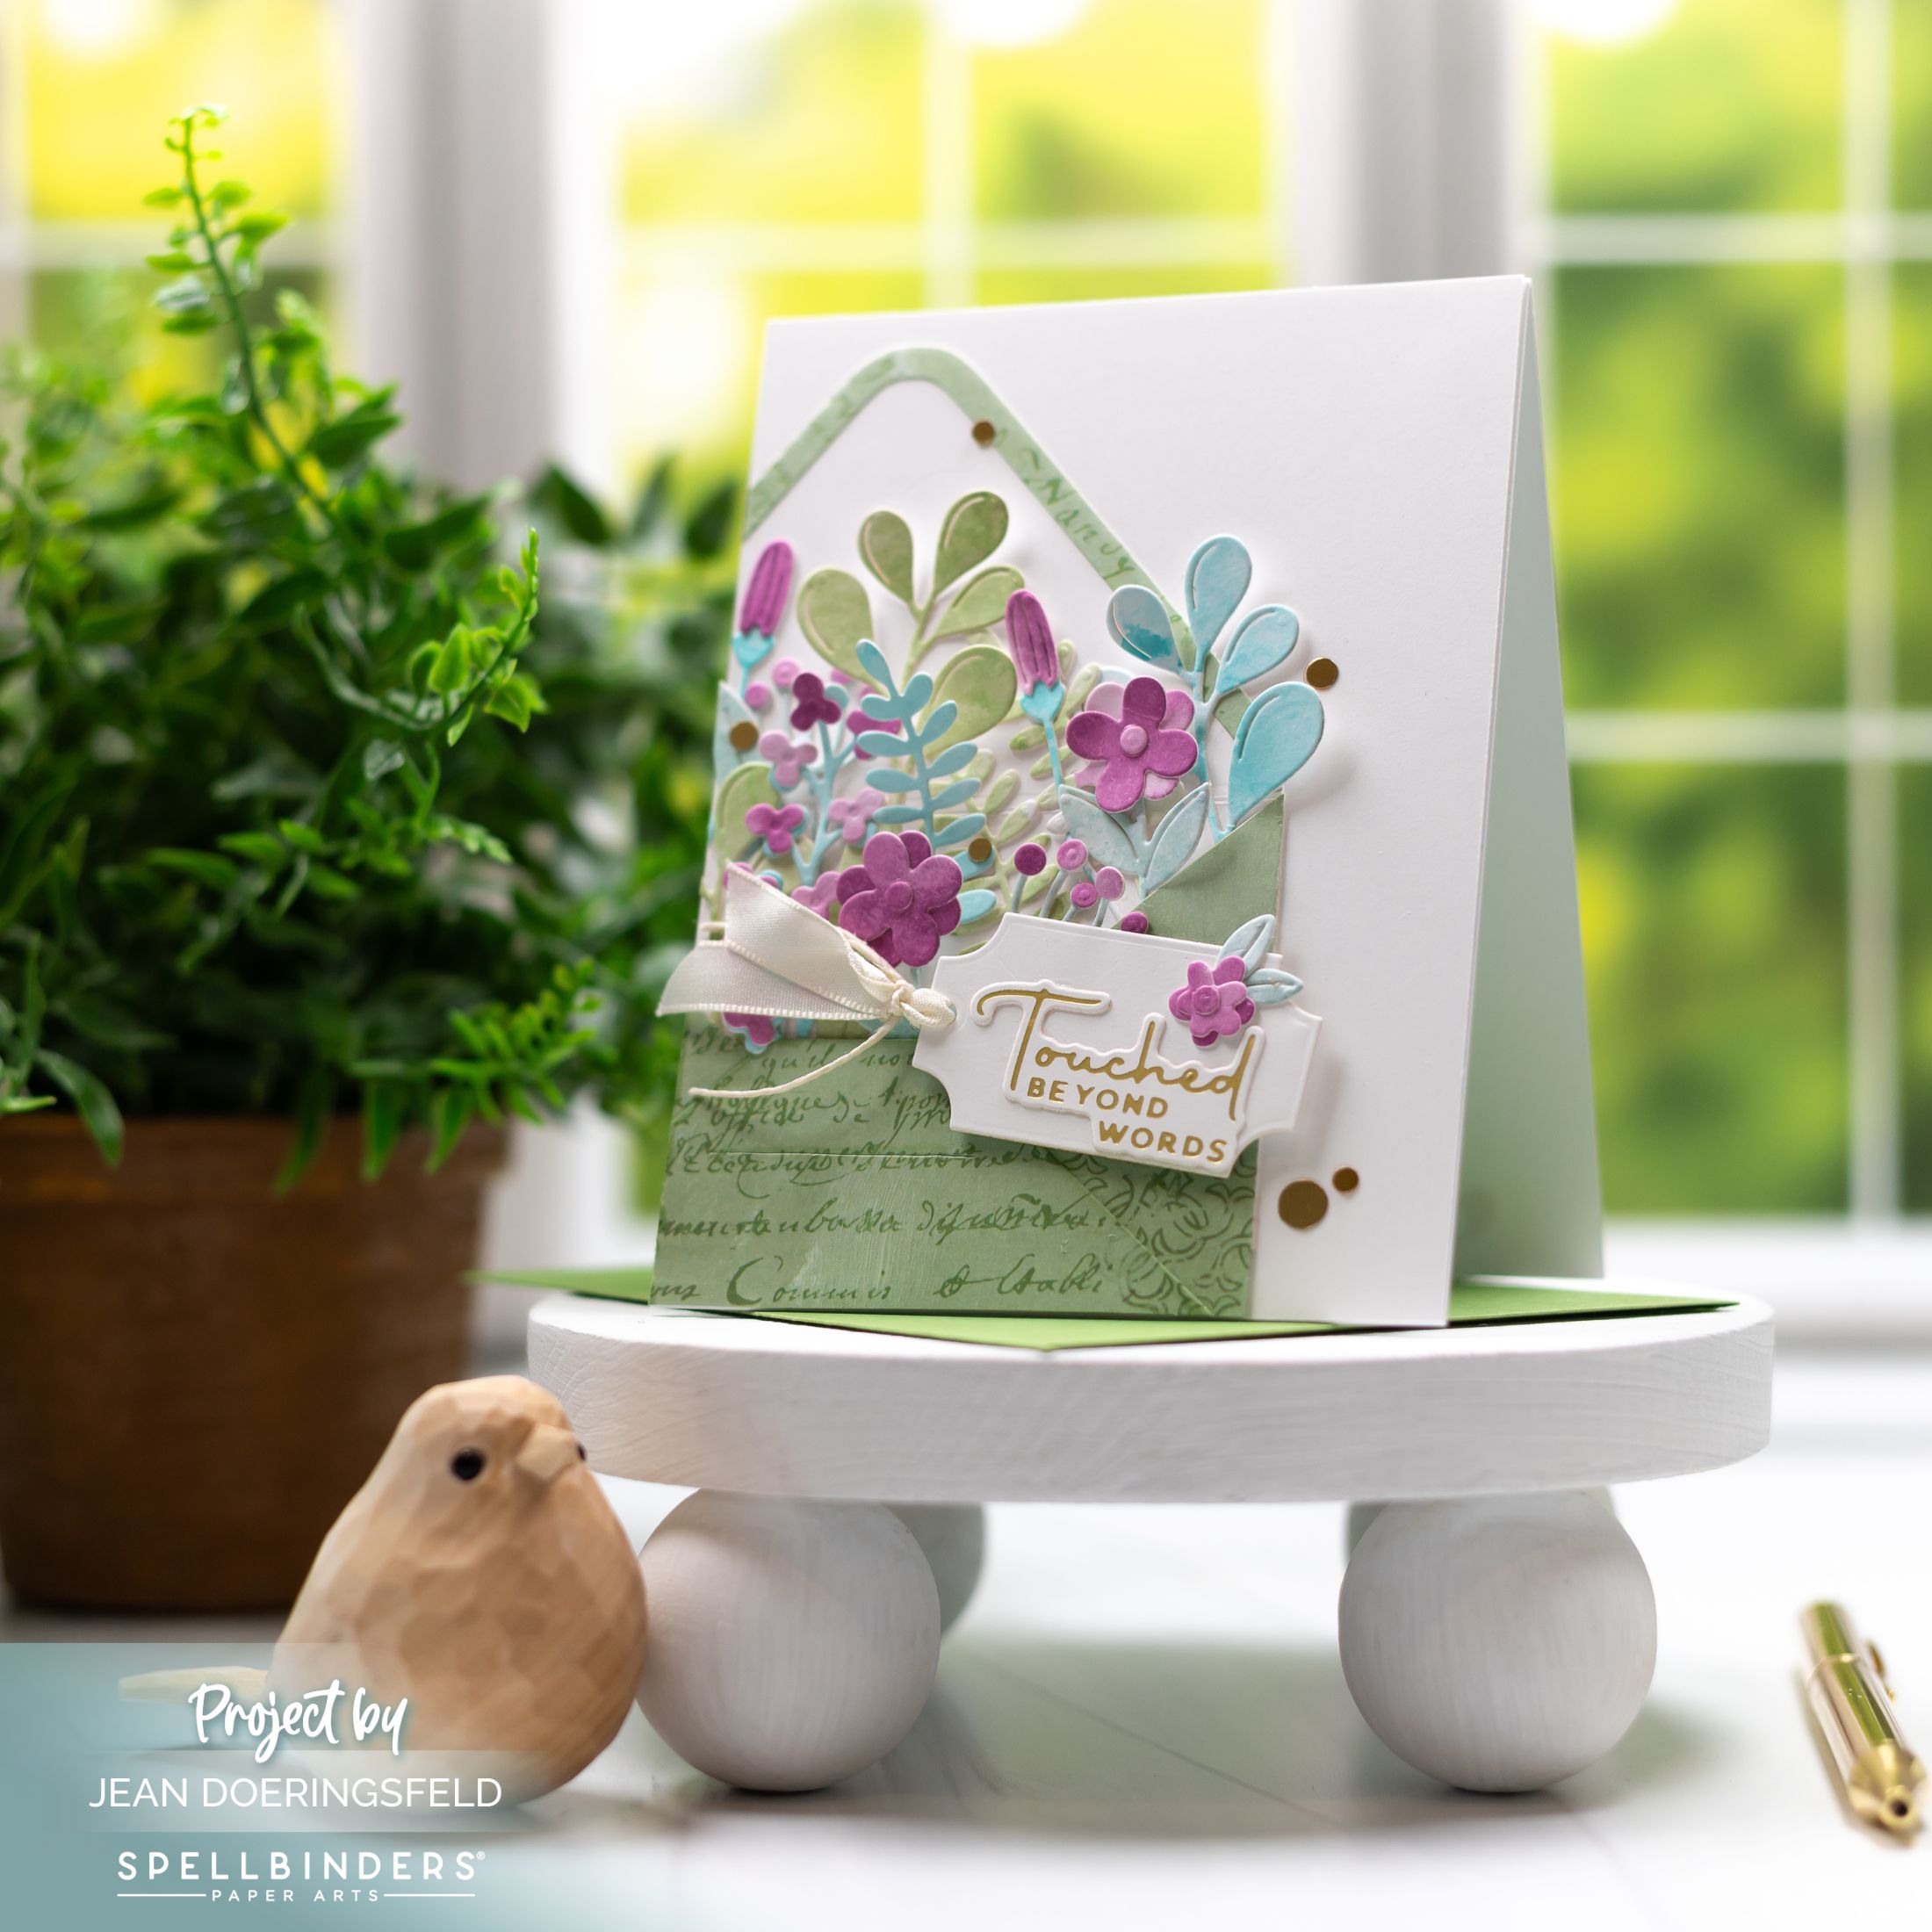
My card today features several of the dies in Spellbinders’ new “Envelope of Wonder” die set. This is a HUGE set with lots of pretty florals! The largest dies in the set create a functional envelope! Of course, I put my own twist on things by trimming down the die cuts and using them as a focal image for a 4.25 x 5.5-inch card. Sometimes I forget that I can alter my die cuts like this! Do you ever alter your die cuts?

For this card:
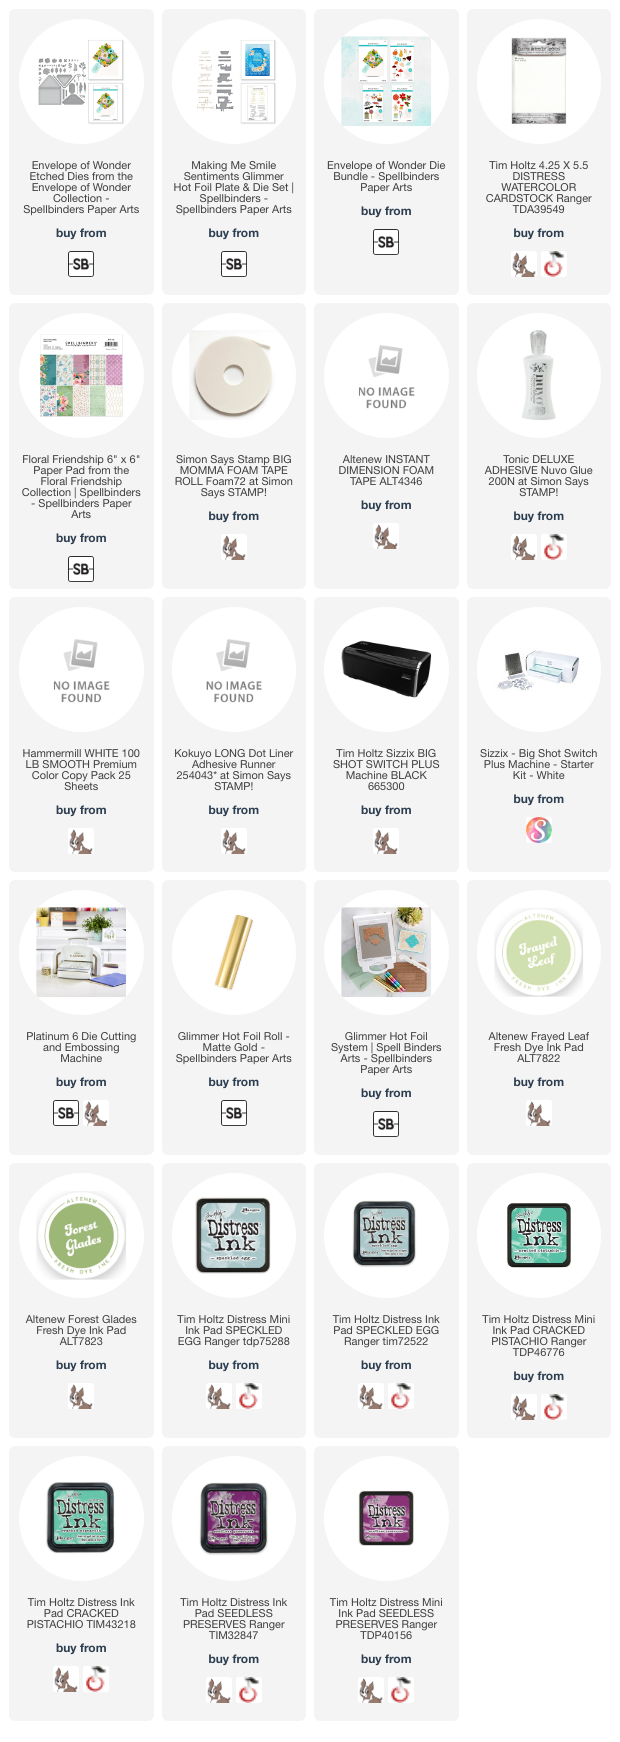
- Use your inks and watercolor cardstock to get several panels of different colors for your florals and foliage. The inks I used are listed below. I used the smooshing technique to apply the color to the cardstock (where you smoosh the ink pad on a non-porous surface, add some water, then smoosh your cardstock into it). I did several layers of color on each piece so that I could get some depth and variation.
- Once the panels are dry you can cut the florals and foliage dies from the panels and assemble the flowers.
- Die cut the envelope from patterned paper and assemble it.
- Place the envelope on your card base where you want it, adhere it, and cut off the excess/overhanging parts.
- Arrange your florals and foliage to be peeking out of the envelope.
- Hot foil your sentiment and die cut it with the coordinating die.
- Add the sentiment die cut to the tag die provided in the set, then add some ribbon/twine to complete the tag.
- Adhere your tag to the card.
- I used one of the small flowers and leaves in the set to add an extra flower to the tag but this is entirely optional.
- Add a few gold gems to the card for some shine!

Thank you for stopping by my blog today! And don’t forget to let me know in the comments if you ever alter your die cuts!
I hope you have a wonderfully creative day!


Beautiful! I love the dimension and colors!