

#ad
Hi there!
If you’ve been reading my blog posts this month you probably figured out that I’ve been playing around a lot with water coloring. Today, I wanted to share with you a fun way to use your watercolor markers with your stamps! I hope you’ll follow along and give it a try!
To make this card you’ll need a MISTI stamp positioner (or other stamp positioning tool) – it makes it much easier to get the color intensity you need. You’ll also need some watercolor markers – I like Tombow Dual Brush markers because the brush tip is fairly sturdy and the colors are really amazing. Of course, you’ll also need some watercolor paper, a water mister/sprayer, and a paintbrush or water brush.
Links to all the supplies are below in my Supplies list, if you’re interested.
To make this card:
- Place your stamp in the MISTI along with your watercolor paper.
- Use your markers to color directly on the stamp.
- Lightly mist the stamp with water, then close the lid of the MISTI to transfer the image to the paper. You want to start out with a very light mist of water, otherwise the color will pool and spread and you’ll lose the details in the image. If you get too much water, you can dab it up with a paper towel. If you feel like you don’t have enough water, you can use the paint brush or the water brush to spread the color a bit more.
- Repeat the process for all the layers of your stamp or all the images you are stamping – making sure to dry the image completely between layers.
- Once the images are dry, you can die cut them with the coordinating dies.
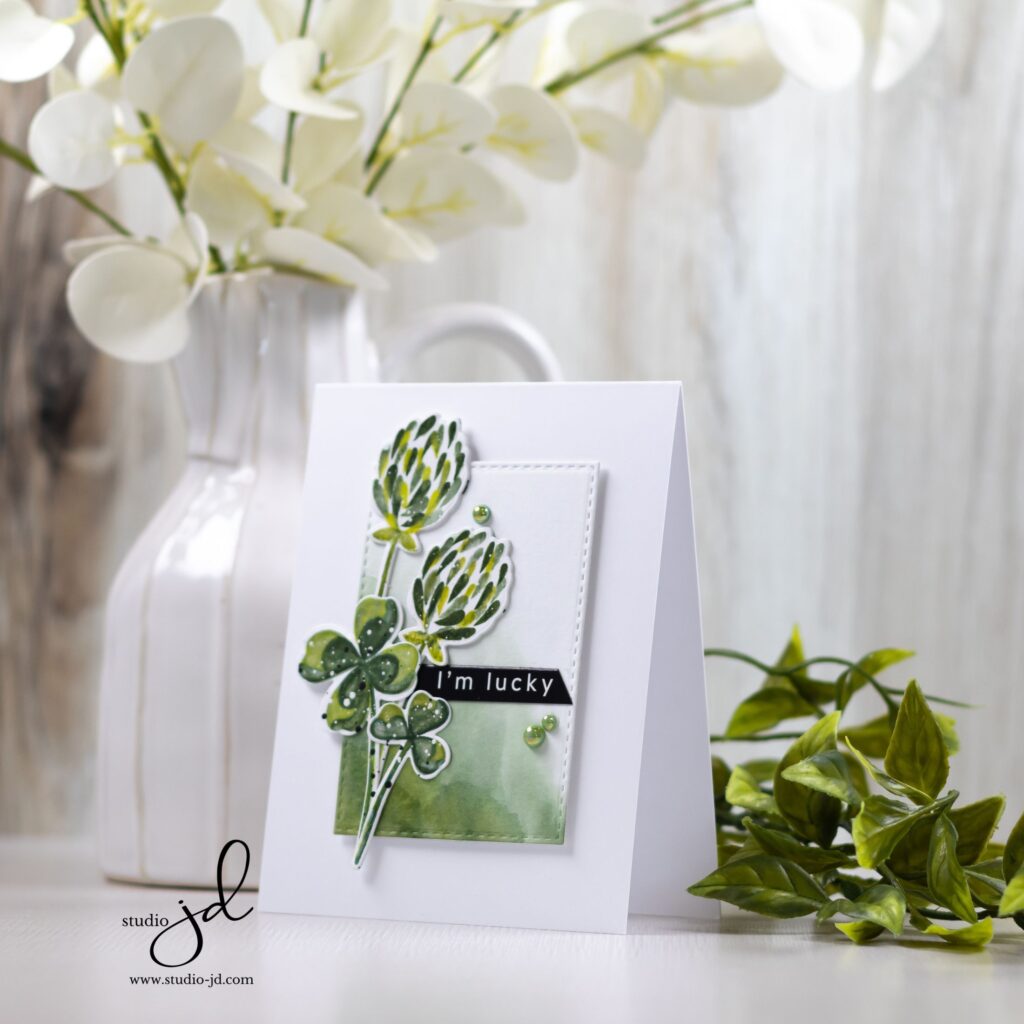
- Use a stitched rectangle die to die cut a small panel out of watercolor card stock for the front of the card.
- Scribble a marker (I used green) onto a glass mat or nonporous surface, then use a waterbrush or wet paintbrush to add the color to the stitched panel.
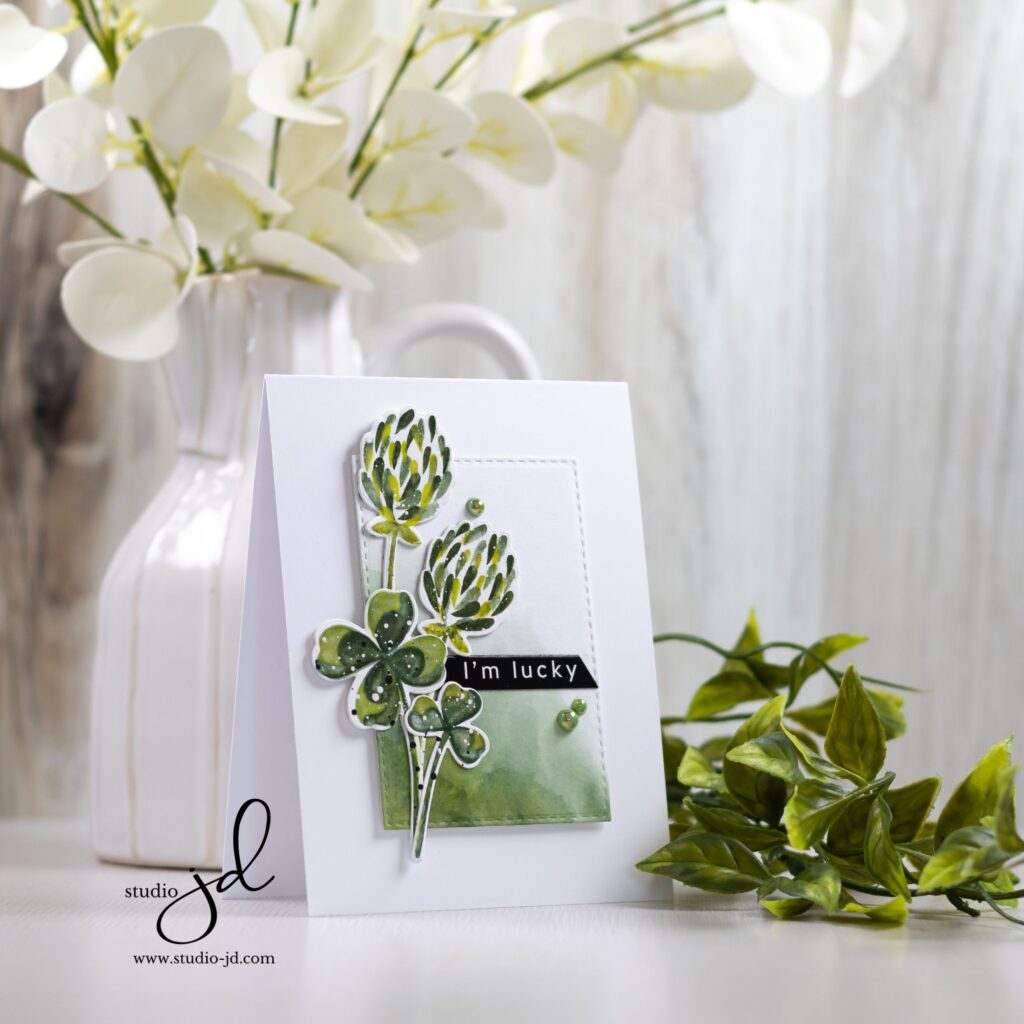
- Once the stitched panel is dry, adhere it to a card base with foam adhesive.
- Arrange your watercolored clovers to the front of the card with liquid glue.
- Trim a sentiment strip and adhere it to the front of your card with liquid glue.
- Add a few shiny pearls to give it a bit of shine!
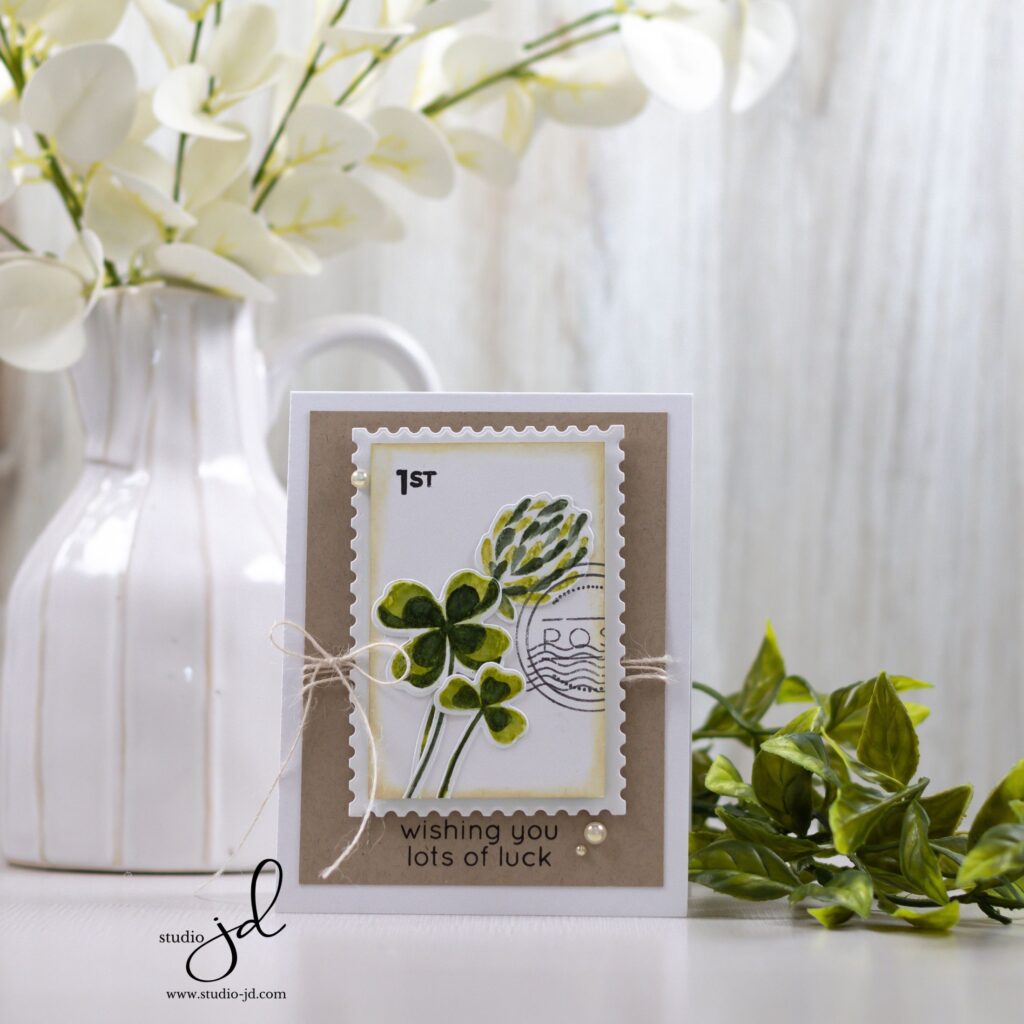
I had so much fun with this technique and stamped so many images that I had enough for another card, which I’ve shared below.
Have a wonderfully creative day, everyone!


I forget to use my watercolor markers! I have so many craft supplies, sometimes I forget the first ones I ever bought because there are so many new things. These cards are gorgeous!