

Hi everyone!
Some days I have a really hard time suspending reality long enough to be creative. On those days, things like making a sky green or a cat blue is just a step too far. Whenever that happens, I try to challenge myself to find an in-between – and that’s exactly what happened with this card.
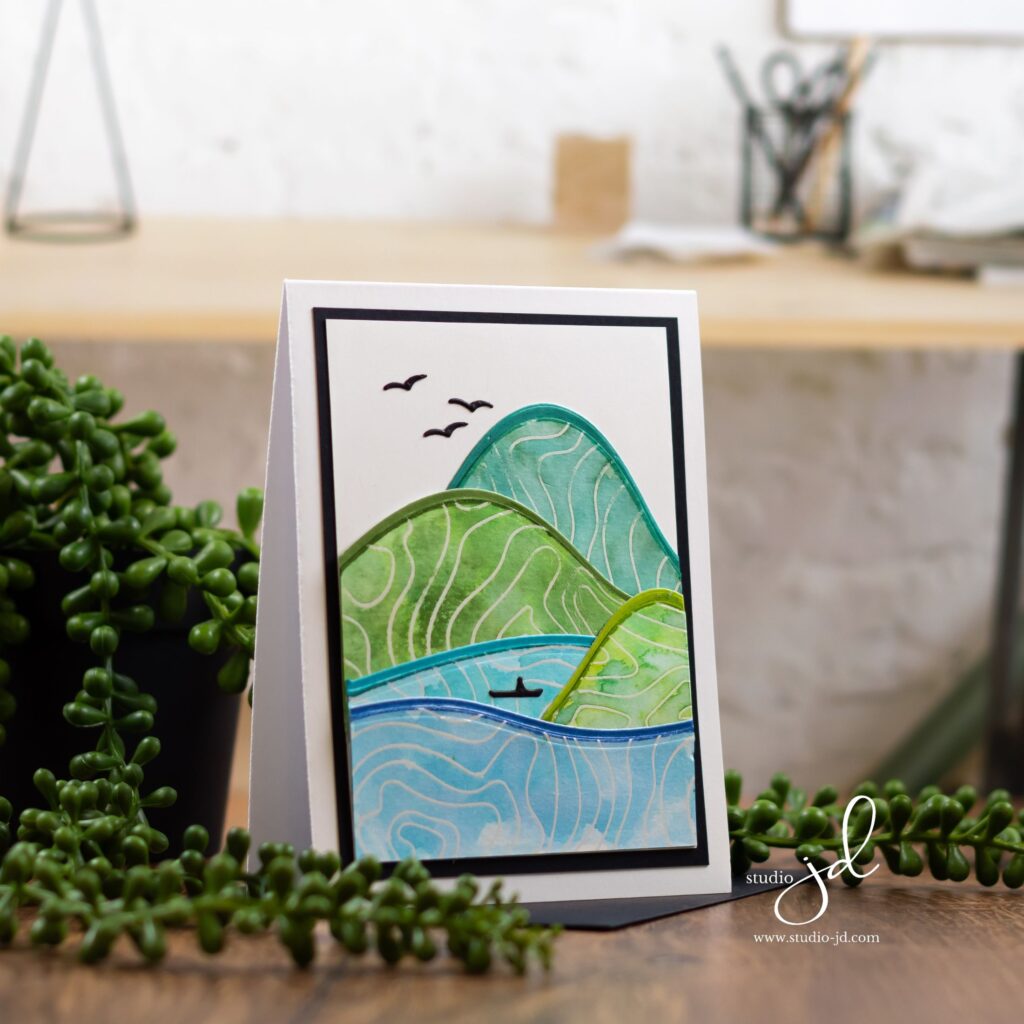
When I saw the Topography background stamp from Simon Says Stamp all I could think of were maps. I couldn’t get the literal, topography maps interpretation of the stamp out of my head no matter what I tried.
But I didn’t want to make a map. I just didn’t. So, I had to really push myself to find a way that would work with the literal interpretation without being, well, too literal.
I decided that a landscape scene was close enough to a map. I mean, topography is about the levels of the land, so why not? The connection worked in my brain, at least. I hope you get my logic on this, but if not, no worries! I still hope you like the card!
To make it:
- Heat emboss the Topography background stamp in white on several panels of watercolor paper.
- Ink smoosh (see this card for instructions if you don’t know how to ink smoosh) shades of blue and green ink on the heat embossed panels, then set them aside to dry completely.
- Use the Layered Hills dies (from a previous Simon release) to cut out the different hills and water from the heat embossed panels.
- Then, die cut the Layered Hills dies again from plain white cardstock.
- Use the direct-to-paper technique to color the edges of the die cut hills to match the color of your watercolored hills.
- Layer the embossed, watercolored hills/water on top of the ink-colored hills, leaving a bit of the dark edge peeking behind it. This will give you a slightly darker edge behind each hill/water layer and will make the landscape panels “pop”.
- Assemble all your hills and water on a piece of white cardstock with liquid glue, starting from the farthest hill and moving forward to the nearest water layer.
- Trim the panel with a sharp guillotine trimmer to be sure to cut through all the layers.
- Mount on a piece of black cardstock and then onto your card base.
- Die cut the boat and birds from black card stock and adhere them with liquid glue to your card front.
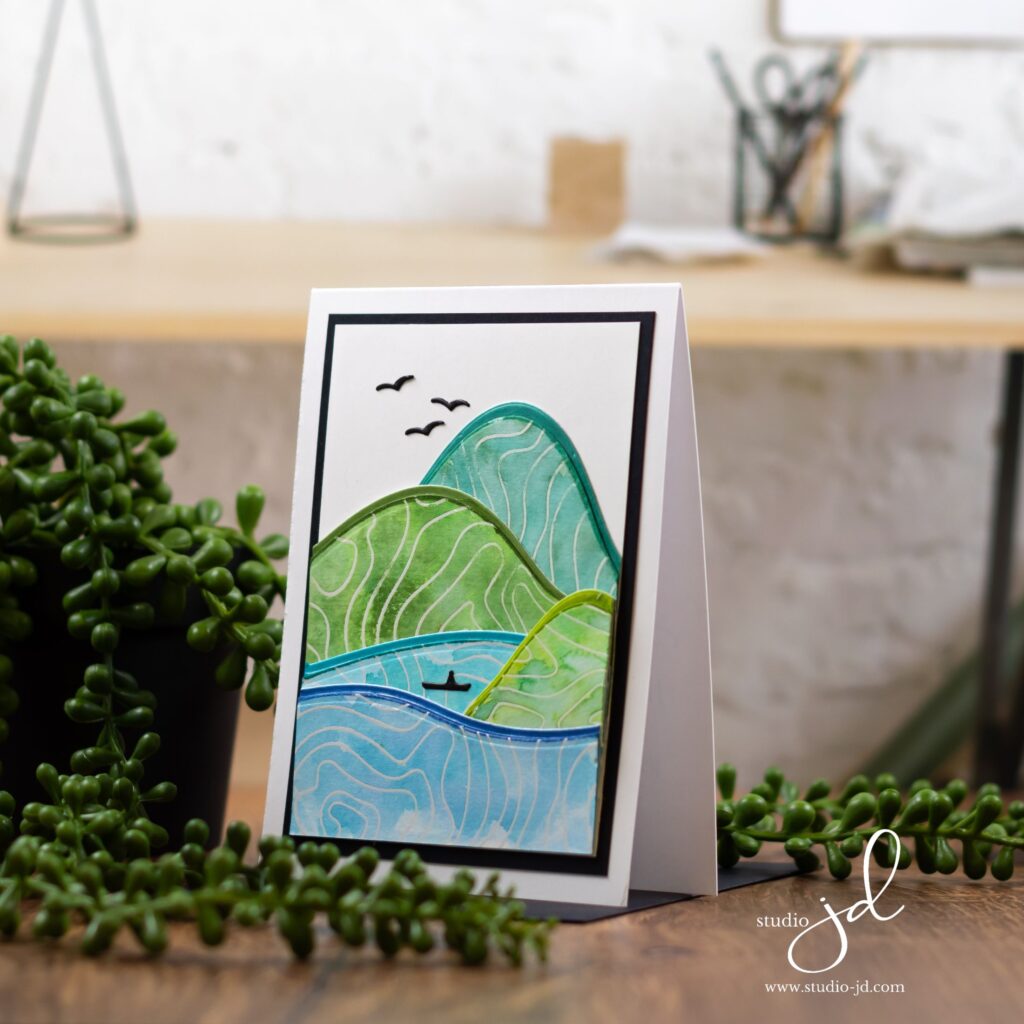
I think this card leans a bit masculine, but I know many women who would love it too. I hope you like it and I appreciate you vising my blog today. I truly enjoy sharing my creative process with you!
Have a wonderfully creative day, everyone!


0 Comments