

#ad
Hi everyone!
The last few weeks have been like a party in my craft room. I’ve been working hard to make more time to craft and just have fun with all of my supplies so I’ve been in there nearly every night making amazing, beautiful messes.
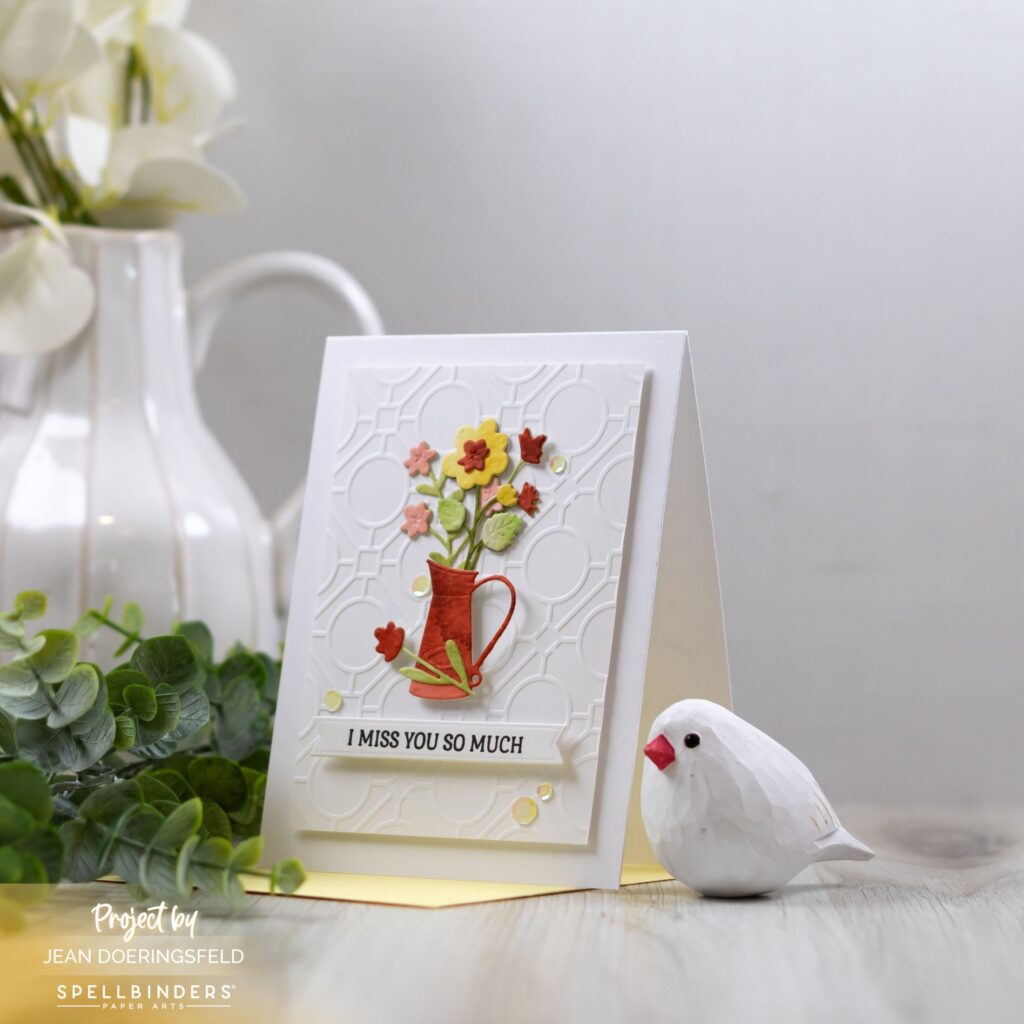
Now, normally, I clean up after every project – I am a bit of a neat freak – but I decided that since my room already looked like the aftermath of a rave, one more mess couldn’t hurt – and this card is the result.
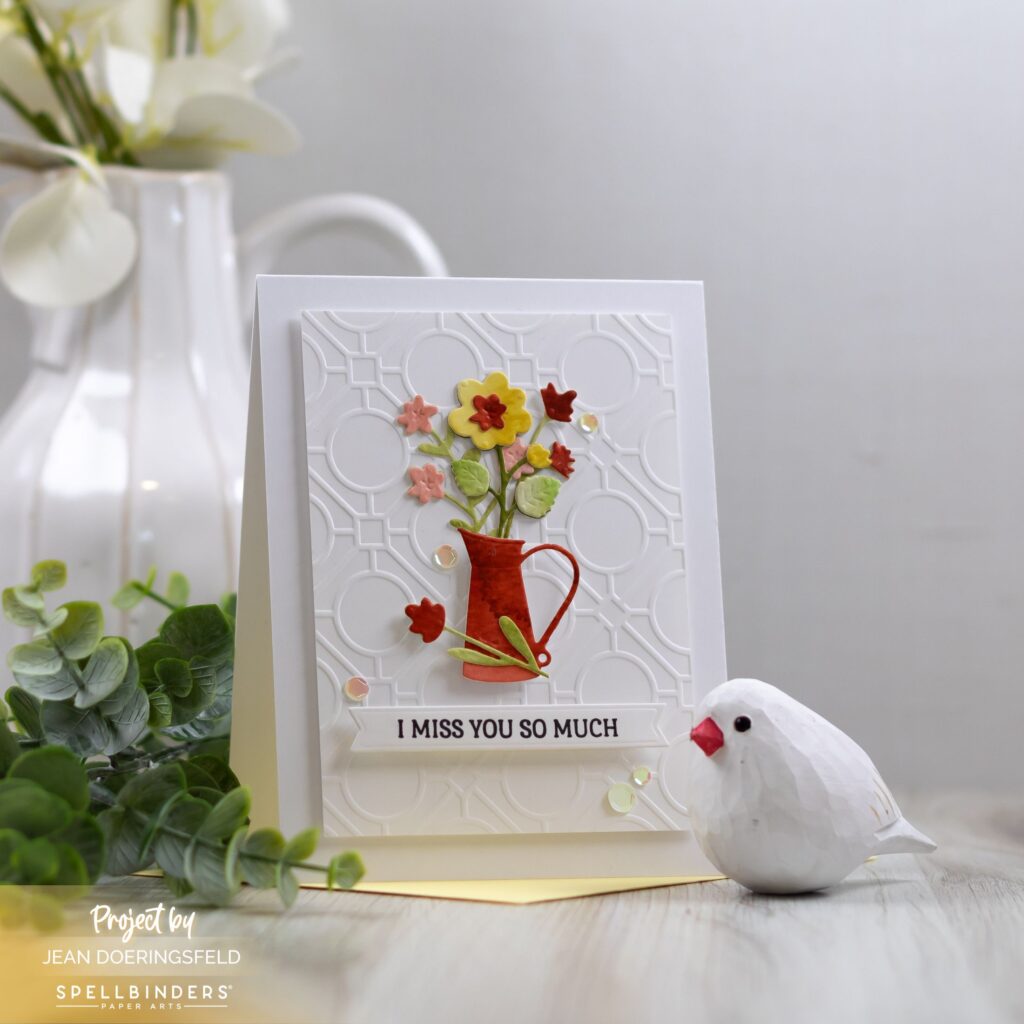
I don’t know about you but I Iove a messy technique every now and then! This card uses ink “smooshing” to get the color for all the die cut components. I love ink smooshing for so many reasons – it gives variation in color, it can be vibrant or soft, and it requires minimal supplies.
Here are some quick instructions on ink “smooshing” and how to make this card:
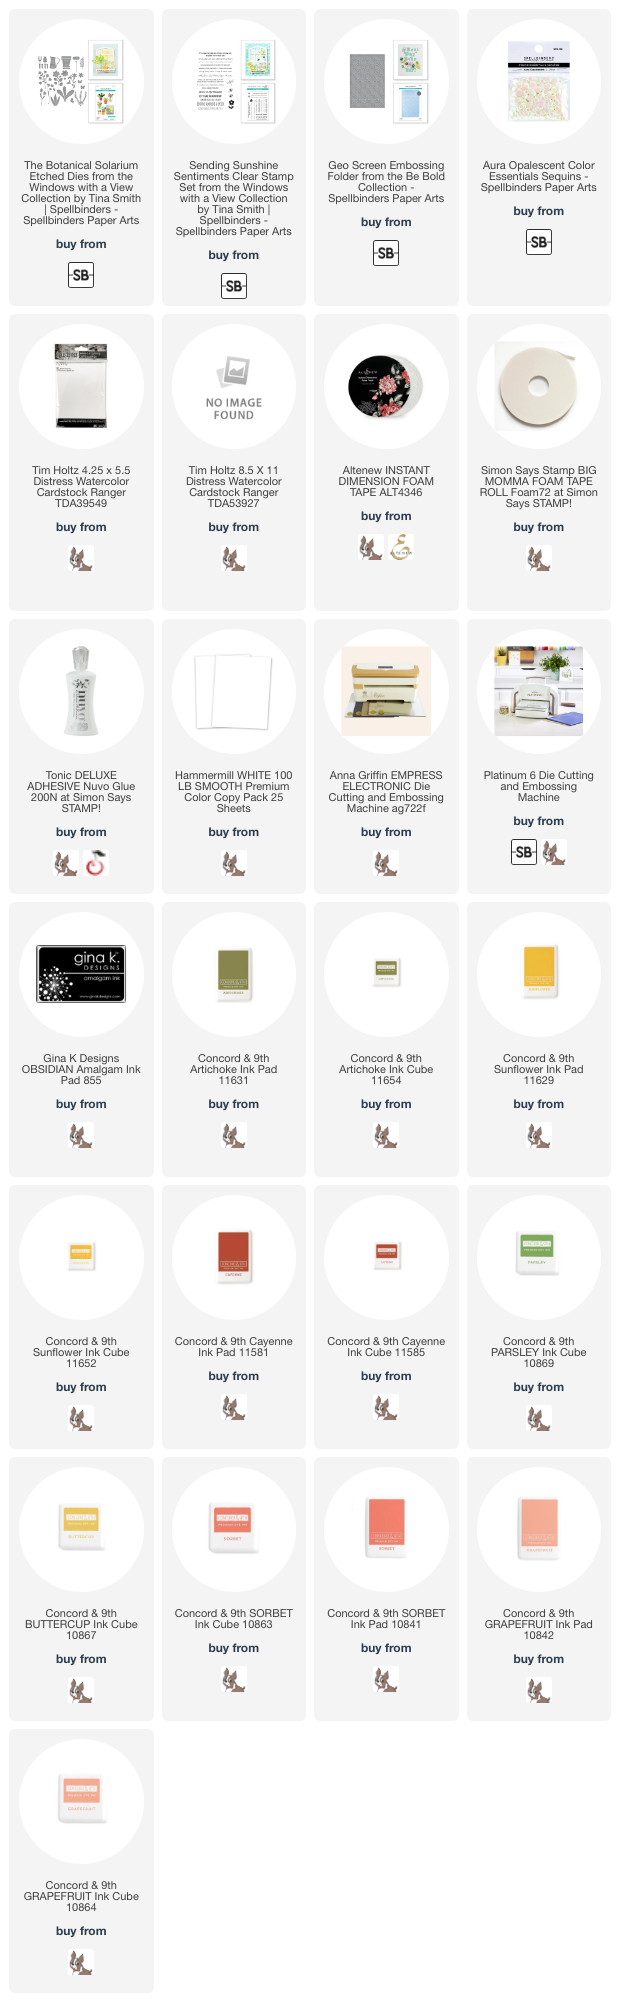
- Pull out a dark and light color of your favorite inks. I used shades of yellow, orange, and green. For this card, I used my Concord & 9th ink pads. They have a foam pad and I find those to be easiest to use for this – but any dye ink will work. If you do not have light and dark colors in the same color family you can see how to do his technique with just one color in step 8 below.
- Gently press (aka “smoosh”) the LIGHTEST color ink pad directly onto a glass mat or other non-porous surface. Even a dinner plate will work!
- Spray a piece of watercolor card stock with some water, then also spray the smooshed ink to add some water and get the color to “move”.
- Push your watercolor card stock into the color puddle you created and pull it back out. Repeat until you have the desired level of light color. You may want to spray your watercolor card stock again, or add more ink to your puddle. Just play with it until you feel like you have some lighter and darker shades of the lightest color on the paper.
- Once you have the watercolor card stock colored the way you like, set it aside to dry or dry it with a heat tool.
- Clean up the ink puddle, then repeat the process for all of the light colors you chose.
- Once all the pieces have dried, repeat the process again using the darker colors. I generally use less of the darker colors and am careful not to completely overlay the light color – you want some variation in colors when you’re done.
- For this card, I did one more ink smoosh using a dark, Cayenne color for the pitcher and a few of the center pieces. I didn’t bother with the light and dark on this – I just did variations of the one color by using more water for the light portion and then, when dry, smooshing again with less water.
- Once all of your pieces are completely dry, you can use the Botanical Solarium dies to cut the pitcher and flowers from your water colored pieces.
- Assemble all of your flowers using liquid glue, but do NOT glue them to the pitcher yet.
- Stamp and die cut your sentiment.
- Emboss a background panel using the Spellbinders Geo Screen embossing folder. Trim and mount the embossed panel onto a card base using foam adhesive.
- Adhere your sentiment to the bottom of the embossed panel using foam adhesive.
- Adhere your pitcher to the panel using a small piece of foam adhesive to the very bottom of the pitcher only.
- Tuck your flower stems into the pitcher and arrange them how you like. Use liquid glue to adhere them to the embossed panel.
- Now that your flowers are arranged, you can tuck a small piece of foam adhesive behind the upper portion of the pitcher to give it more stability.
- Use liquid glue to add a flower stem in front of the pitcher.
- Add a few gems for some sparkle!
Have you tried ink smooshing? Do you love it? Be sure to leave a comment and let me know!
I hope you have a wonderfully creative day!

What a beautiful card!! While I like the pitcher and flowers very much, that embossing folder’s design really makes the card for me! Gorgeous! TFS –
Lori S in PA
such a delightful card! I love it!