

AD: DT Post
Hi there!
I’m back with more inspiration using the new Simon Says Stamp “Rainbow Splash” product line! Today, I’m making TWO cards using a fun and easy technique and some bold floral images.
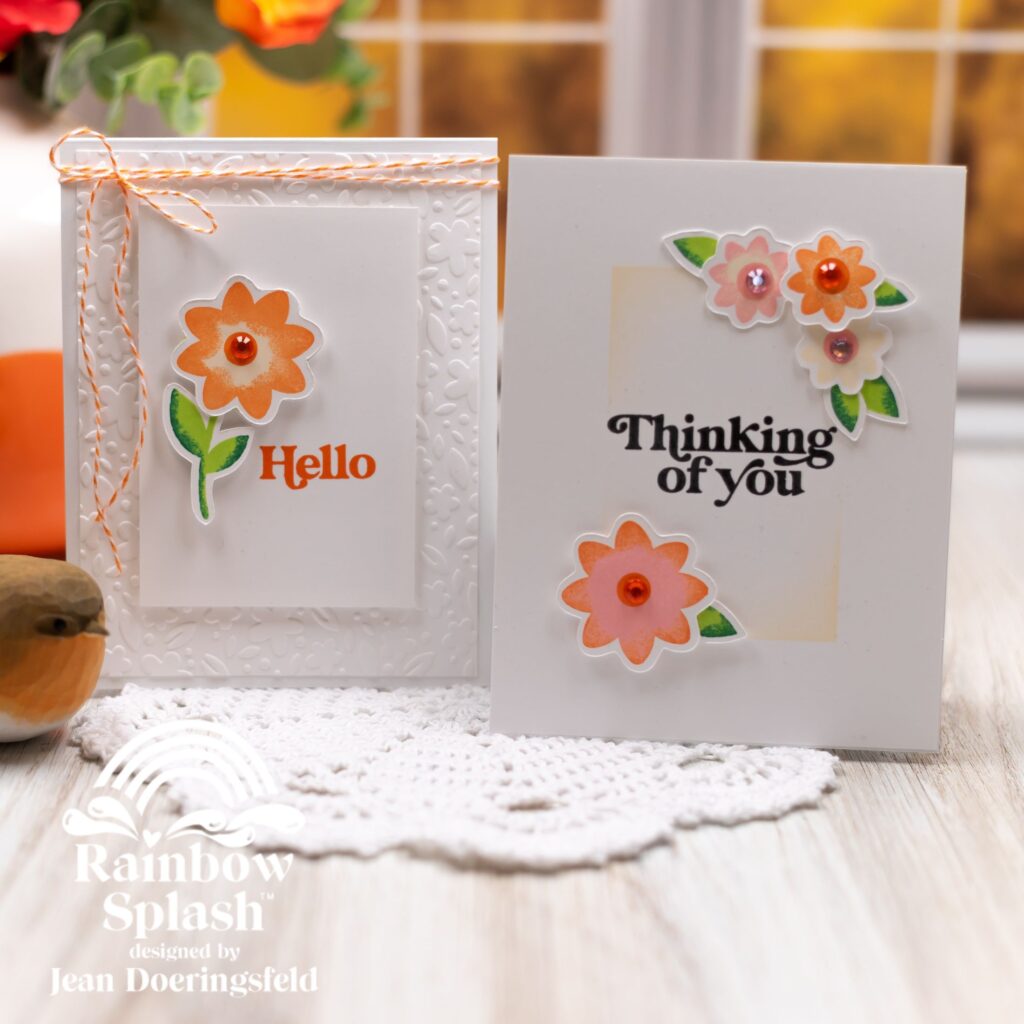
For both cards:
- Choose a few 2-color ink combinations you feel go well. I chose the new Rainbow Splash inks in Pumpkin, Buttercream, Ballet, Emerald, and Lime.
- Use the new sponge daubers to apply ink to the blooms in the Happy Blooms stamp set. Start with your lightest color, then add in the darker colors. It helps to have a separate dauber for each color to make sure you don’t cross-contaminate ink colors. I used the following combinations:
- Buttercream in the middle, with Pumpkin on the edges.
- Ballet in the middle, with Pumpkin on the edges.
- Buttercream only
- Buttercream in the middle, with Ballet on the edges.
- For my stems, I used Lime with Emerald
- Stamp the centers for your blooms.
- Fussy cut your images.
- I cut apart some of my leaves and stems so that I could have several additional leaves.
- Assemble your flowers, stems, and leaves using liquid glue.
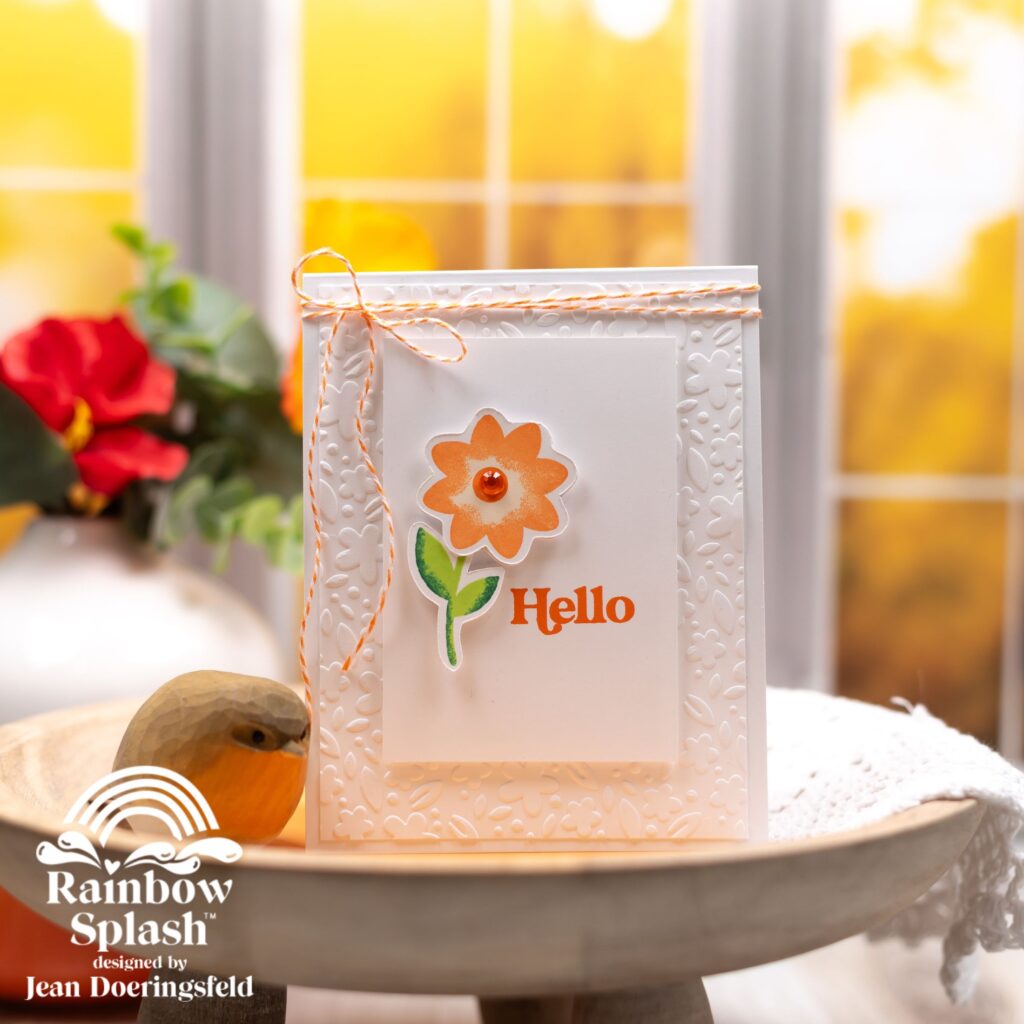
For the “Hello” card:
- Emboss a 4 x 5.25 inch panel using the Tiny Florals embossing folder and adhere it to a card base.
- Cut a piece of white card stock 4 x 2.75 inches and stamp your sentiment.
- Mount it to the center of the card front with foam adhesive.
- Mount a single large bloom and stem next to the sentiment.
- Add a gem to the center of the flower and some twine around the top of the card.
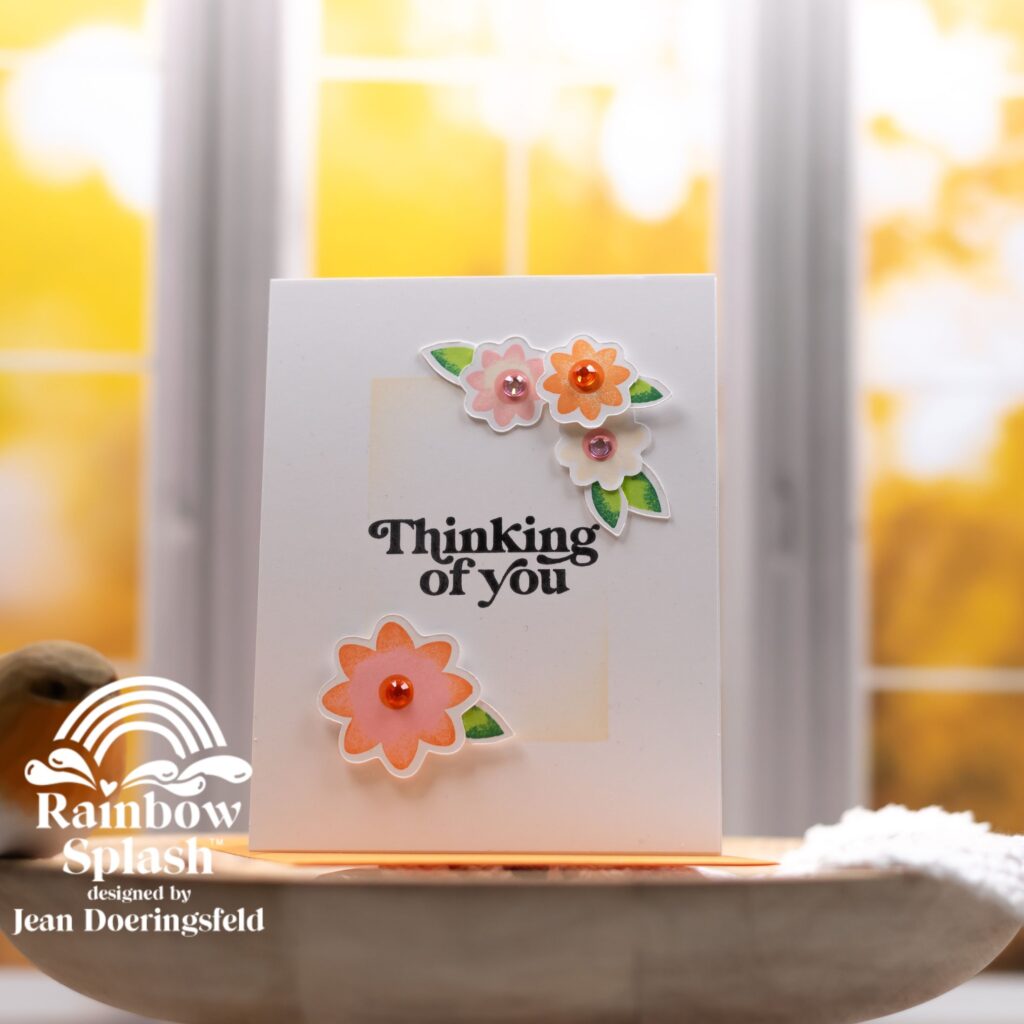
For the “Thinking of You” card:
- Mask off the edges of the card base to create an open rectangle in the middle of the card.
- Lightly ink blend the inside corners of the rectangle using Buttercream ink. Do not fill in the full rectangle – you just want a soft edge. Remove your masking when you are done.
- Stamp your sentiment using Black ink in the middle of the ink-blended rectangle.
- Adhere your flowers to opposite corners using liquid glue and foam adhesive.
- Add gems to the center of your blooms.
Thank you for stopping by my blog today. I hope these cards inspire you to create something beautiful!
Have a wonderfully creative day, everyone!

These cards are beautiful!
Thank you!
These are so fresh and pretty!
Thank you!