Hi everyone!
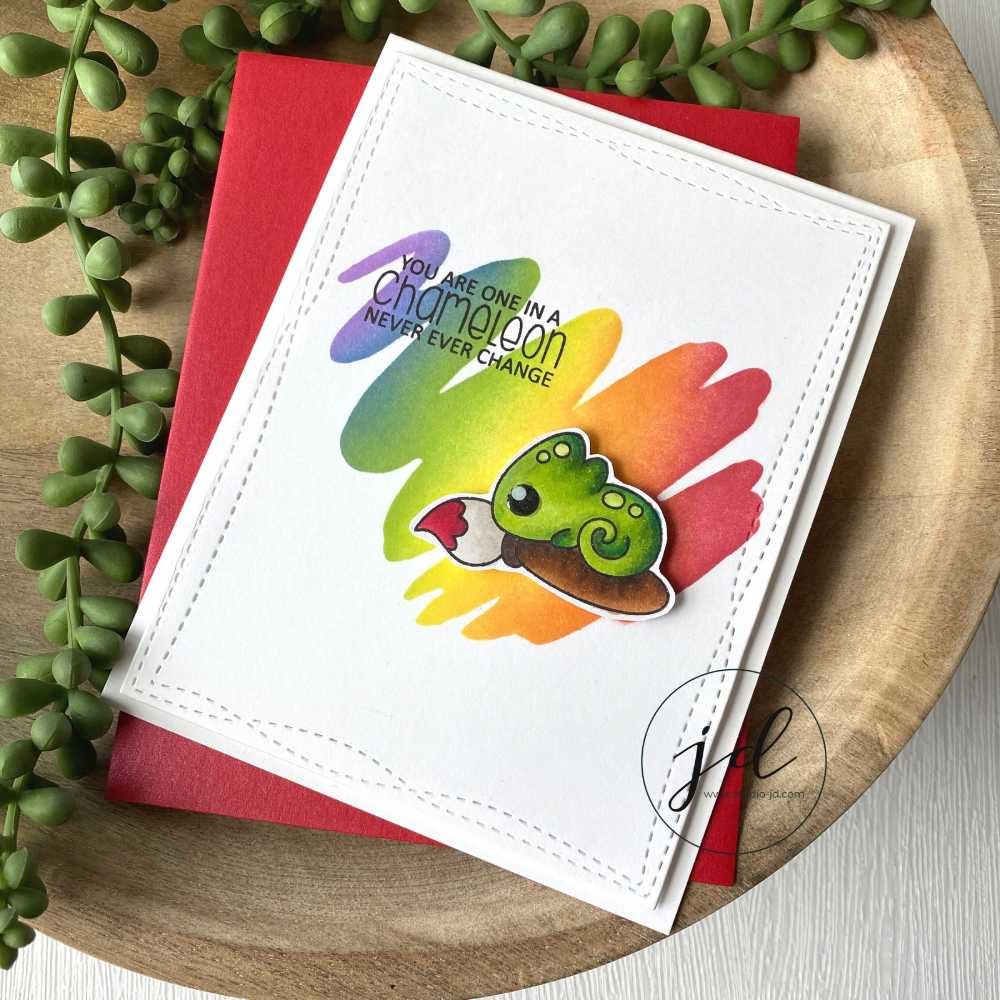
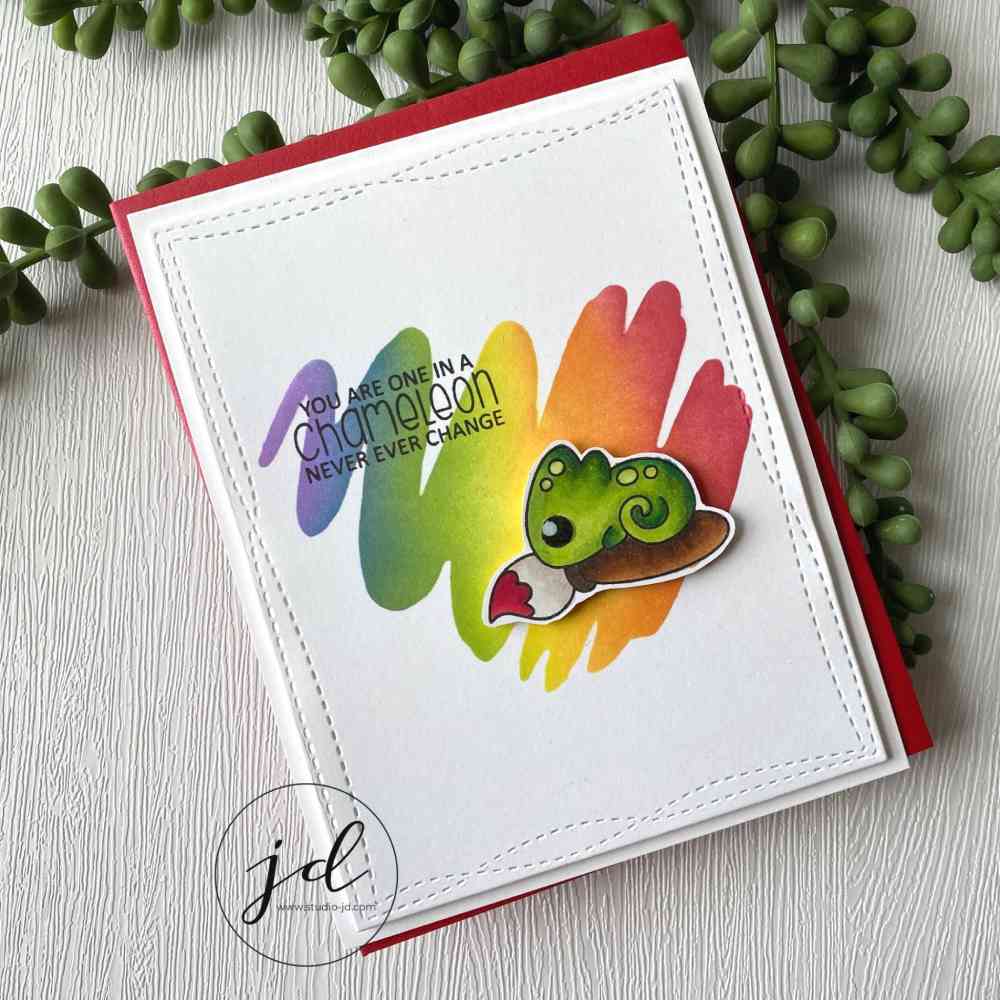
Just popping in today with an adorable little chameleon painting a swatch of rainbow colors! Who doesn’t love a rainbow?!
This card was so easy and fun to create! Just a bit of ink blending and a tiny bit of Copic coloring and Voila! The cutest card!
Create your background:
1. Use your stencil to ink blend a brush stroke of paint on a piece of white card stock. I used the following colors from Pink Fresh Studio: Berrylicious, Clementine, Sunshine, Grassy Knoll, Blue Jay, and Lavender.
Tip:
Whenever I ink blend a rainbow I always start with yellow and blend out from there. I started doing this because otherwise I’d tend to blend over the top of the yellow too much and lose the brightness that yellow gives to the blended image. If you don’t have this problem, you can skip this – but I find it helpful.
2. Die cut your blended panel using the Wonky Stitched die that is just a tad smaller than your card base.
3. Stamp your sentiment onto the blended panel.
Create your chameleon:
4. Stamp the chameleon in Copic-friendly ink onto a piece of Xpress It card stock. I use Gina K Designs Amalgam Obsidian ink.
5. Color your chameleon and fussy-cut him out.
Assemble your card:
6. Adhere your ink blended panel to your card base using foam adhesive.
7. Adhere your chameleon to your ink blended panel using foam adhesive.
8. Add Journey Glaze to the eye of the chameleon for a little shine!
Copic colors I used:
Chameleon: YG03,YG17, YG67, G29, and BG49
Paint brush handle: E34, E35, E57, and E79
Brush: W01, W1, and W3
Paint on brush: R39 and R46

All the best,


0 Comments