Hi everyone!
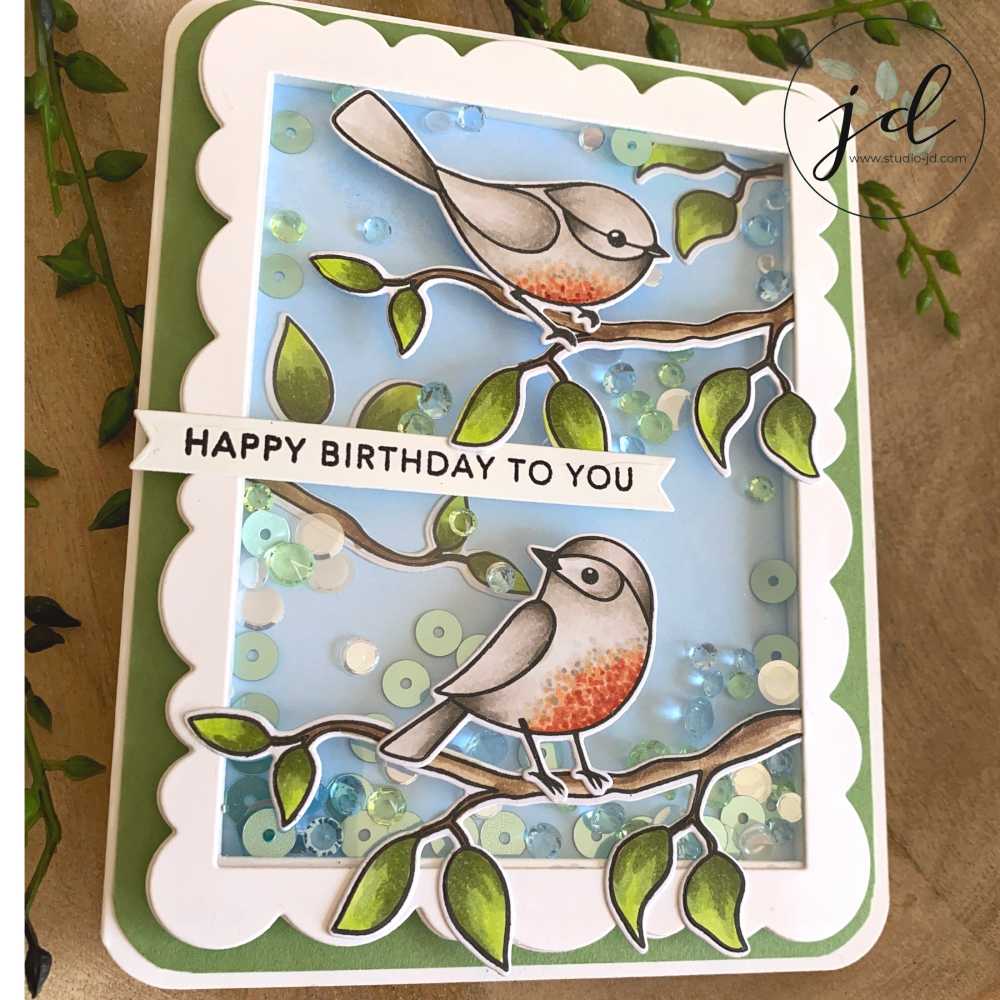
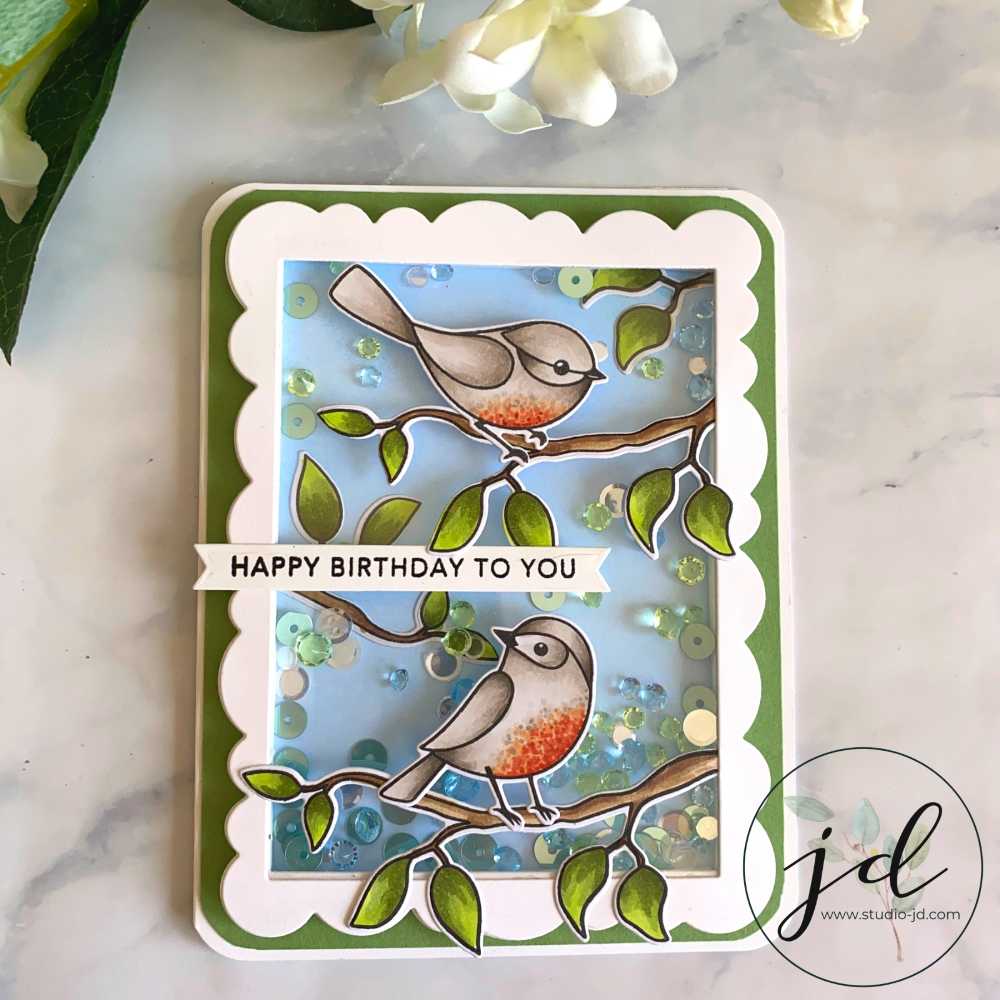
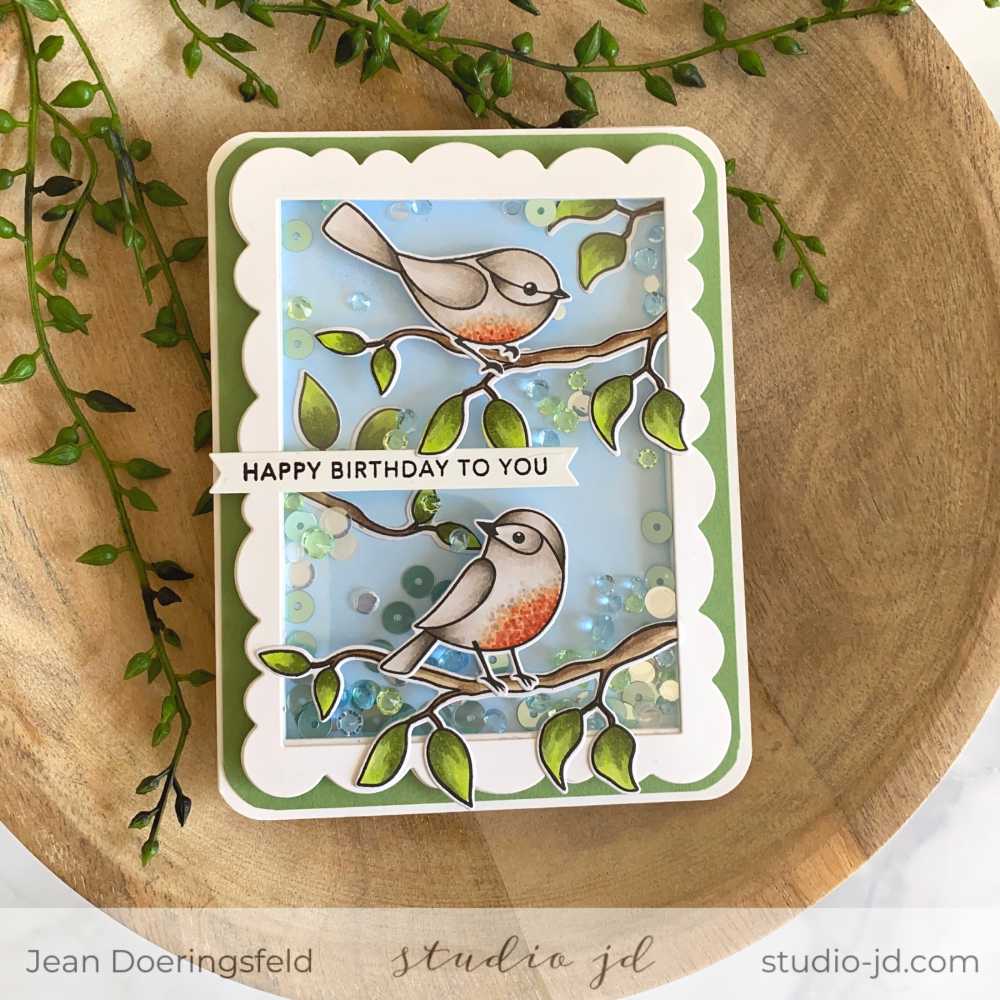
Next week is my best friend, Gail’s, birthday. In the last few years, she has really gotten into watching and feeding birds in her amazing garden – so for her birthday I decided to practice my Copic marker coloring skills and see if I could put together a card that had birds as the focus. She doesn’t actually get the card until next week, but she said I could post about it now and she would “totally act surprised and swoon” when she gets it! LOL! I can’t wait to see that!
It took me several tries to get the birds colored the way I wanted them. It turns out it isn’t easy to blend colors that are in different color groups (in this card, the challenge was getting the orange/red belly of the birds to blend with the rest of the bird bodies and not look like a solid line with no transition). After researching and trying several different ways, I decided that I liked the way the tiny “dots” looked – it just seemed more natural (you can see the detail in the picture below).

Instructions:
1. Stamp the images from the Simon Says Stamp Spring Birds stamp and die set using Gina K Designs Amalgam Black Ink (this ink works great with Copic Markers because it doesn’t smear).
2. Color the images using Copic markers.
3. Die cut the colored images using the coordinating dies for the set.
4. Die cut two frames out of white card stock using the Avery Elle Wonky Scalloped Frames die.
5. Cut a piece of white card stock to fit behind the frame and ink blend a pale blue background for the sky.
6. Layout your colored die cuts. I put a few branches in the background, directly on my pale blue sky, and saved a few for the top of the shaker.
7. Sandwich a piece of acetate and your branches between the frames.
8. Add the birds to the branches.
9. Turn the frame/acetate panel over and add strips of foam all around the back side of the frame – making sure not to leave any gaps where shaker material could fall out.
10. Place shaker materials (I used gems and sequins) on top of your blue sky panel.
11. Adhere the frame/acetate panel to the blue sky panel, making sure no shaker material gets caught under the foam tape.
12. Add your shaker to a piece of green card stock cut slightly smaller than a card front and round the corners.
13. Round the corners of your card front.
14. Adhere the green card stock to the card front and the shaker frame to the green card stock.
15. Heat emboss a Taylored Expressions Simple Strip – Birthday greeting in black on a white strip of cardstock and adhere it to the front of the shaker.

Happy Birthday, Gail!
All the best,


I really struggle with vopic coloring, your birds are so cute.
I have found that with Copics it is really about practice! I did many of these birds before I liked these enough for a card! Stick with it! You’ll get it and it will be wonderful!
What a lovely card! Thank you so much for the detailed tutorial. So helpful for a newbie just learning to Copic!
Thank you!
This really turned out great! You did a beautiful job and thanks for sharing!
Thank you so much, Nancy!