

Hi everyone!
It’s the 6th of the month and that means the NEW Spellbinders Clubs are released to NON-Club Members!
I’m super excited to be designing for Spellbinders’ Stamp and Die of the Month Club this year! The Clubs are a great value and there is free shipping! If you haven’t signed up, I hope my card today inspires you to do so! Here is a bit more information about the Clubs, in case you’re interested:

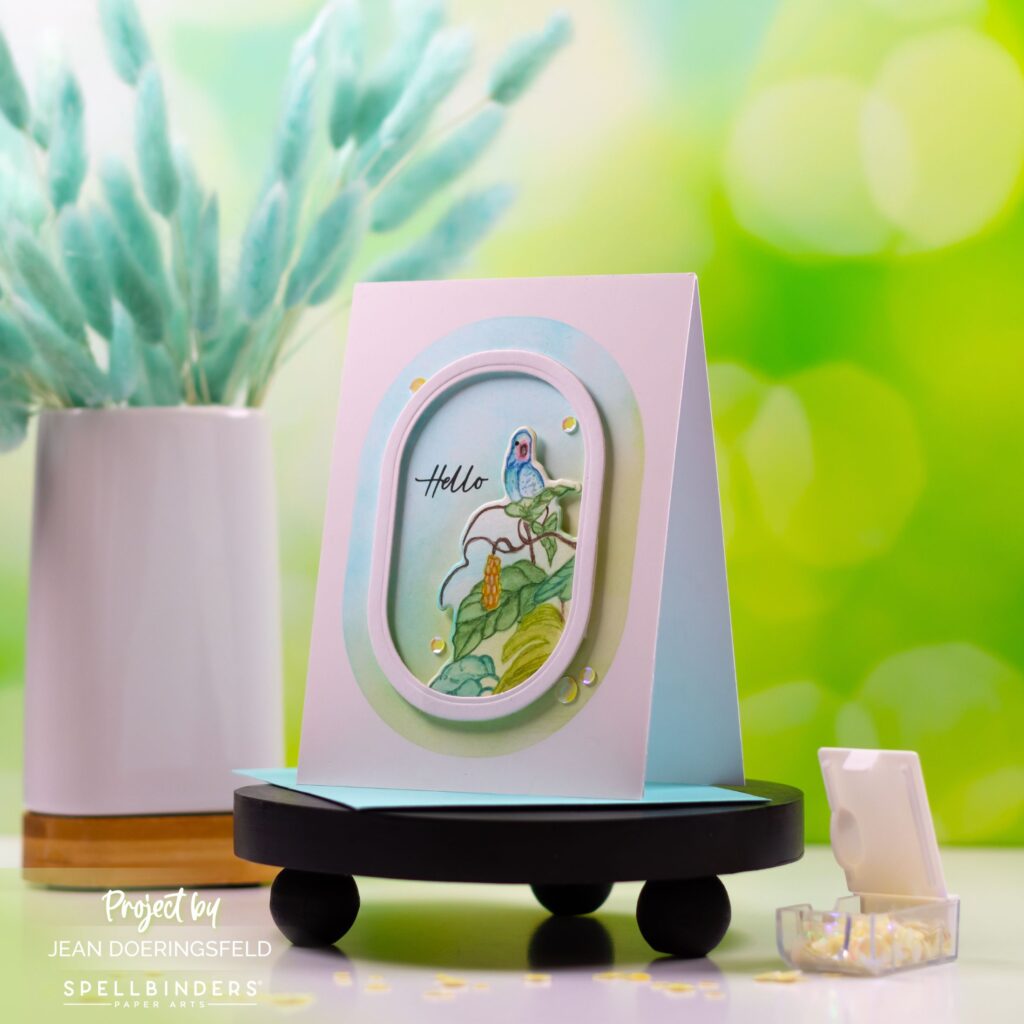
For this month’s card, I decided to try no line coloring with watercolor pencils. I’m so glad I did! I absolutely love how this card turned out!
To make this card:
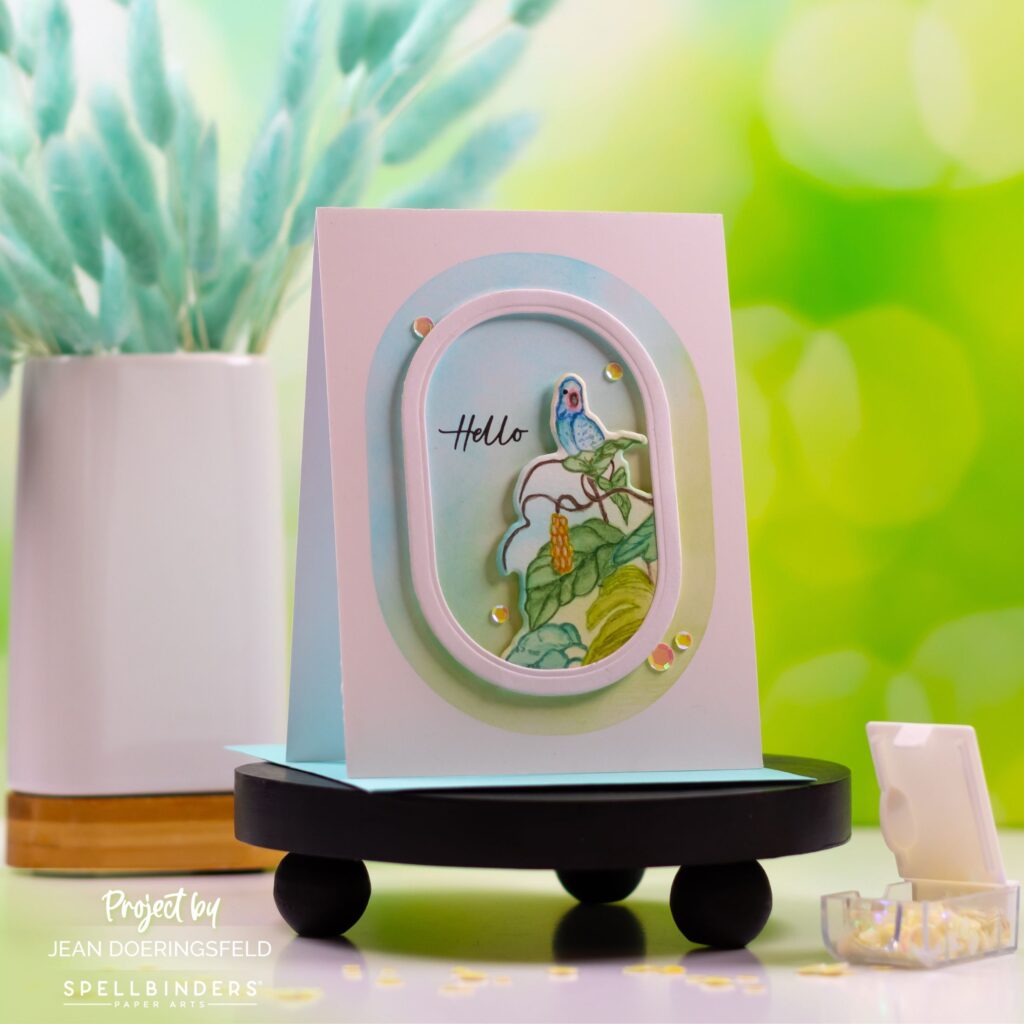
- Stamp your parrot image onto watercolor paper using a very light tan or gray dye ink. The ink must be dye-based for this technique so that the lines disappear when you apply water over them.
- Use a black Artist PITT pen to dot the eye on the parrot. These pens are permanent and will not bleed when you watercolor over them.
- Use watercolor pencils and a water brush to add a bit of color your image. You do not need to color in the image with the pencils – just add a little coloring in the darker areas and use the water brush to pull the color out fill in the rest of the area. TIP: Do not go back in with the colored pencil while the area is still wet as you will get color that doesn’t blend again well. This isn’t a bad thing – it’s just not the look we want for this design.
- Set the image aside to dry completely.
- Die cut a large oval out of an A2 panel to use as a stencil.
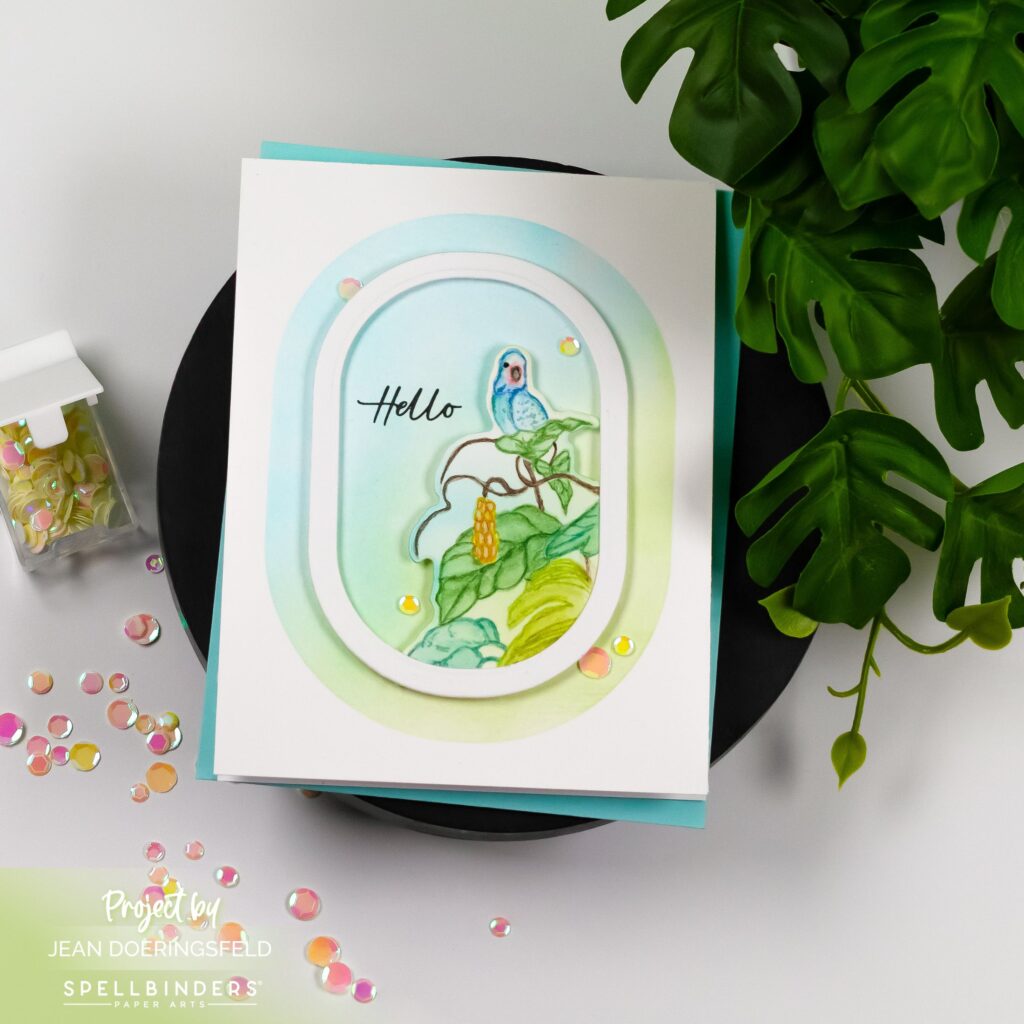
- Place the die cut stencil over your card base and ink-blend a blue and green background inside the oval.
- Use two of the smaller oval dies to create an oval frame out of white card stock.
- Once your parrot image is dry, die cut it out with the coordinating die and ink blend it a bit with your background colors – mostly on the edges.
- Glue the oval frame over one edge of the parrot die cut; trim any excess so that everything fits inside the oval.
- Add foam adhesive strips and foam squares to the back of the oval-parrot and adhere it to the ink-blended card front. You can add some liquid glue to the foam so that you have some wiggle room in getting it placed correctly.
- Add a few gems for some shine.
If you’ve never tried no-line water coloring with watercolor pencils I hope this card inspires you to try it!
Have a wonderfully creative day!

0 Comments