Hi everyone!
Today, I’m posting another project for the Altenew Educator Certification Program (AECP). This class was “For the Guys” and taught techniques for creating masculine cards.
I have a bit of a confession: I don’t create a lot of masculine cards. In fact, I think I can count on one hand the number of masculine cards I’ve made in my entire life. Which means that I don’t have many supplies for creating designs that might appeal more to men and also means that this card was particularly challenging for me. You’ll have to let me know how you think I did with it.
After going through all of my supplies, I decided to try my hand at using a geometric pattern and adding a bit of what I’m calling “masculine shine”. This is a very simple card, but I am super happy with how it turned out. I think it does a good job of demonstrating what we learned in class – but in my own style, and using the supplies I had on hand.
To start, I created the background by ink blending blue, green, and yellow dye ink over the top of my Altenew Deco Wallpaper stencil. This created a subtle geometric pattern, which I made darker in the lower right corner and faded out to nothing as it moved to the upper left.
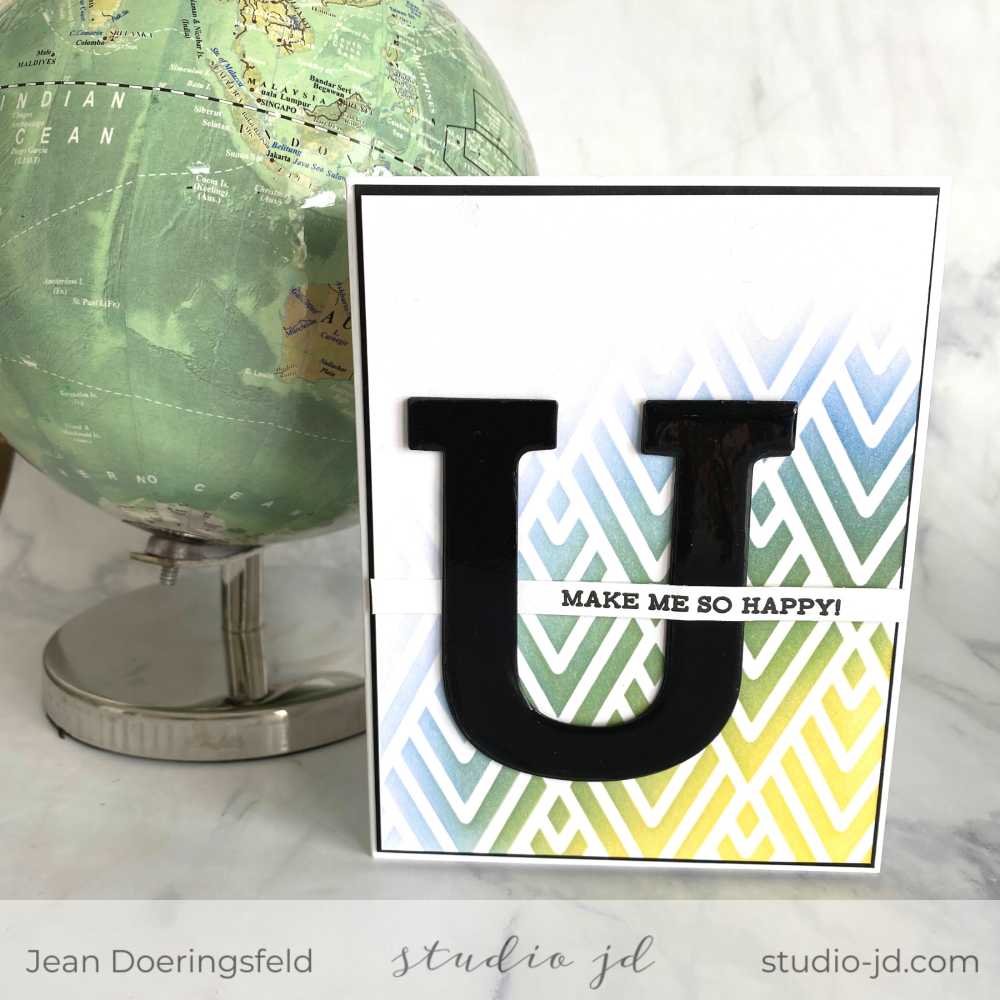
When I first started this card, I considered having the geometric pattern cover the entire front of the card, but I am not a huge fan of patterns – especially geometric ones – so I decided to go with letting the pattern fade out, which left more white space on the card and left me with a look I liked much better.
Next, I used the Altenew Mega “U” die to cut four “U”s out of black cardstock. With one of the “U”s, I covered the entire die cut with Journey Glaze to give the “U” a black glossy finish (there’s that “masculine shine” I mentioned earlier). You can see the shine in the close up photo below.
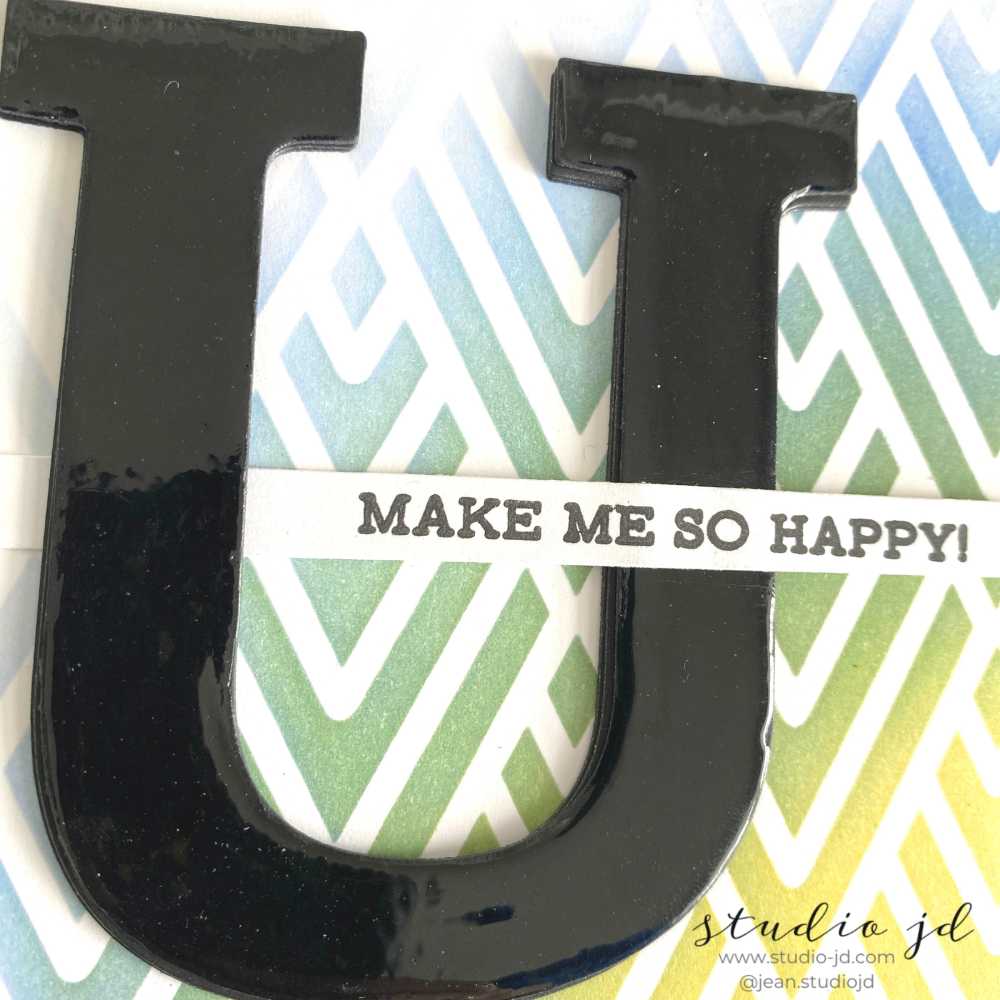
Once the Journey Glaze was dry, I adhered all four “U”s together to give even more dimension to the letter.
For the sentiment, I used the Altenew Sentiment Strips stamp set. The full sentiment in this set says “You Make Me So Happy”, but I masked off the “You” so that my giant letter “U” could be used to complete the sentiment. I thought this added a playful twist that even a guy might like.
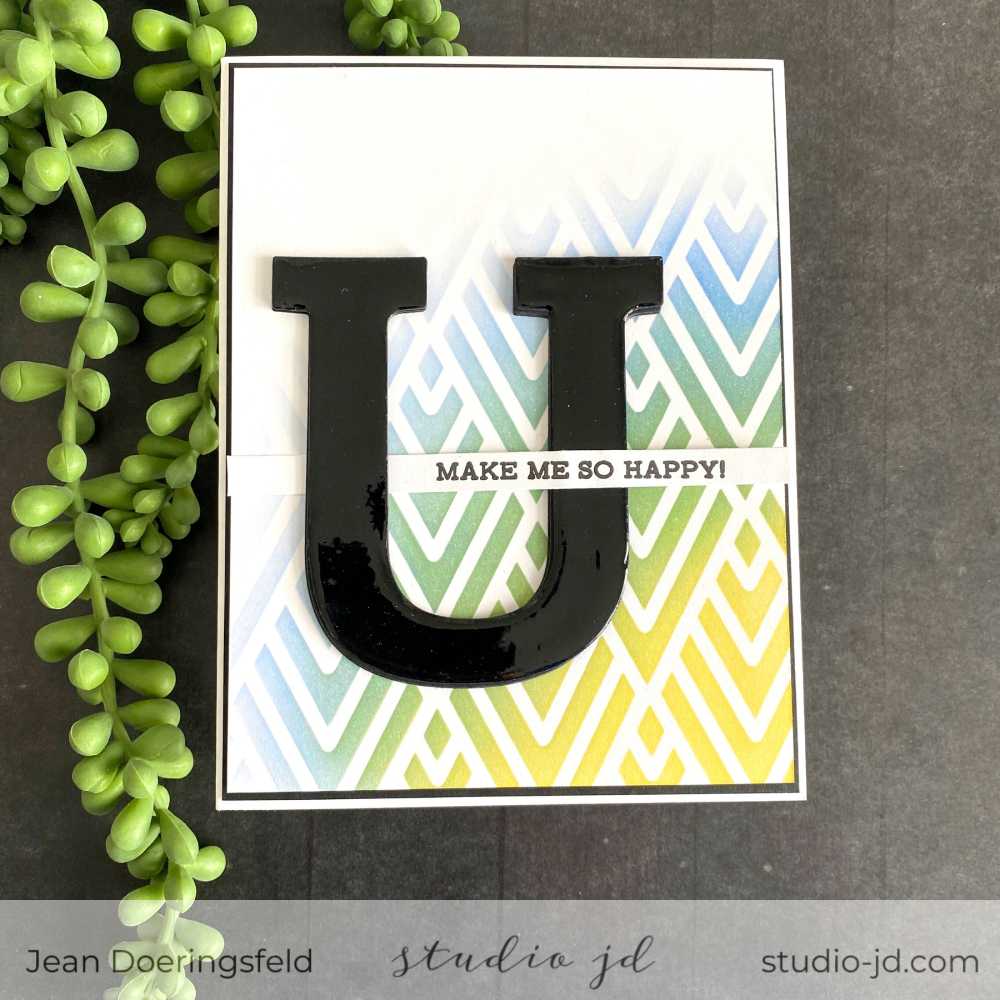
I wove the sentiment strip under the first side of the “U” and over the second side, just for a bit of fun. Because of the added dimension on the “U”, I used foam tape to keep the sentiment strip from bending where it shouldn’t.
I adhered the “U” and the sentiment to the background, used foam tape to attach the panel to a piece of black cardstock that was just slightly larger than the panel, and then attached it all to the card front.
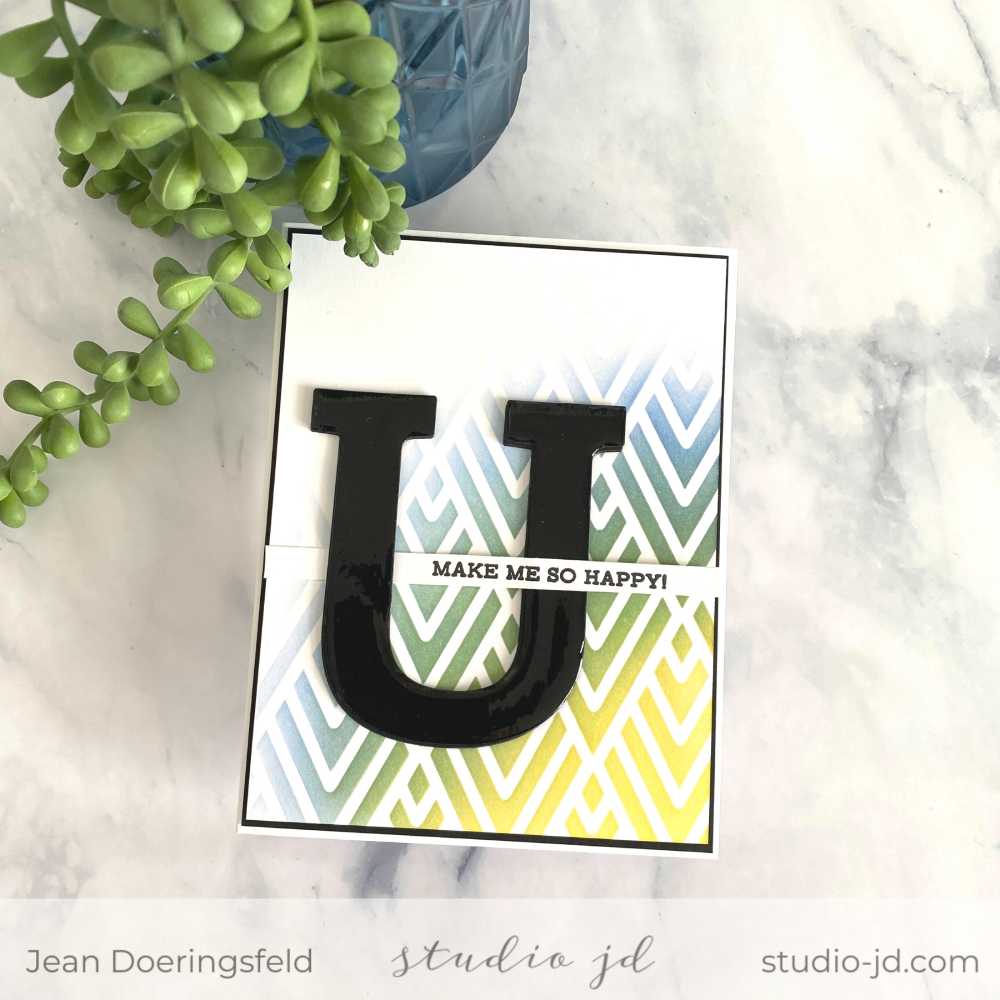
This class gave me some great ideas for creating masculine cards and forced me to think hard about the supplies I had and how they might be used to create something “for the guys”! I loved incorporating some of the techniques I learned in class into this card – and I’m so happy with how it turned out! Do you think a guy would like it?
All the best,





This is brilliant!! LOVE it!
Thank you for submitting your fantastic work to the AECP assignment gallery.
Thank you so much, Erum!