Hi everyone!
Are you looking forward to Spring as much as I am? It has been a long (and snowy) Wisconsin Winter for me. I know, I know… I think EVERY Wisconsin Winter is a loooong Wisconsin Winter but I swear, it seems like March takes FOR. EV. ER (and yes, I know it’s just the first week)!
I know I’m not the only one that is ready for Spring. This month Simon Says Stamp posted their monthly challenge on Instagram called “Hello Spring”. Participants can post any card they make that has a Spring theme, which is pretty much perfect since that is almost all I’ve been thinking about lately anyway! 😊
For my entry in the challenge I created this fun, floral shaker card. I just love interactive cards and shaker cards are one of my favorite!
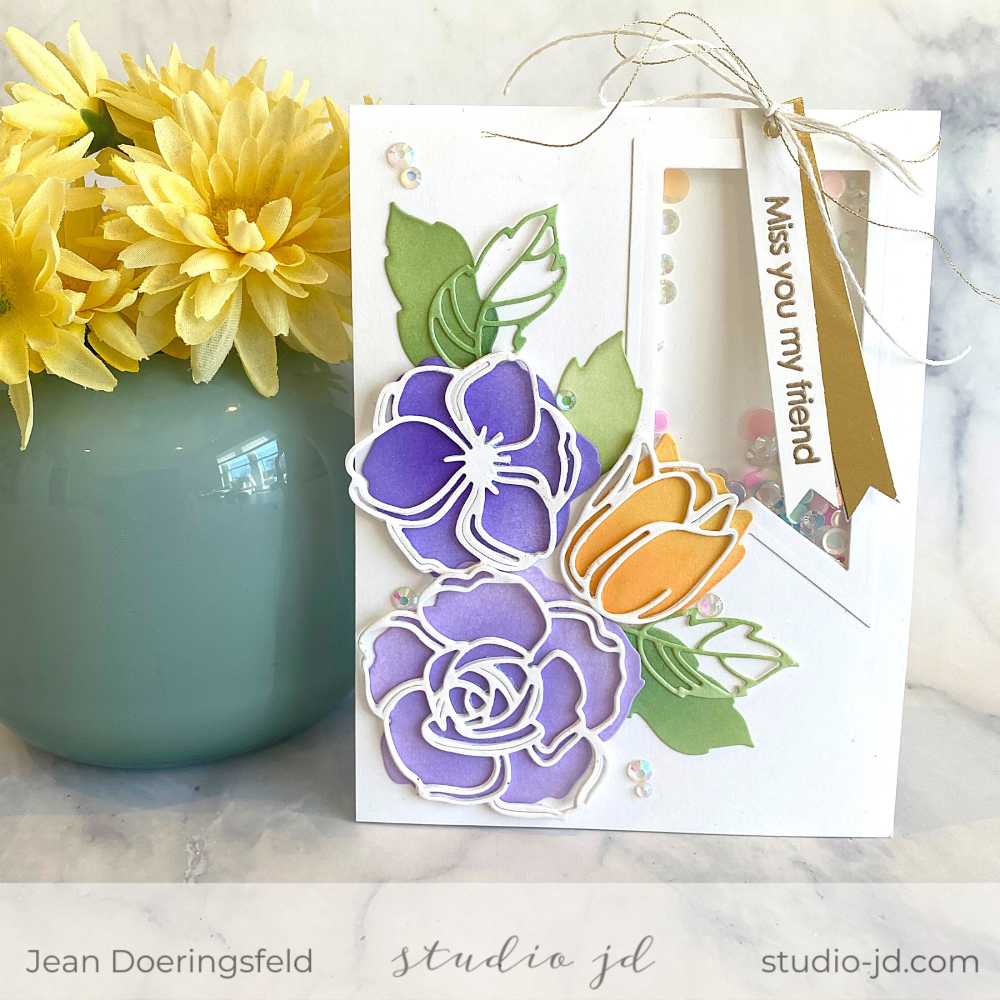
I was careful to not leave any gaps in the foam tape that I used to edge the banner. By doing this, the foam tape created sealed “walls” around a “well” where I could place my shaker material and keep it from falling out.
Still working on the back side, I added foam tape to the rest of the panel and then placed my shaker material (Morning Meadow Opal Sheen confetti from Trinity Stamps and Ice Cube gems from Lucy’s Cards) in the “well”.
I then placed my card base over the top of the panel, making sure my card would open correctly (I learned this lesson the hard way! Doh!) and to line up the edges!
At this point, I could flip my card back to the front and see the shaker material securely enclosed in the banner-shaped window on my card front. Here is a close up picture of the finished window:
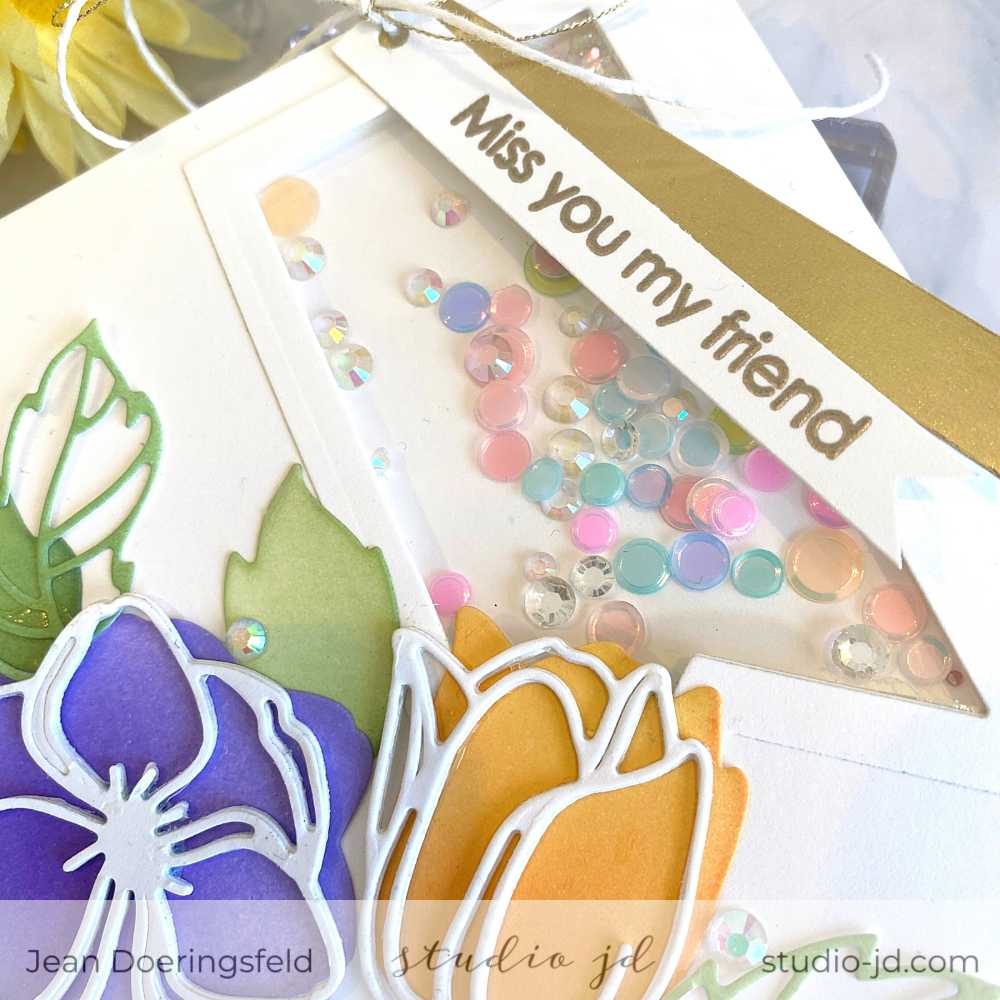
To decorate the card front, I used the Altenew Floral Doodles die set. I cut the backgrounds for the floral and leaf shapes from Neenah Solar White 80# card stock and ink blended them using spring colors. I arranged them on my card front and adhered them with liquid glue.
I then die cut each of the flower outlines three times and adhered them together to create dimension and add some sturdiness to the die cut pieces.
I arranged the flower outlines over their respective backgrounds on my card front and decided I needed to add a few more leaves, so I ink blended a bit of green on some scrap white cardstock and used the leaf outline dies in the set to cut them out.
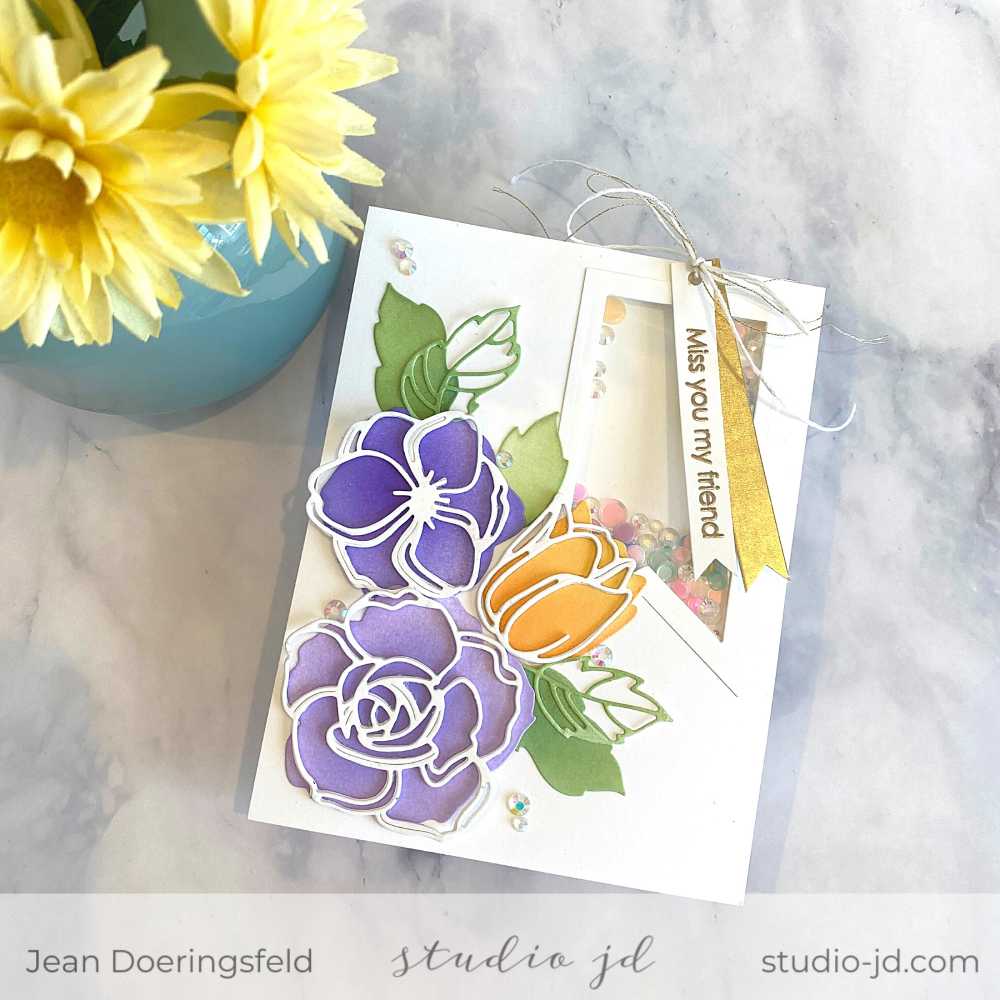
Once I had the outlines where I wanted them, I glued them down by adding liquid adhesive only to the center portion of the outline. This allowed me to bend the edges up a tiny bit and create a 3D look with the flowers coming up off the card.
Next, I stamped the “Miss You My Friend” sentiment from the Altenew Mini Branch stamp set in VersaMark ink and heat embossed it using gold embossing powder.
I cut the sentiment into a strip and then turned it into a banner by using my corner punch to create the little “v” notch at one end.

For the gold banner behind the sentiment, I used Altenew Gold Washi tape over the top of white cardstock and then created the banner shape the same way I did the sentiment.
I tied the two small banners to the card front using white twine and gold thread.
I finished the card by adding a few iridescent gems to tie in the shine from the shaker material and the sentiment banners.
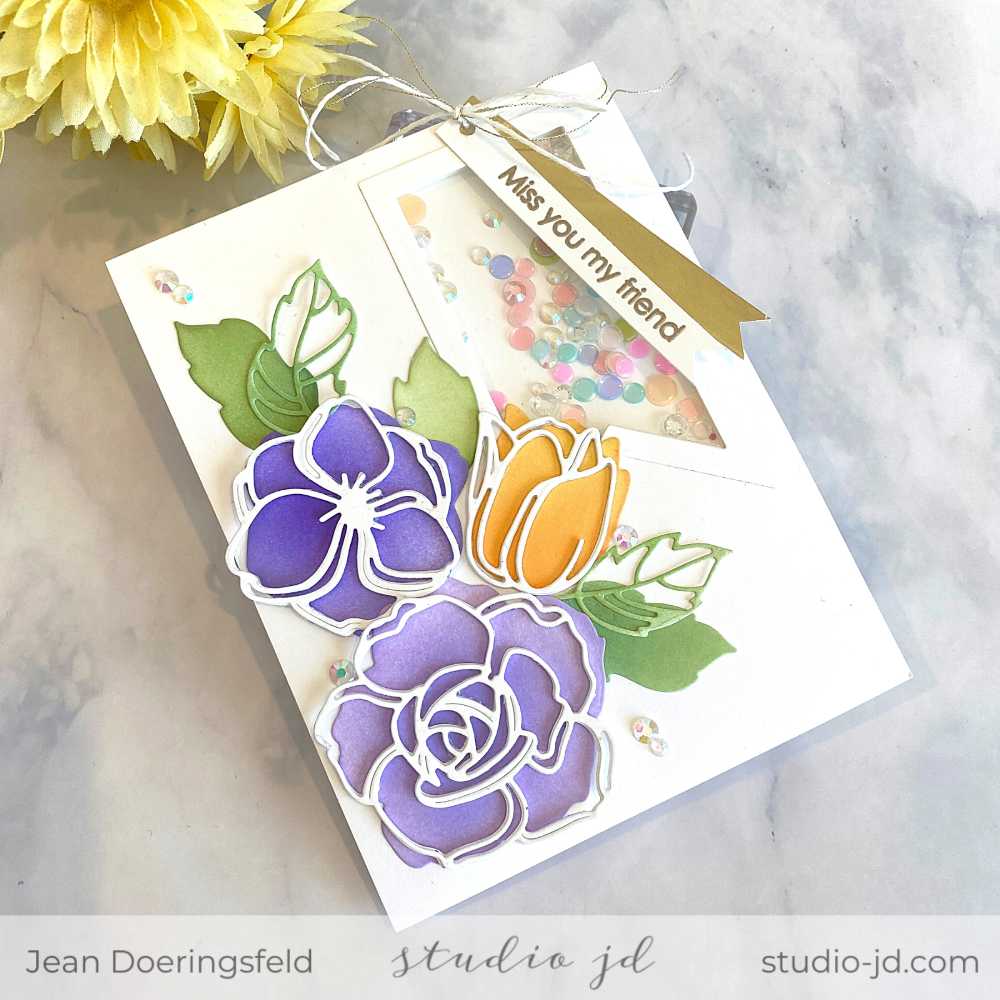
This card is so fun and spring-like! I hope you like it!
All the best,




0 Comments