Hi everyone!
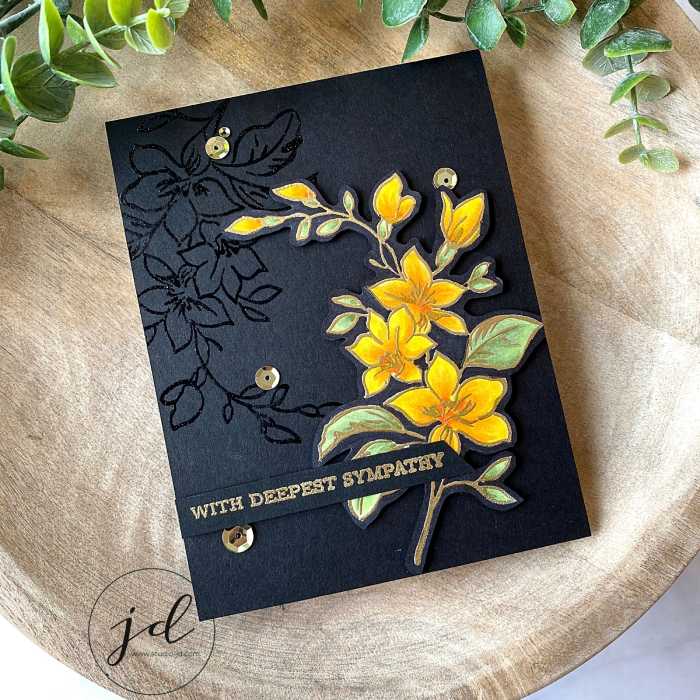
Today I’m sharing the card I created for the AECP class called Impressive Heat Embossing. I know a lot of paper crafters and card makers got hooked on this craft the minute they first saw something heat embossed. I was no different. As soon as you see the powder melt and become raised on the paper it is sort of magical and it opens your eyes to all the things you can make with just one simple technique.
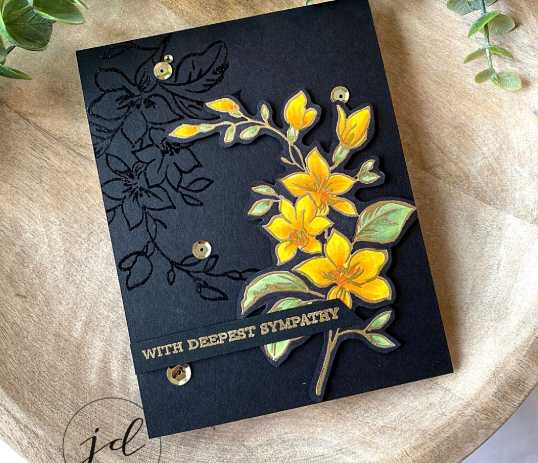
For my card today I used two different colors of embossing powder – gold and black. I love the shine of the gold but…oh my! that glossy black on the black card stock is just stunning!

Prep your panel:
1. Cut a panel of black cardstock the same size as your card front (4.25×5.5)
2. Prep your cardstock by applying an anti-static powder over the surface to make sure that the embossing powder only sticks to the area you want it to.
3. Use VersaMark ink to stamp your floral image and then heat emboss it with black embossing powder.
Stamp and color your floral image:
4. Prep a piece of white cardstock with your anti-static powder and stamp your floral image on it with VersaMark ink.
5. Heat emboss with gold embossing powder.
6. Color your image with Copic markers being careful not to go over the embossing as it could damage your markers.
7. Once your image is colored, go over the outside edge of your image with a black Copic marker so that once you die cut it (or fussy cut it like I did) there is no white showing between the image and the black card stock.
8. Die cut or fussy cut your floral image and touch up any white areas with your black Copic marker.
Create your sentiment:
9. Use VersaMark to stamp your sentiment on a strip of black cardstock and heat emboss it with gold.
Assemble your card:
10. Arrange your floral image on your card front being careful not to cover all of the black embossed image. Use foam tape to pop the image up and add dimension.
11. Arrange your sentiment where you want it and use foam tape and liquid glue to adhere it to your card front.
12. Add a few gold sequins for some shine and to show off the gold embossing.


All the best,


This is absolutely stunning!
Thank you for submitting your gorgeous work to the AECP assignment gallery.
Thank you!
I love this card, beautiful❤️
Thank you, Suzy!
Wonderful card!
Thank you, Theresa!
This is such a stunning card!
Thank you so much, Kristine!