Hi there!
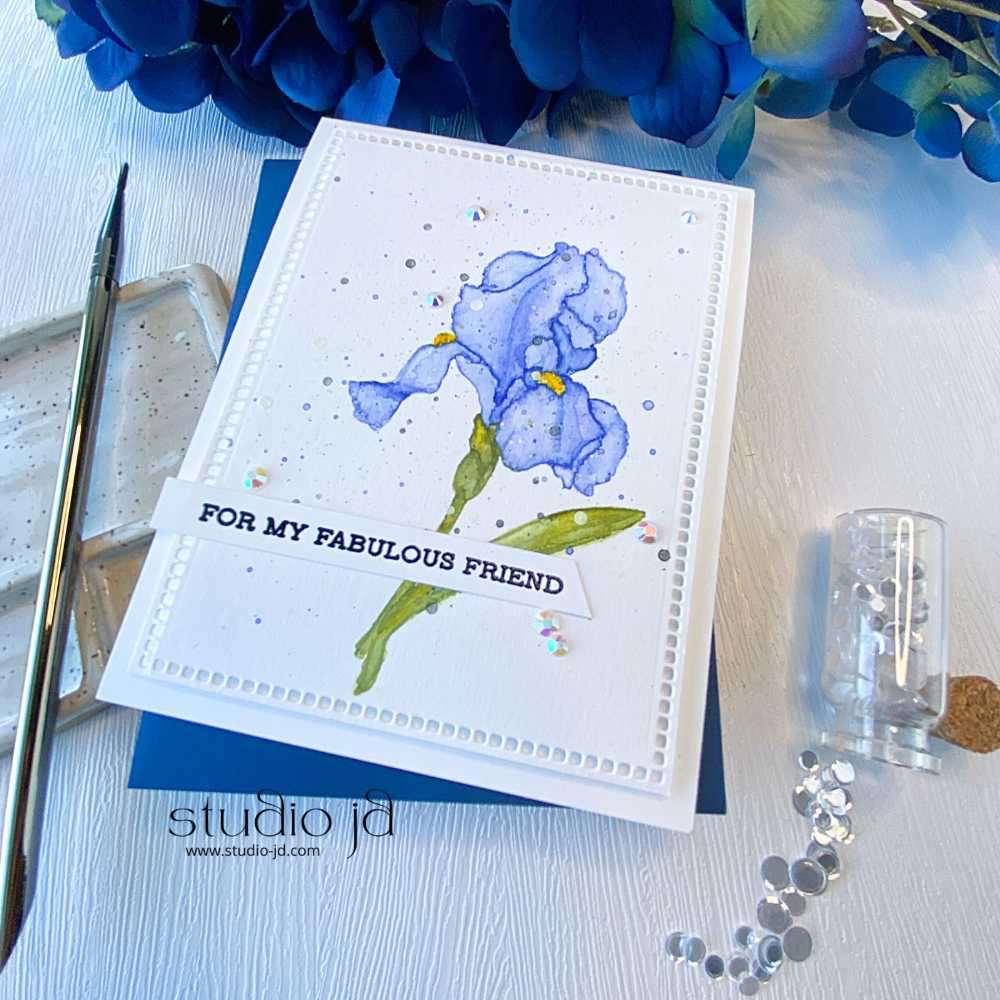
Today I’m sharing a card I made for the Level 3 Altenew Educator Certification Program (AECP) class called “Stunningly Simple Watercolor Techniques”. For this card, I thought I’d try using the techniques I learned for no line watercoloring. I love this technique because it makes me look like I’m a seasoned and professional watercolorist!
This technique requires a lot of patience (something I don’t have much of) but I think the results are gorgeous!

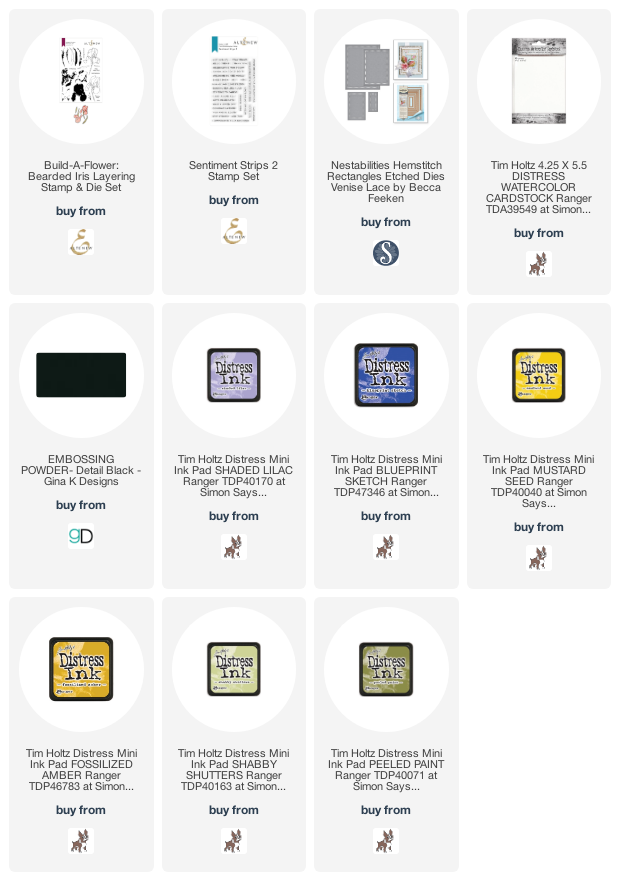
1. Stamp the iris and leaf on watercolor paper using Distress ink. I used Shaded Lilac for the flower portion and Peeled Paint for the stem and leaf.
2. Smoosh your Distress ink on your glass mat, apply a bit of water, and use it as your paint to paint the image. Be sure to do one petal/leaf at a time and wait until it is completely dry before painting any adjoining petal/leaf. This will help to ensure you don’t get too much mixing and lose the definition between the petals/leaves.
3. Continue to paint, let dry, and paint, adding layers of paint until you get it to the look you want. I used the following Distress inks: Shaded Lilac, Blueprint Sketch, Mustard Seed, Fossilized Amber, Shabby Shutters, and Peeled Paint.
4. Once the paint is dry, splatter some of the paint over your panel.
5. Once the entire panel is completely dry, die cut it with a die that has a decorative edge. I used the Spellbinders Hemstitch Rectangle die.
6. Heat emboss your sentiment on a strip of white cardstock using black embossing powder.
7. Apply foam tape to the back of your watercolored panel and adhere it to your card front.
8. Add your sentiment strip and a few gems.

I Hope you have a wonderfully creative day!


So beautiful! Top job, Jean! Thank you for submitting our work to the AECP assignment gallery.
Thank you!