

AD: Designer Post
Hi everyone!
I know I say this every year…but I can’t believe it’s already time to start making Christmas cards! I hate that the summer is waning… but I love the Christmas season!
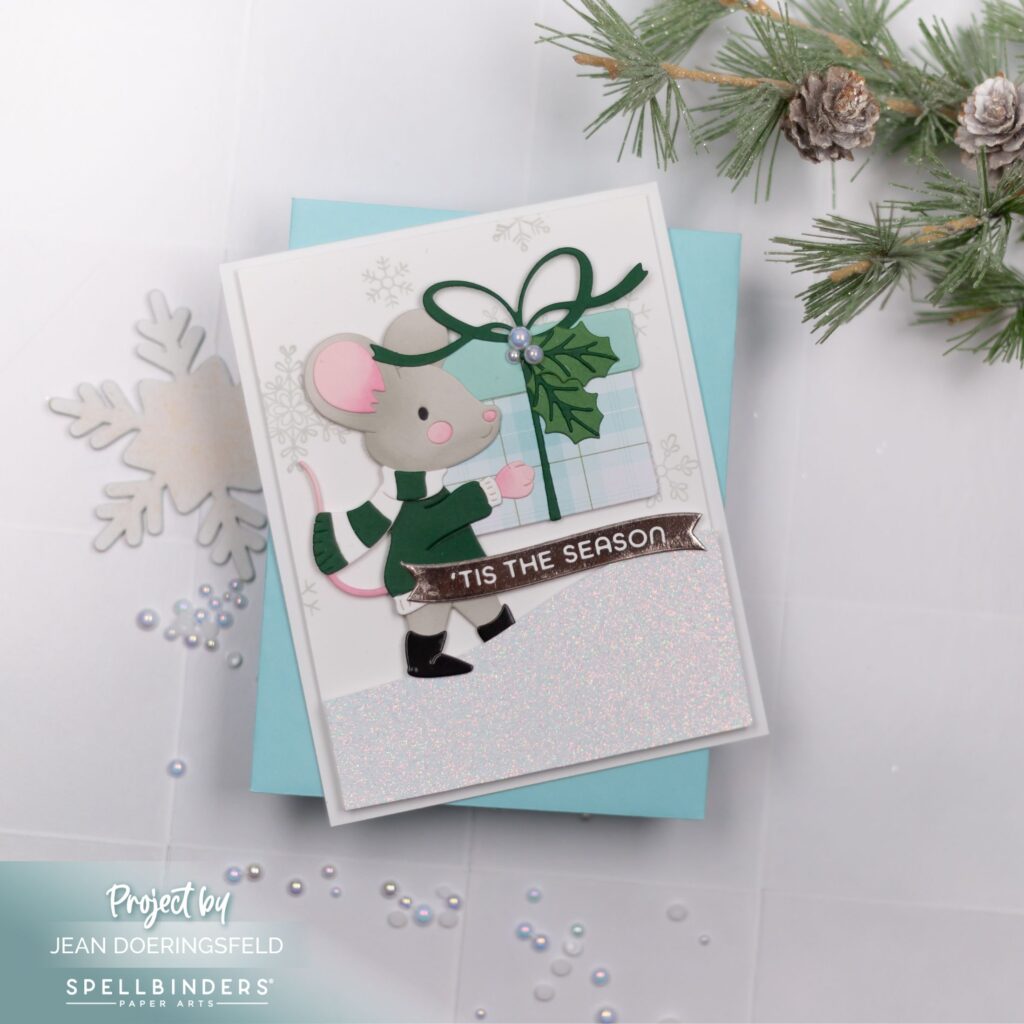
Today’s card features the new “Dancin’ & Giftin’ Mouse” die set from Spellbinders’ Dancin’ Christmas Collection. This little mouse is designed to dance his gift to you, with legs that move back and forth. For whatever reason, I decided not to add the “dancing” to my card and instead just used the dies to create a little mouse firmly affixed to my card front. It’s as close as I get to being a rebel <smirk>!
To make this card:
- Die cut all the pieces for the mouse and gift using different colored card stock and patterned paper. In addition to the mouse/gift dies, I also used the holly leaves from an older set (see product list below for all supplies).
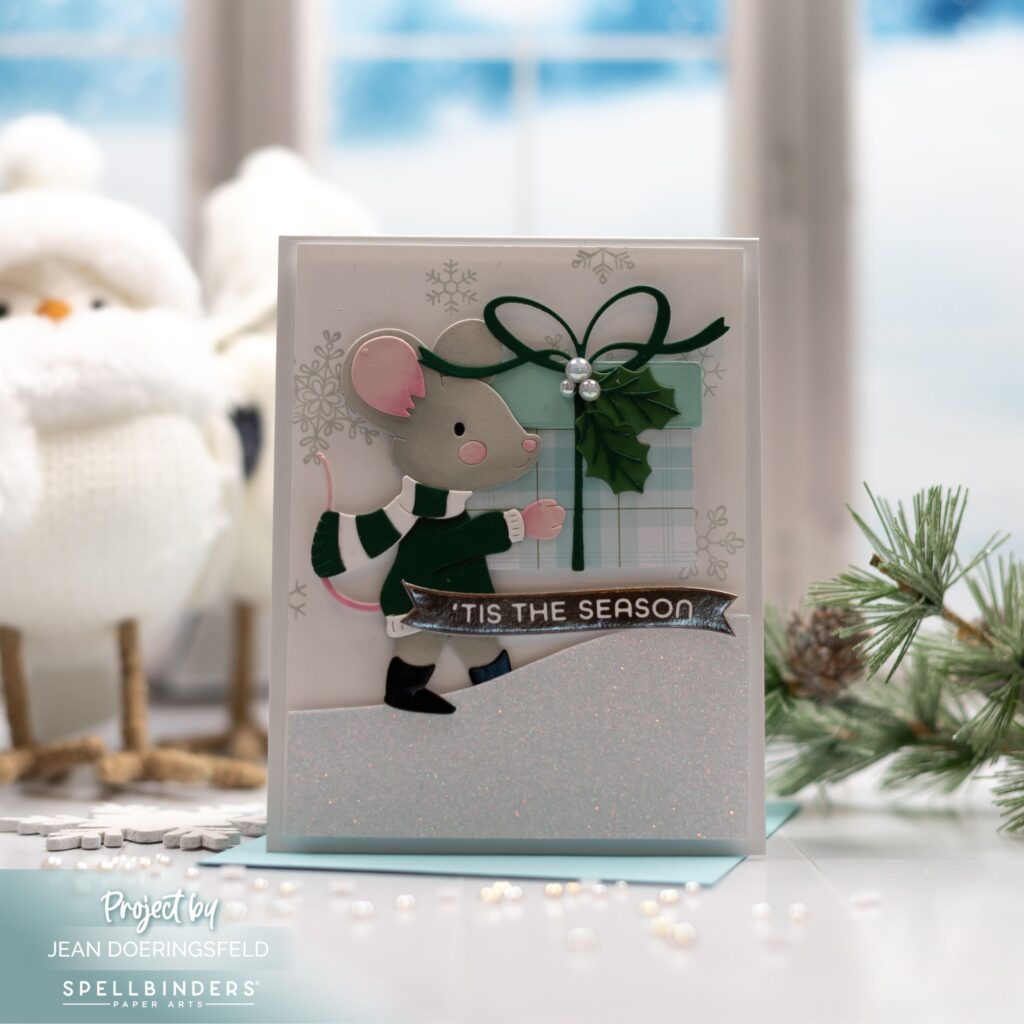
- Add a few highlights to the diffent die cut pieces with a bit of ink blending. I added a bit more pink at the base of his ears, on his hands and tail. I also added some gray on his face.
- Assemble all the pieces using liquid glue and set aside.
- Stamp snowflakes randomly on a piece of 4 x 5.25 inch white cardstock.
- Cut a snowbank out of glitter cardstock and pop it up with foam adhesive to the snow flake panel.
- Adhere your snowflake/snowbank panel to your card base.
- Use your Hot Foil machine (I use the Spellbinders Glimmer machine) to hotfoil your sentiment and cut it out with the coordinating die.
- Assemble your mouse with his gift to your card front using foam adhesive. I tucked one foot in the snowbank just to give a little depth to the image.
- Add your sentiment using a combination of foam adhesive and liquid glue.
- Add a few pearl gems to the gift box.
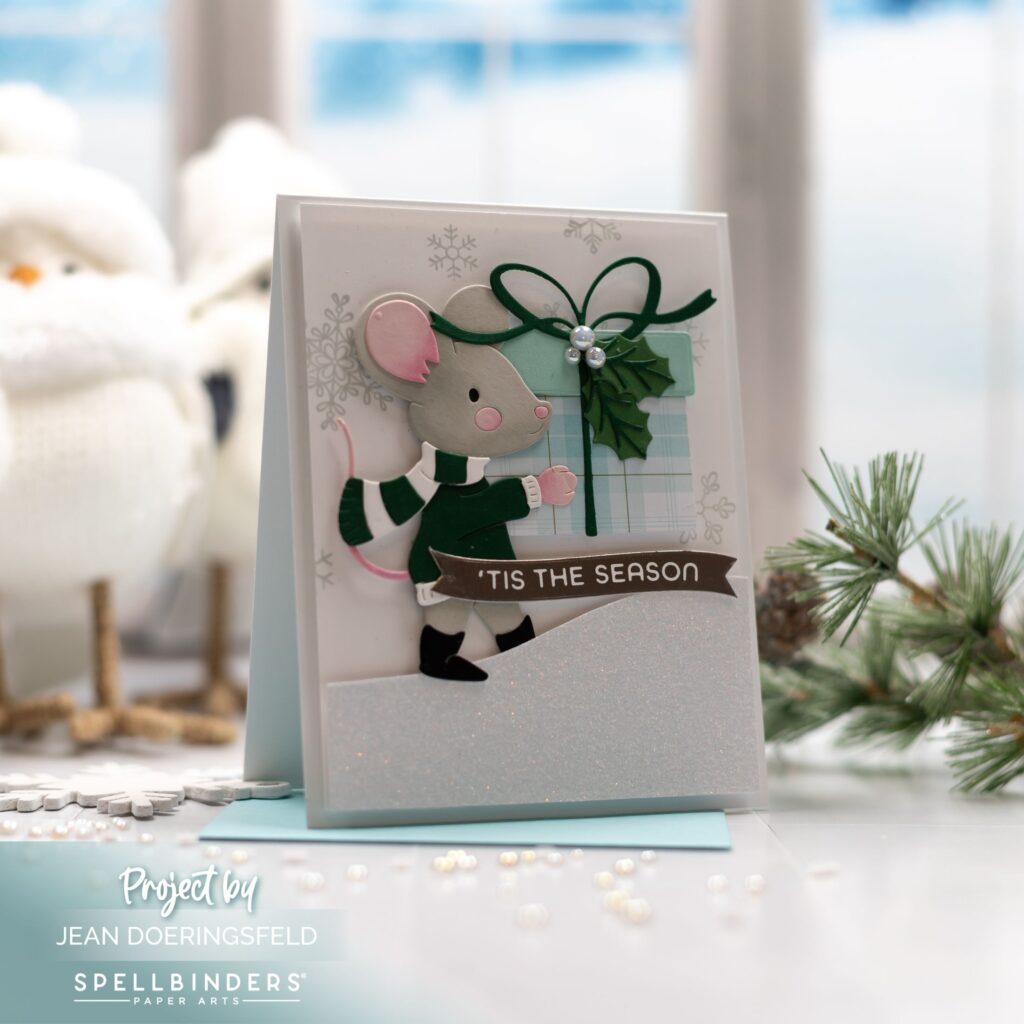
You can have a lot of fun with this little mouse all year long by eliminating the scarf and swapping out the gift for other items!
I hope you have a wonderfully creative day!

This is absolutely PRECIOUS! I love it and added to cart using your link.
Thanks!
Lori S in PA
Awe! Thank you so much Lori!