Today I’m sharing two cards I made using the Papertrey Ink Abundant Blooms stamp set and coordinating dies. This set creates a beautiful spray of blooms with a bit of dimension in just a few easy steps! I just love the versatility of this set! You can make your card more festive – or more subdued – just by changing your sentiment or the colors of the blooms!
If you struggle with layering stamps you will be pleasantly surprised by this set. It provides the layers without having to align anything (no, really, there’s no aligning stamps at all)! You just stamp the layers separately and you can place them wherever you want! It’s so easy and there’s really no way to mess it up. Stick with me: You’ll see!
I then stamped the main bundle of stems in Catherine Pooler’s Sage with the individual stems in Gina K’s Fresh Asparagus.
Notice that each image was stamped separately – no alignment needed!
For both of my cards today I used the same ink colors for the blooms and stems.
I used the coordinating dies to cut out all the stamped images.
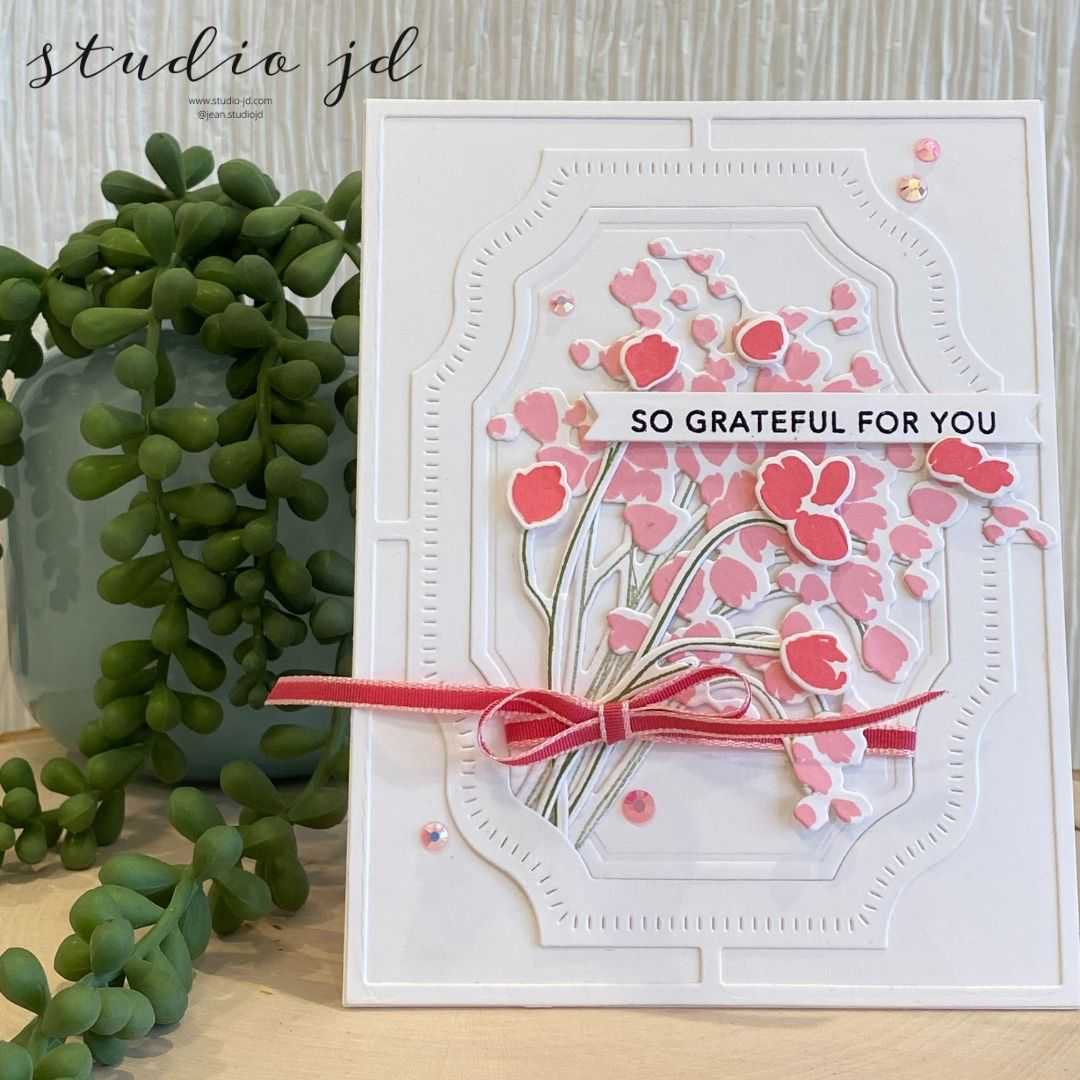
So Grateful For You
For my first card, I assembled the main bunch of blooms and stems together and then glued the individual stems on top. I used foam dots to pop the individual blooms up from the stems and to give the card more dimension.

After die cutting the Lavinia Layers Background Die, I added a piece of ribbon around the panel from the inside of the frame. I made a bow and taped the back side of the ribbon to the panel to hold it in place.
Next, I glued the Lavinia Layers die cut (the frame and the inside panel with the ribbon on it) onto my white card front, being careful to leave a small area at the bottom of the frame unglued so that I could tuck the stems behind the ribbon and under the frame.
Once I found the right spot for the blooms, I made a small pencil mark on the stems and trimmed them so they wouldn’t show out the bottom of the frame.
I glued the blooms in place and then I realized that I hadn’t left much room for a sentiment (Doh!) so I grabbed a sentiment strip I had embossed from my Taylored Expressions Simple Strips Background stamp and coordinating die set. I can’t even count how many times this set has saved me when it comes my poor planning in the sentiment department!
I think the “So Grateful for You” sentiment works perfectly for this card!
I added a few gems to give the card a bit of sparkle!
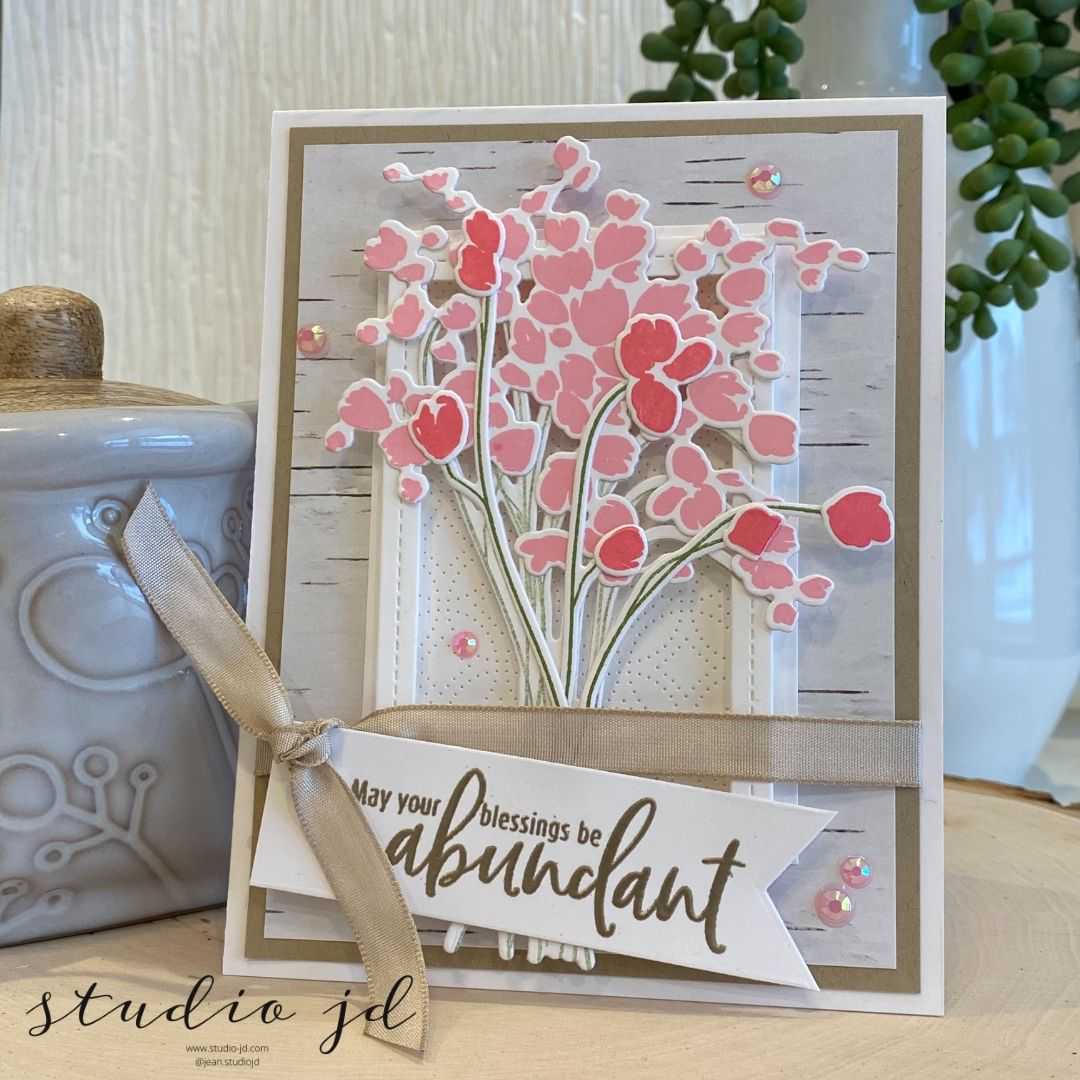
May Your Blessings Be Abundant
For my second card, I assembled the blooms in much the same way as I did on my first card except that I didn’t use the foam dots to pop up the blooms – I just glued the individual blooms directly to the main bloom spray.
I created a background by layering a piece of patterned paper from the Honey Bee Stamps Autumn Afternoon 6×6 Paper Pad to a piece of Stampin’ Up! Crumb Cake.
I tied a ribbon around that background layer and taped it on the back side to keep it from slipping around while I worked on the rest of the card.

I then created a frame with the My Favorite Things Single Stitched Line Rectangle Frame (from my stash) and die cut a separate piece of white cardstock with the Simon Says Stamp Detail Ringlet Plate. I cut the Detail Ringlet plate to be a quarter of an inch bigger than the frame.
I attached the frame to the detail ringlet piece using foam strips and mounted it to the center of my background, tucking it under the ribbon.
I placed my blooms on top by tucking it behind the ribbon and gluing it to the frame.
For the sentiment, I heat embossed one of the sentiments that comes with the stamp set, “May your Blessings be Abundant”, using Versamark Ink and WOW Metallic Platinum Super Fine embossing powder. I cut it out using the Simon Says Stamp Sentiment Labels Die. I tied the sentiment to the card with the ribbon and put a small amount of glue at the end to keep it from flopping around or getting caught in the envelope.
Lastly, I added a few gems and then glued the background to my card front.
I hope you enjoyed these projects! Thanks for stopping by!
All my best,


0 Comments