Hi there!
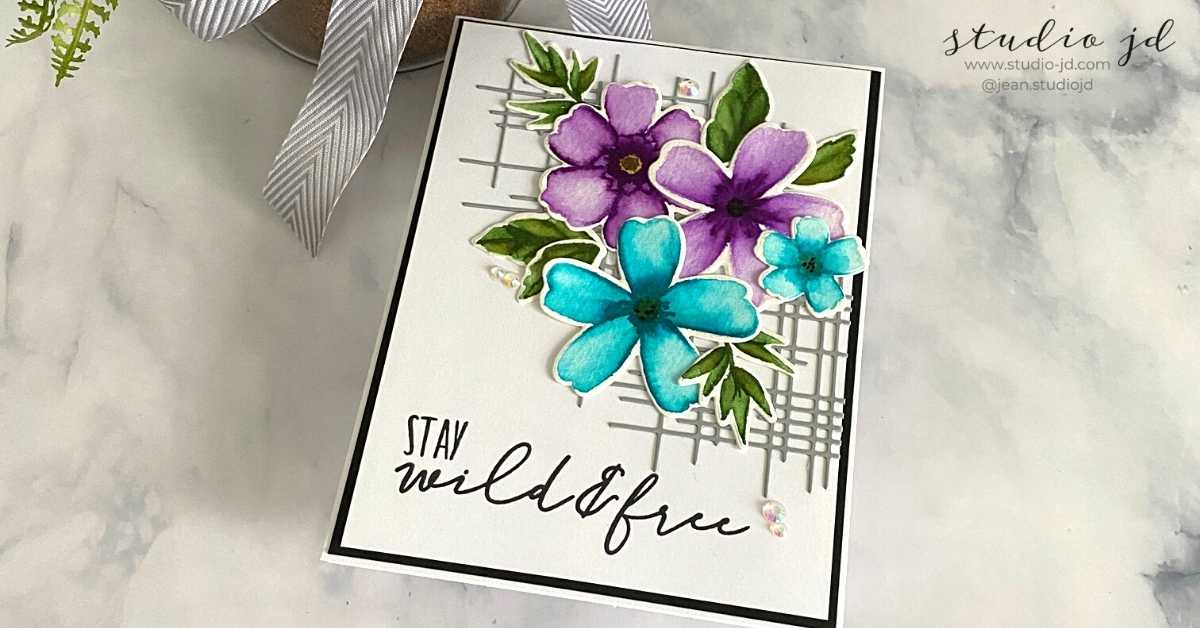
I’ve had my Karin markers for a few months now and decided that this gorgeous Wild & Free floral set from Altenew would be the perfect opportunity to try them out!
I started out by stamping the flowers and leaves on watercolor paper using InkOn3 Fadeout ink. This is one of my favorite inks for getting a no-line watercolor look! Once you paint, you can’t tell there was ever a stamp used.
I painted the flowers one petal at a time by first wetting the petal with a bit of clean water and then gently touching the wet arear with my Karin marker where I wanted the color to be the most intense. I then pulled the color out to the edge of the leaves with a clean brush.

As I went, I would skip a petal and move to the next while I waited for the first petal to dry. That way, I wouldn’t re-activate the color or end up with more color than I wanted.
Once a petal was dry, I went back in with the marker and added a bit of detail – this time without adding water first. I could then take a clean brush and pull the color out a bit to soften the line from the marker but keep the color intense.
By layering the watercolor I was able to get some good variation in color on each petal.

I repeated the same coloring process with leaves.
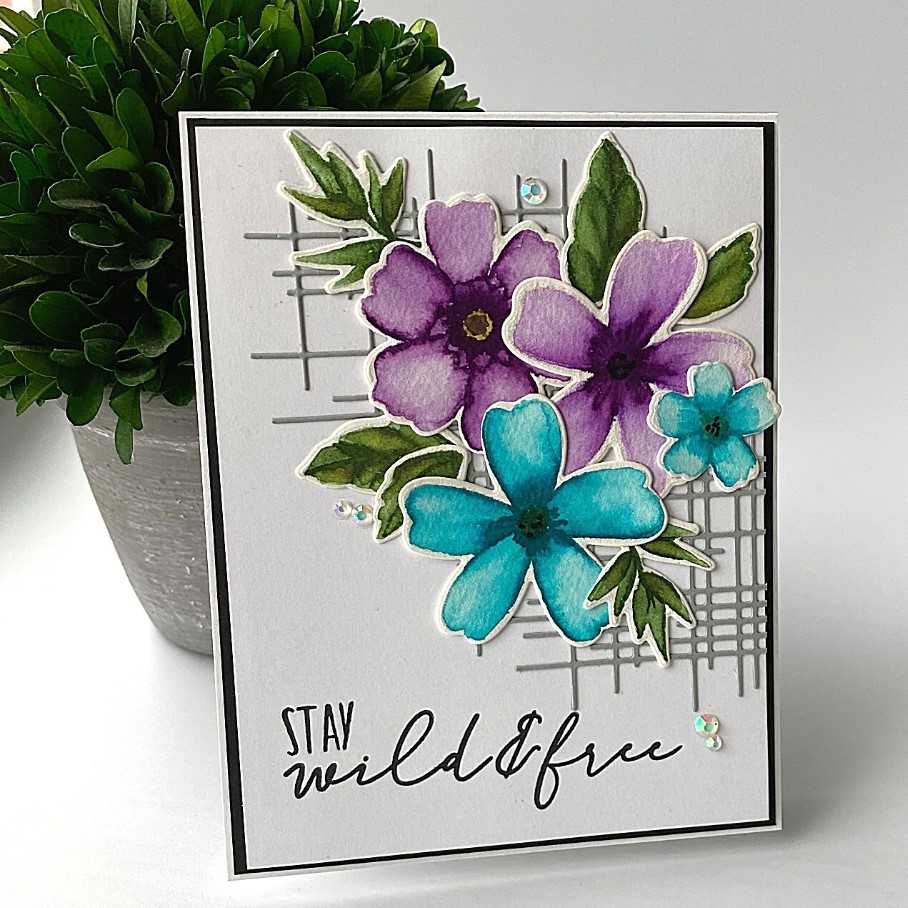
The Karin markers have very intense pigment and their tip is much firmer than other watercolor markers, so, while I really like how these flowers turned out, I can see where I need more practice with these markers (so can you if you look close enough). That said, I can definitely see the advantages to the intense pigments and the firmer brush tips as they allow you to get some really dramatic results!
Once the flowers and leaves were dry, I cut them out with the coordinating dies from the set.
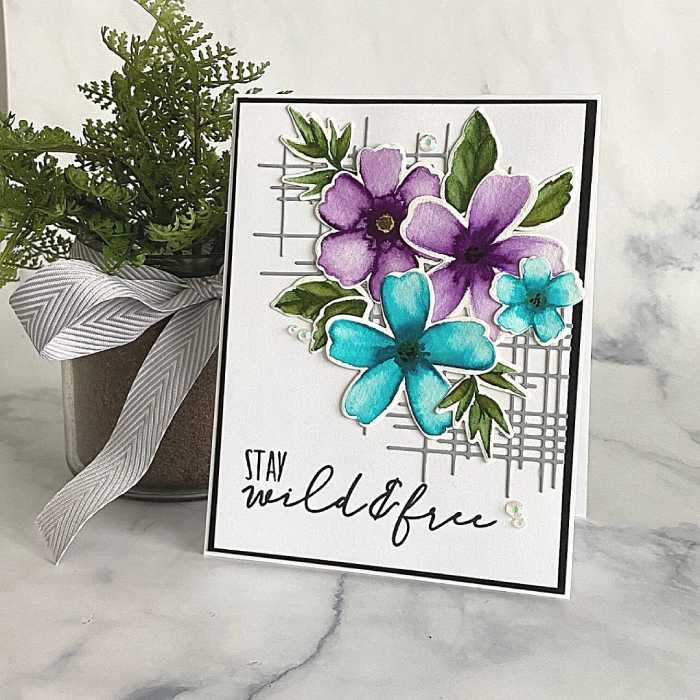
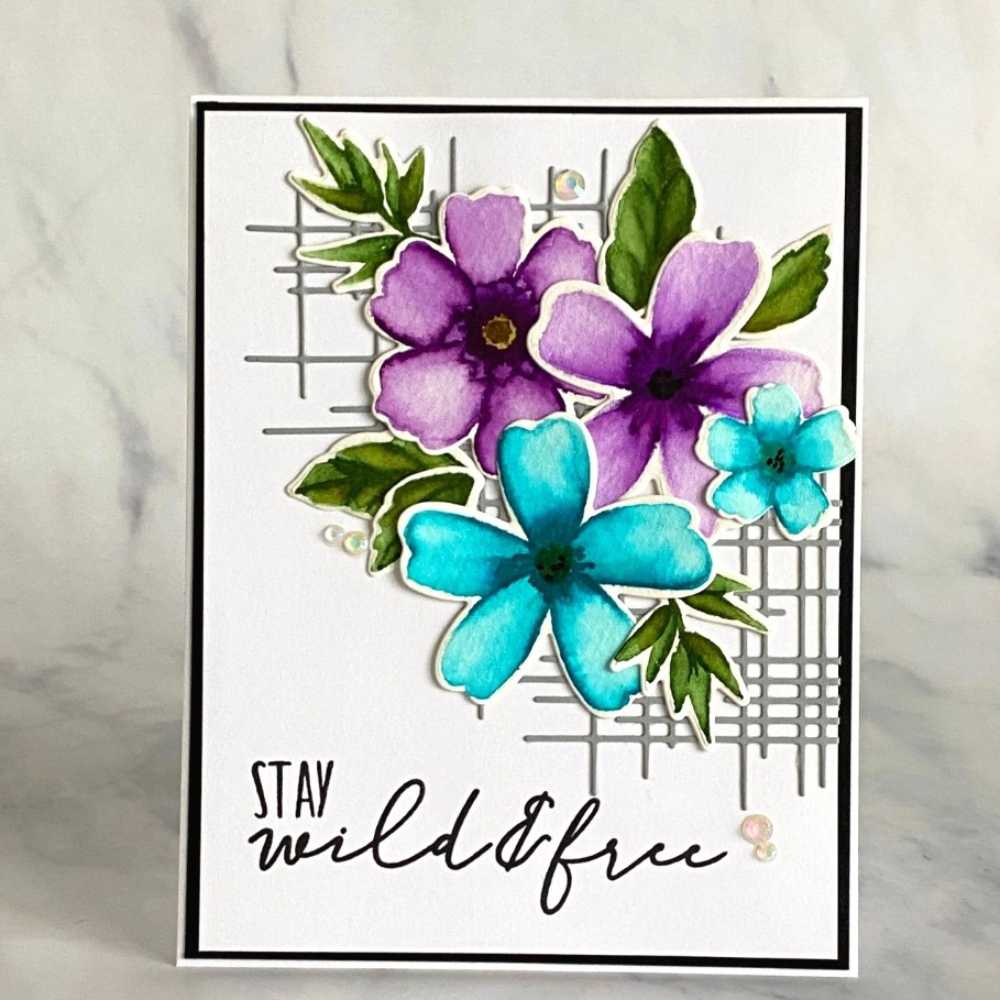
To add a little interest, I die cut the Altenew Linear Crossroads die twice out of gray cardstock and placed them on my card front.

Next, I arranged the flowers and the leaves the way I wanted them and used Press-n-Seal to hold them as I arranged them. The Press-n-Seal allowed me to pick up the entire arrangement, add glue to the back, and then place it on my card front exactly as I had planned. This is by far one of the best ways to make sure you get your arrangement just right – and that it stays that way!
I added the sentiment from the Wild & Free set to the card front, adhered it to a piece of black cardstock with foam tape, and then to my card front.
I added few iridescent gems to the front of the card to pick up the purple and turquoise colors of the flowers.

I love the intensity of the colors on this card from the Karin markers!
I hope you take some time to try something new today!
All the best,


Stunning! Love this card.
Thank you so much! It was fun learning how to use my markers!
Lovely!
Thank you so much!