

#ad
Hi there!
I feel like our besties mirror the best parts of us while tampering down the less desirable. I often say “my bestie’s soft heart shaves off my boney elbows”, and it’s totally true (thank goodness!). But she also shares my love of dogs, need for creativity, and my insatiable appetite for travel (among other things). We are nothing alike and exactly the same.

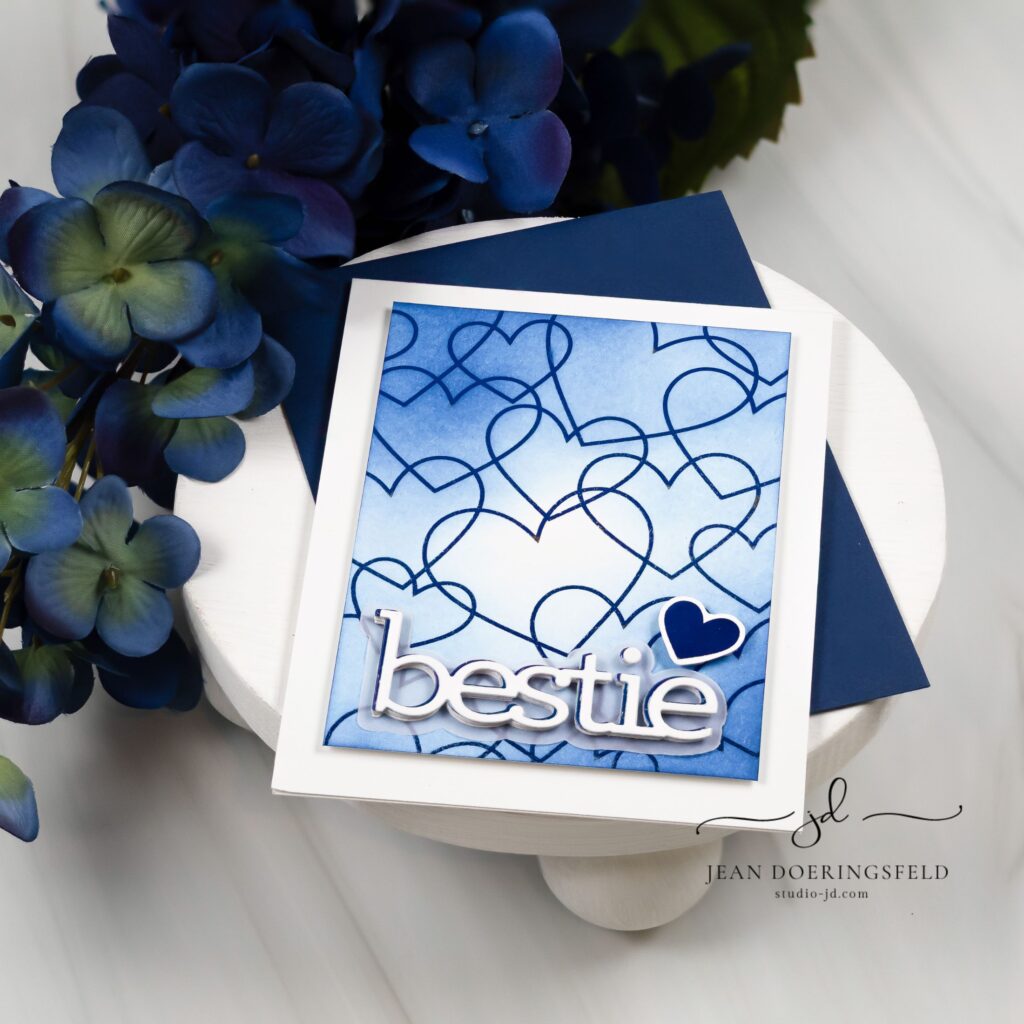
So, my card today is dedicated to my bestie. To put it simply, she’s one of the best parts of my life and I’m so glad I haven’t had to navigate this world without her.
To make this card:
- Foil a card panel using the Simon Says Stamp “Acetate Hearts” Foil Transfer Cards. To do this:
- Heat up your Minc or other laminating machine. I used my Minc and set the heat to #3.
- Sandwich the heart outline transfer sheet between two card panels and run in through your machine.
- Pro Tip #1: By sandwiching the transfer sheet between two panels you don’t have to try to figure out which side of the transfer sheet is up or down – you’re guaranteed to get at least one panel right!
- Pro Tip #2: Because you’re using 2 panels, you do NOT need to use a carrier sheet when running it through your machine.
- Place a piece of foil over the pattern on your panel, sandwich it with the other panel, and run it through your Minc one more time.
- Gently take apart your sandwich and remove the transfer sheet to reveal your foiled panel.
- Repeat this process with the transfer sheet that has the solid hearts.
- Apply Transfer Gel Duo to the heavyweight white cardstock or watercolor paper and follow the instructions for letting it dry.
- When it’s ready, add a piece of foil over the Transfer Gel and run it through your Minc machine (you WILL need a transfer sheet) or through your die cutting machine.
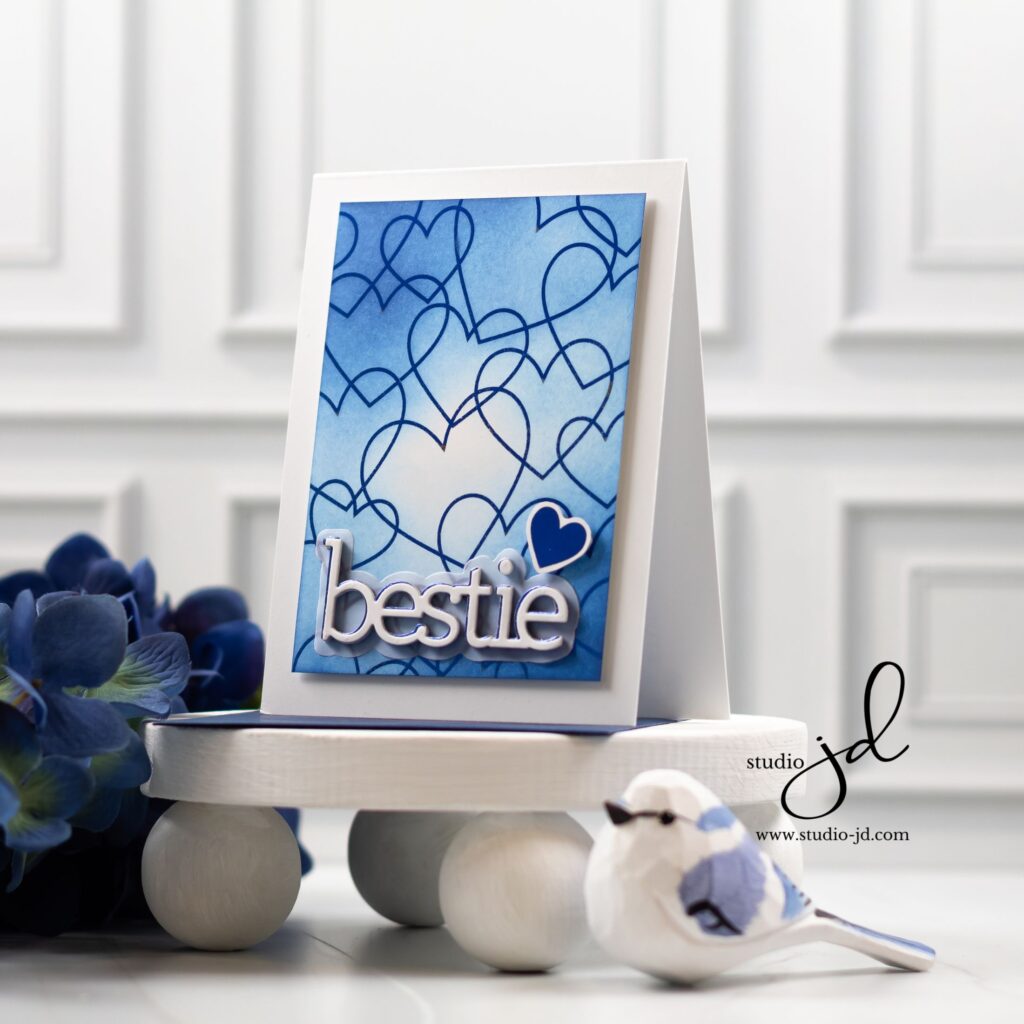
- Die cut the “bestie” word die from the foiled panel and set it aside.
- Die cut several more “bestie” word dies from white cardstock and adhere them together (I used 4).
- Adhere the stacked white “bestie” word die cuts over the top of the foiled “bestie” die cut but slightly offset so that a bit of the foil shows on one side of the letters.
- Die cut the shadow for the “bestie” die out of vellum and adhere the words over the top of the vellum.
- Ink blend your foiled panel with a coordinating color to your hearts. Use a soft cloth to wipe the panel afterwards. The ink will not stick to the foil.
- Trim your heart foiled panel and adhere it to your card base with foam adhesive.
- Adhere your “bestie” word die to the front bottom of the panel.
- Fussy cut a solid heart from the other foiled panel and add it to your card with a foam square.
Thank you so much for visiting my blog today. I hope this card inspires you to dedicate some time to your bestie…and maybe even make them a card!
Have a wonderfully creative day, everyone!


0 Comments