AECP Level 3 Final | Comparing Mediums…And My First Video!

01/30/2022

Hey everyone!

I’m back with my final project for my AECP Level 3 Certification! This has been such an incredible and amazing journey! I have absolutely LOVED every single step and I’m a bit sad that I’m at the end. I’m so glad that Altenew has a ton of classes available so I can continue my learning!

Also, I want to give a huge shout-out and THANK YOU! To Erum Tasneem and Virginia Lu at Altenew for all of their guidance, support, and overwhelming encouragement through the certification process. You both made this program even more special for me and I appreciate you both so much!

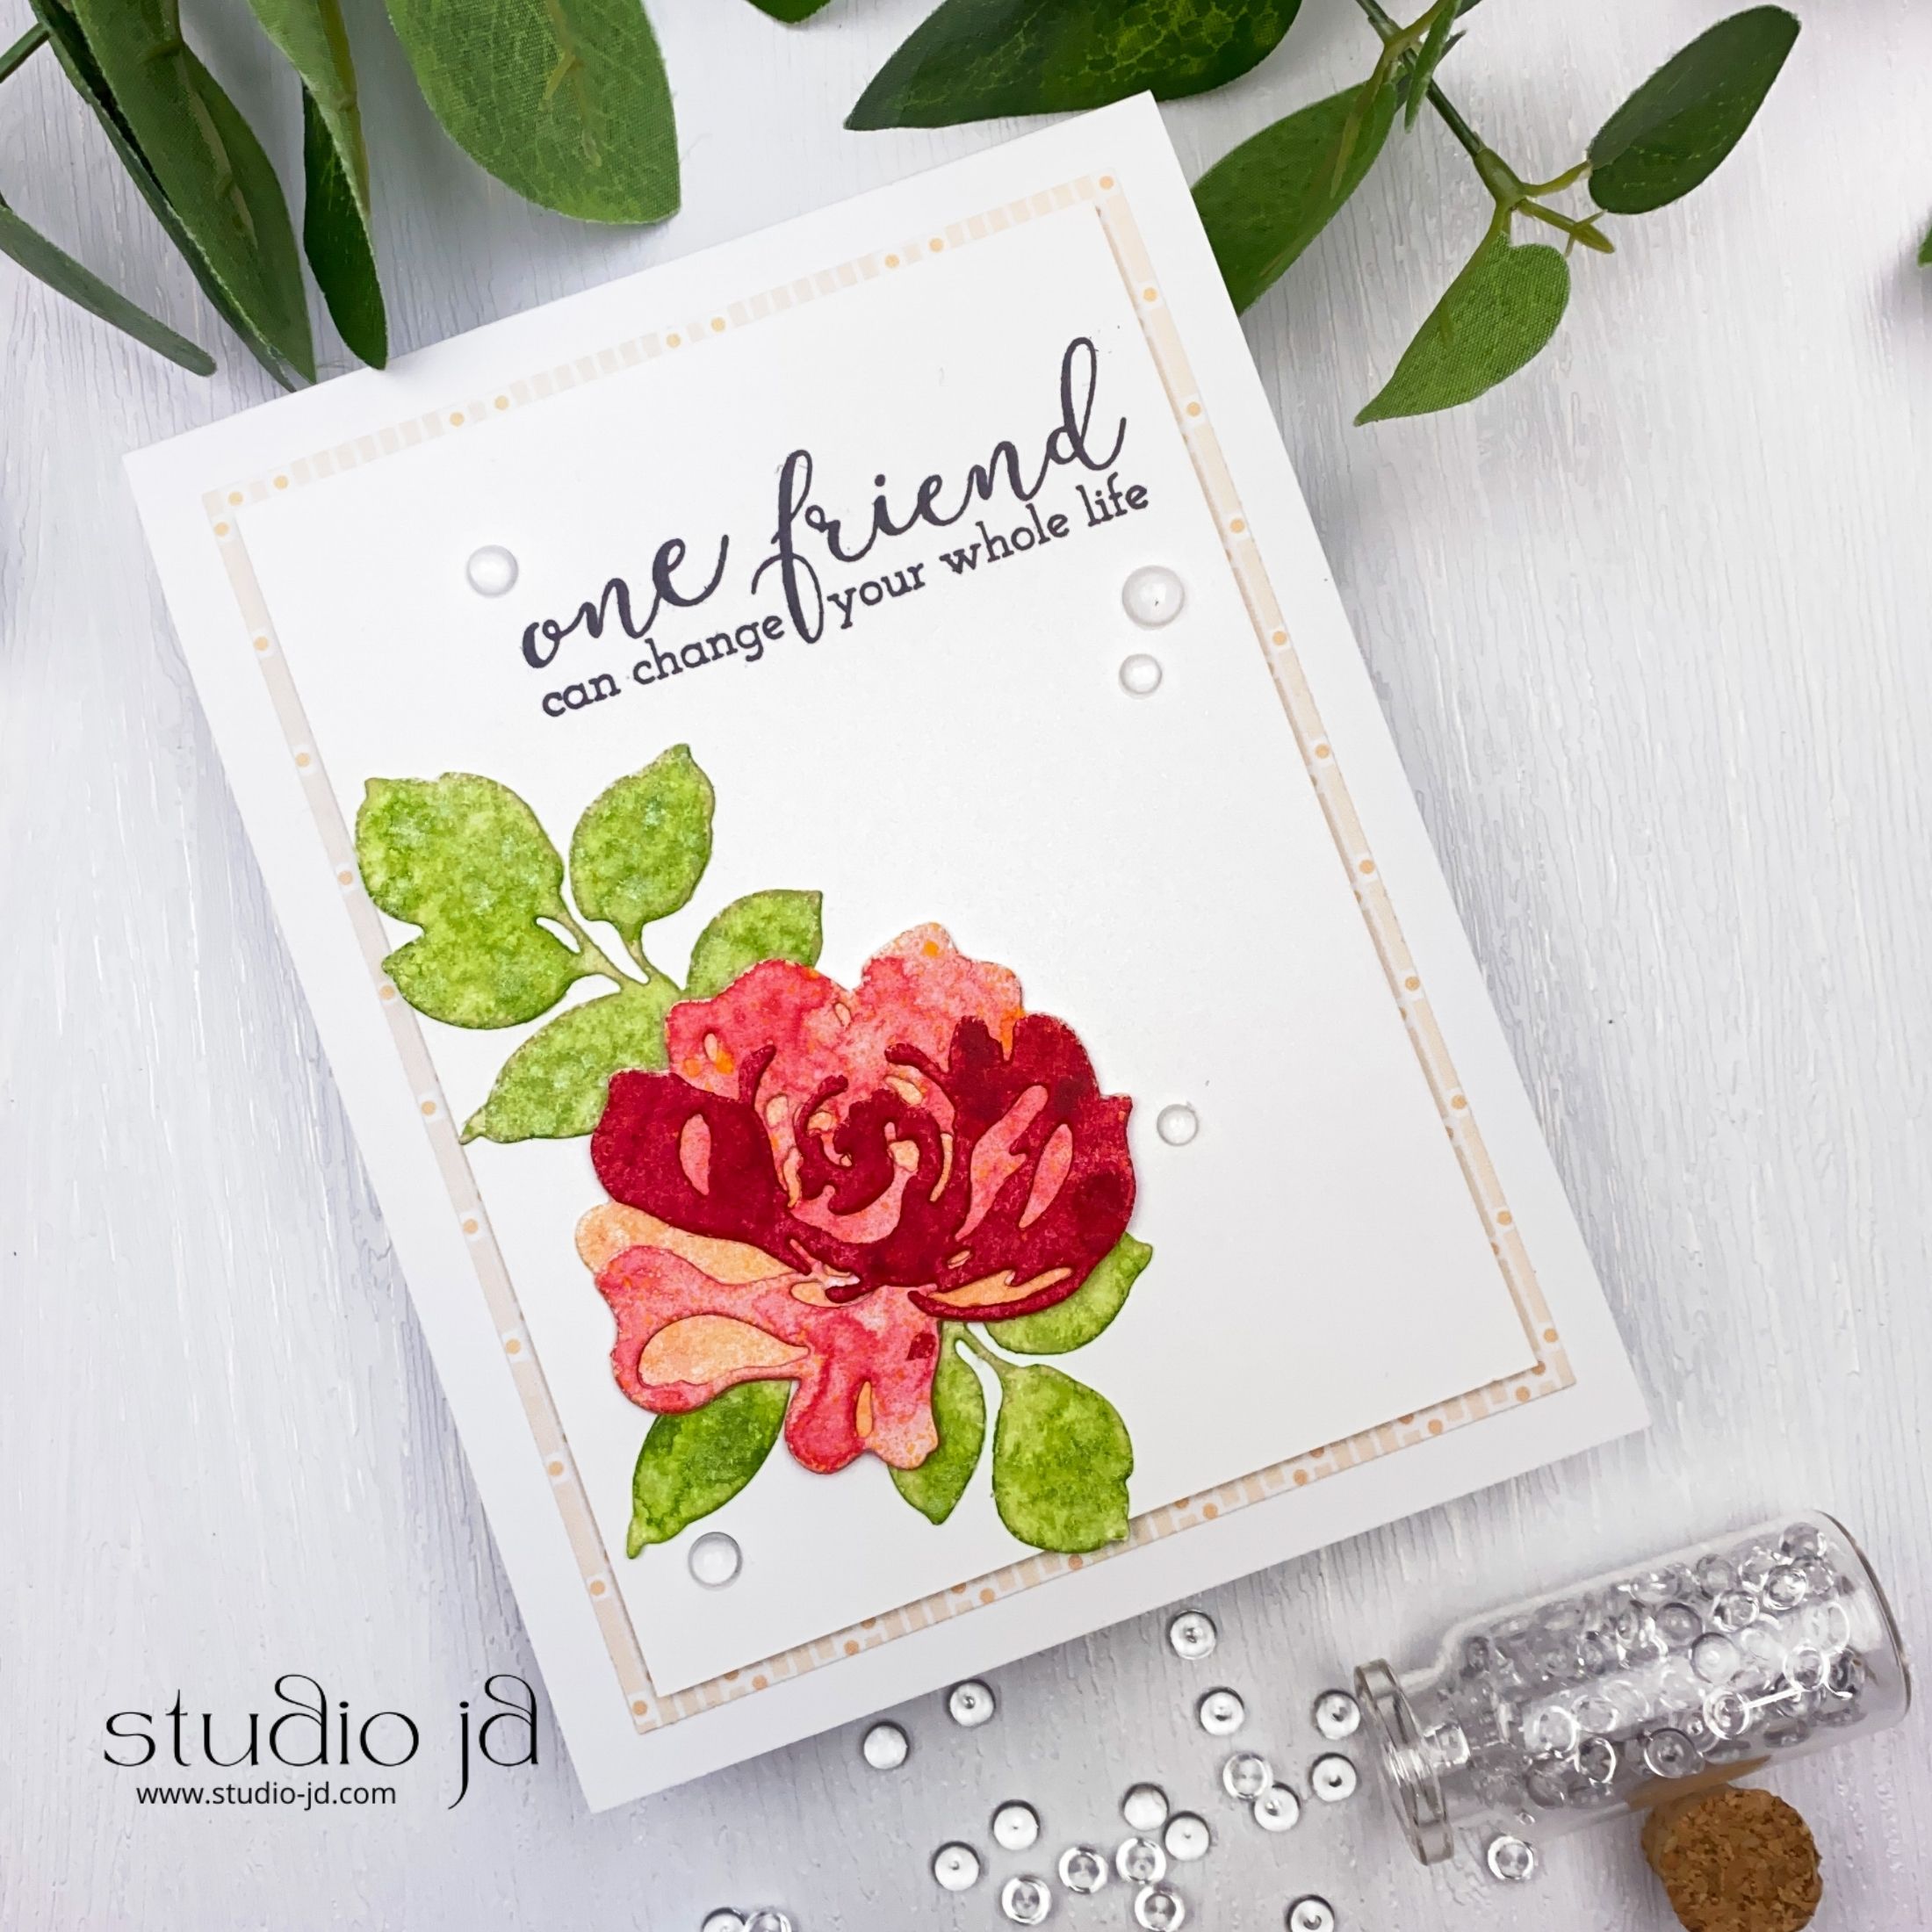
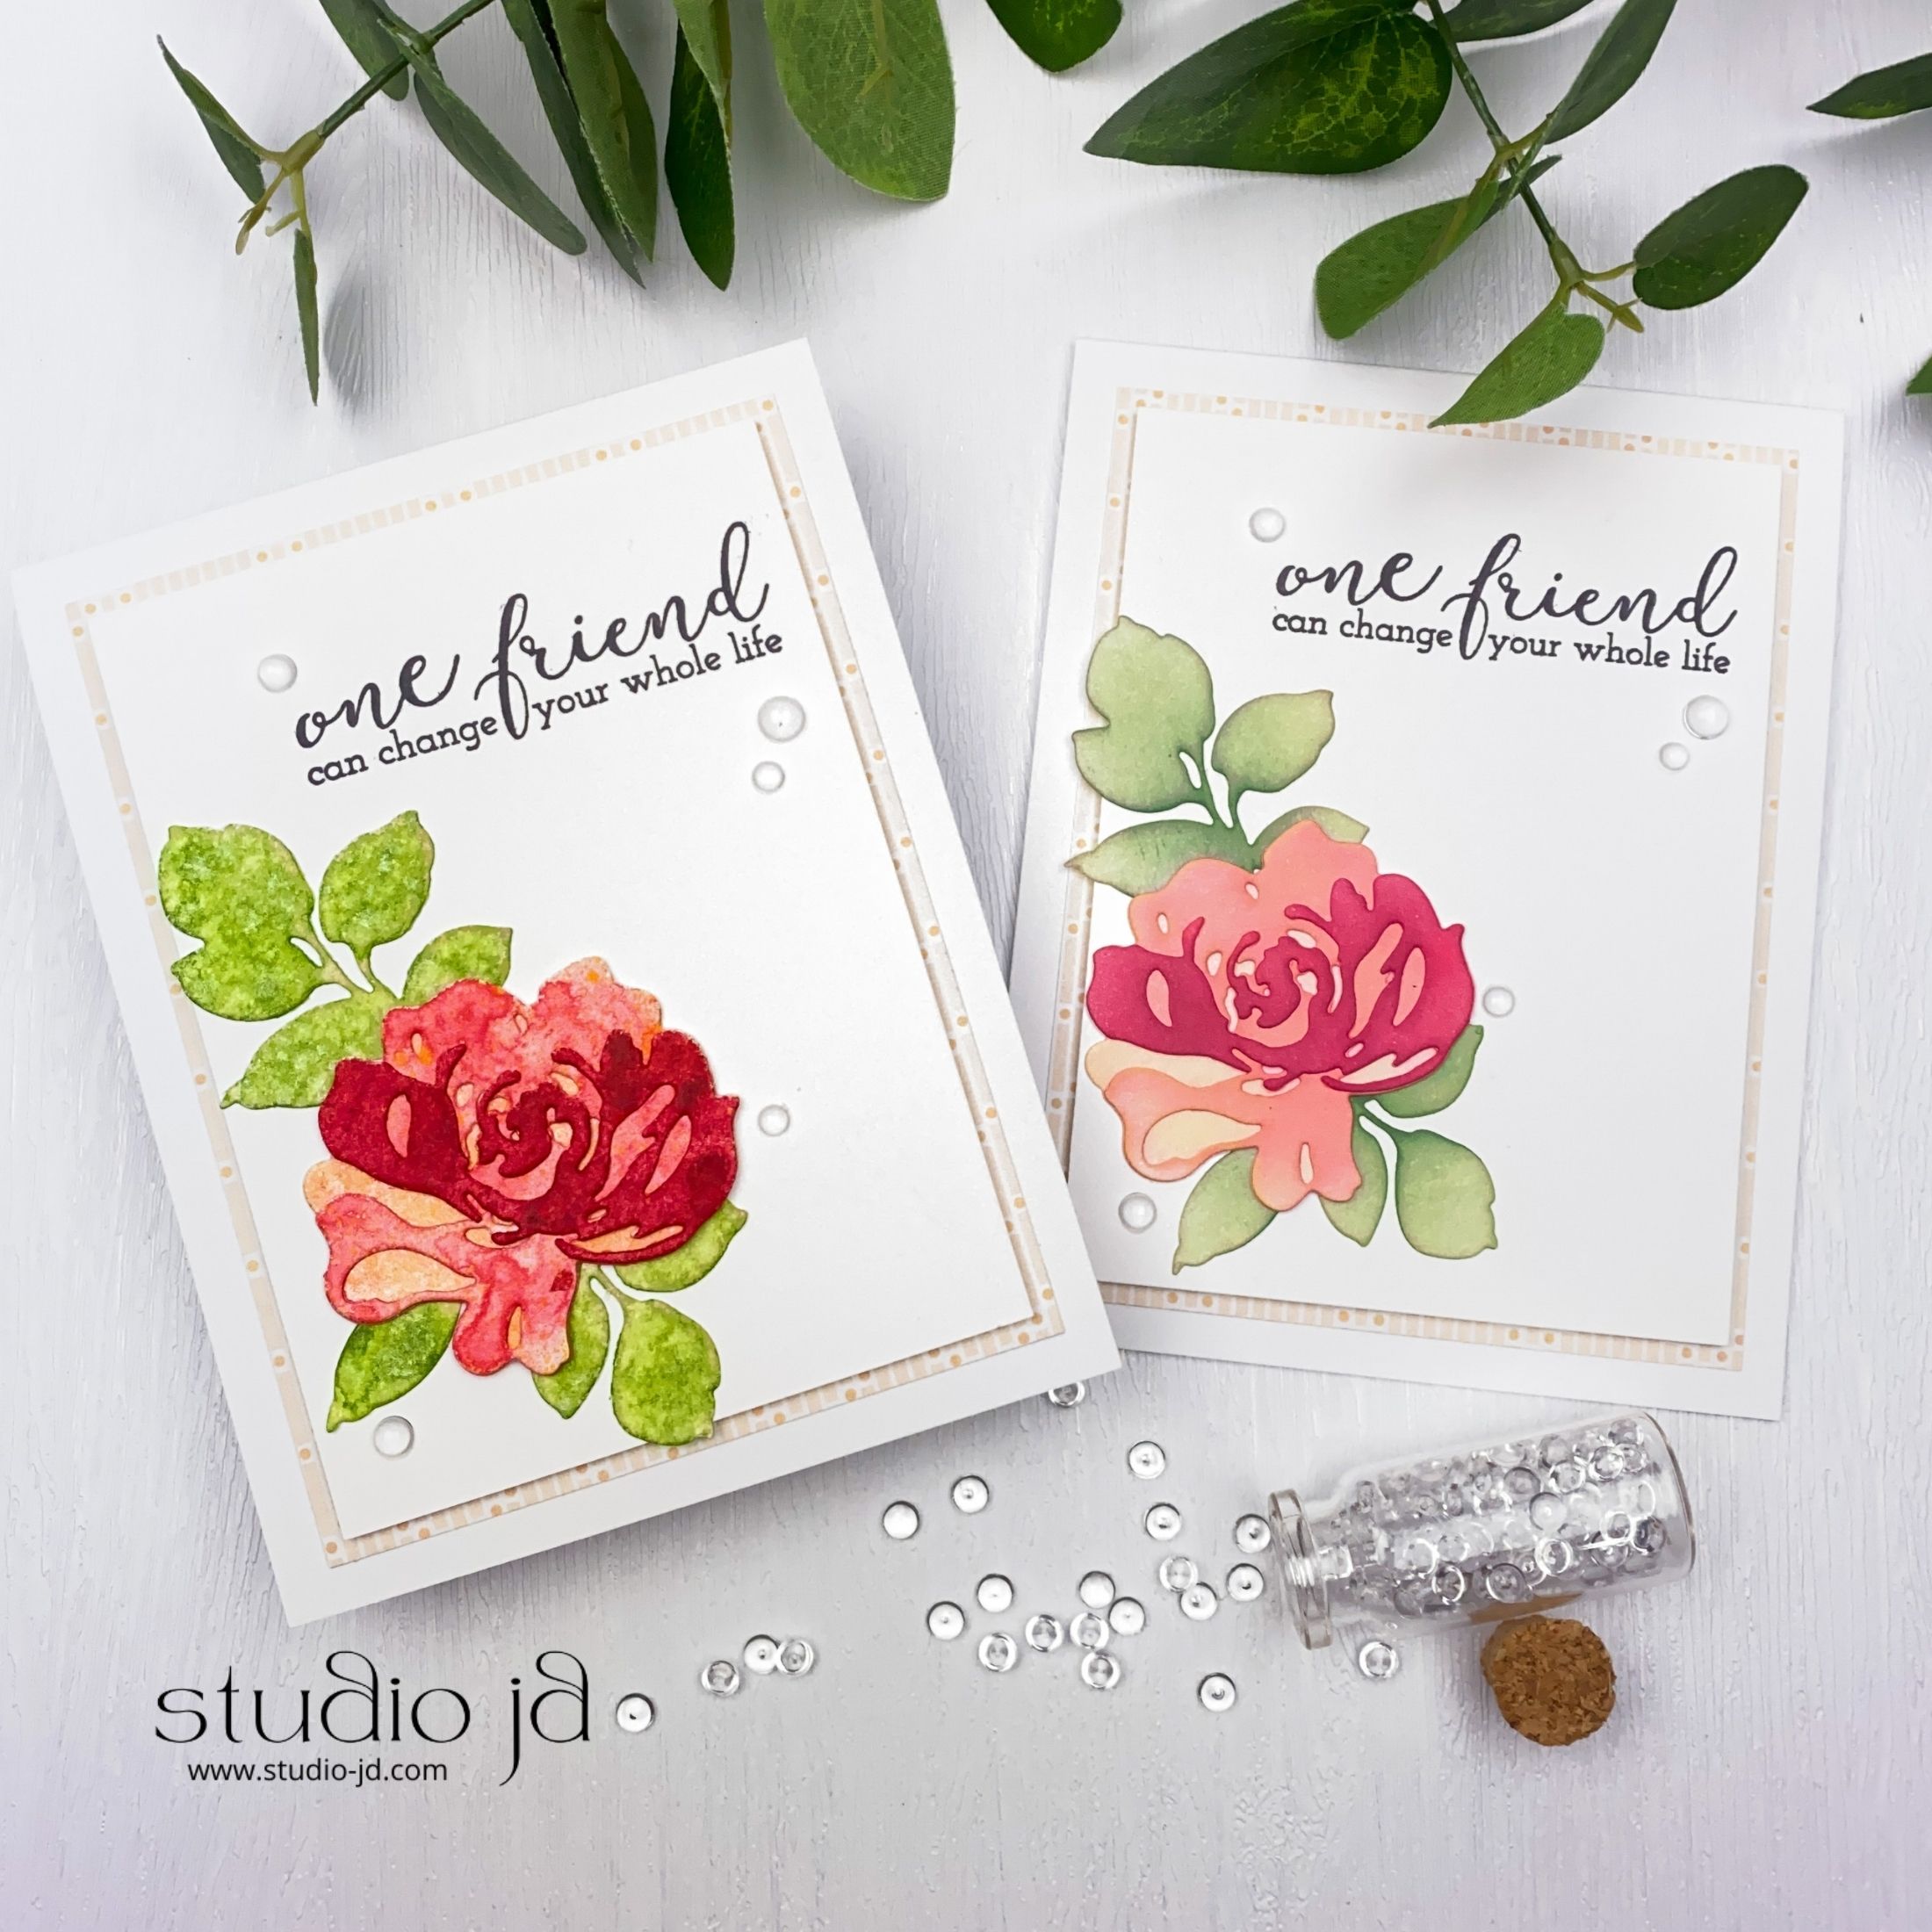
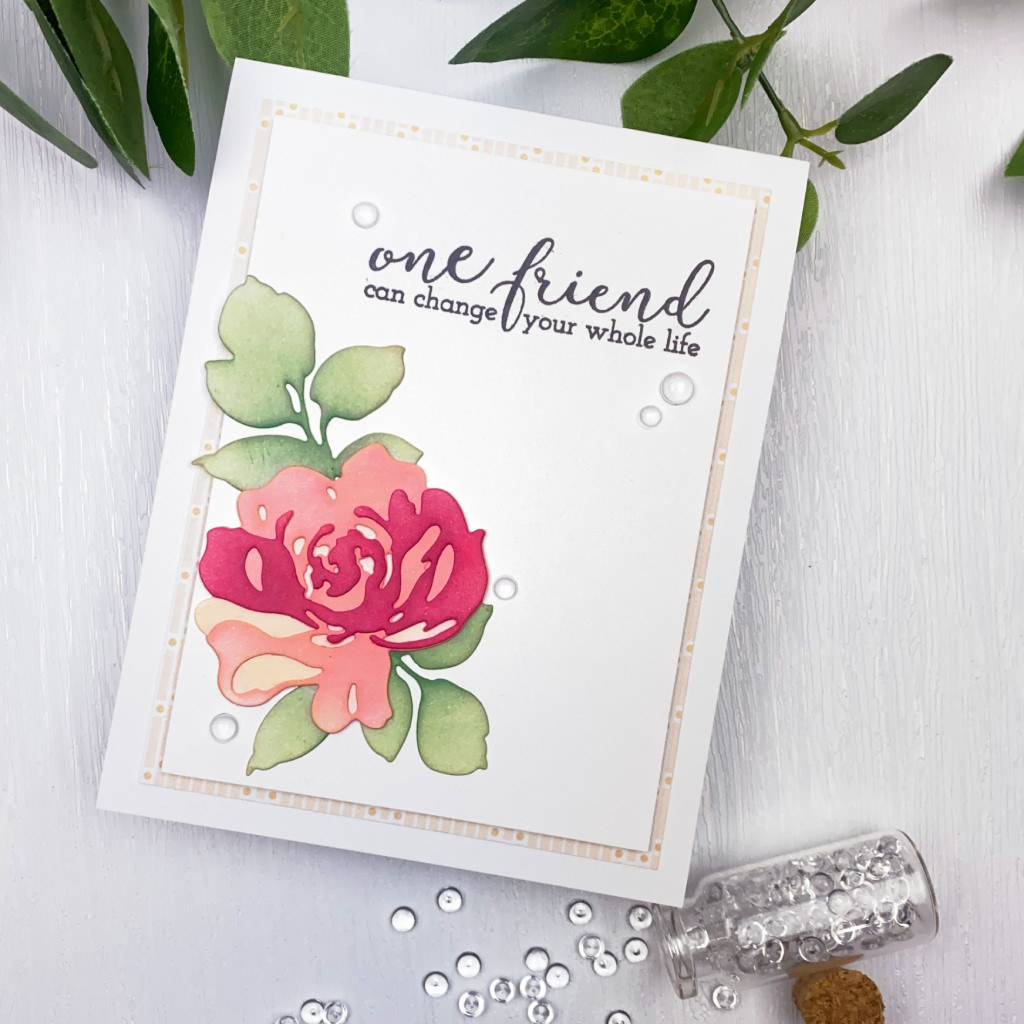
For this project, I decided to take a look at how different mediums can change the overall look and feel of my cards. I made two cards using the same colors – and the same layouts – but made one using ink sprays and the other using dye inks. I think you’ll agree that the results are pretty cool.

In addition to this blog post – and as part of my certification requirement – I’ve also created my very first video for my YouTube channel showing the whole process for creating these cards! I hope you’ll check it out and let me know what you think!

Same Card, Different Mediums | Inks & Sprays
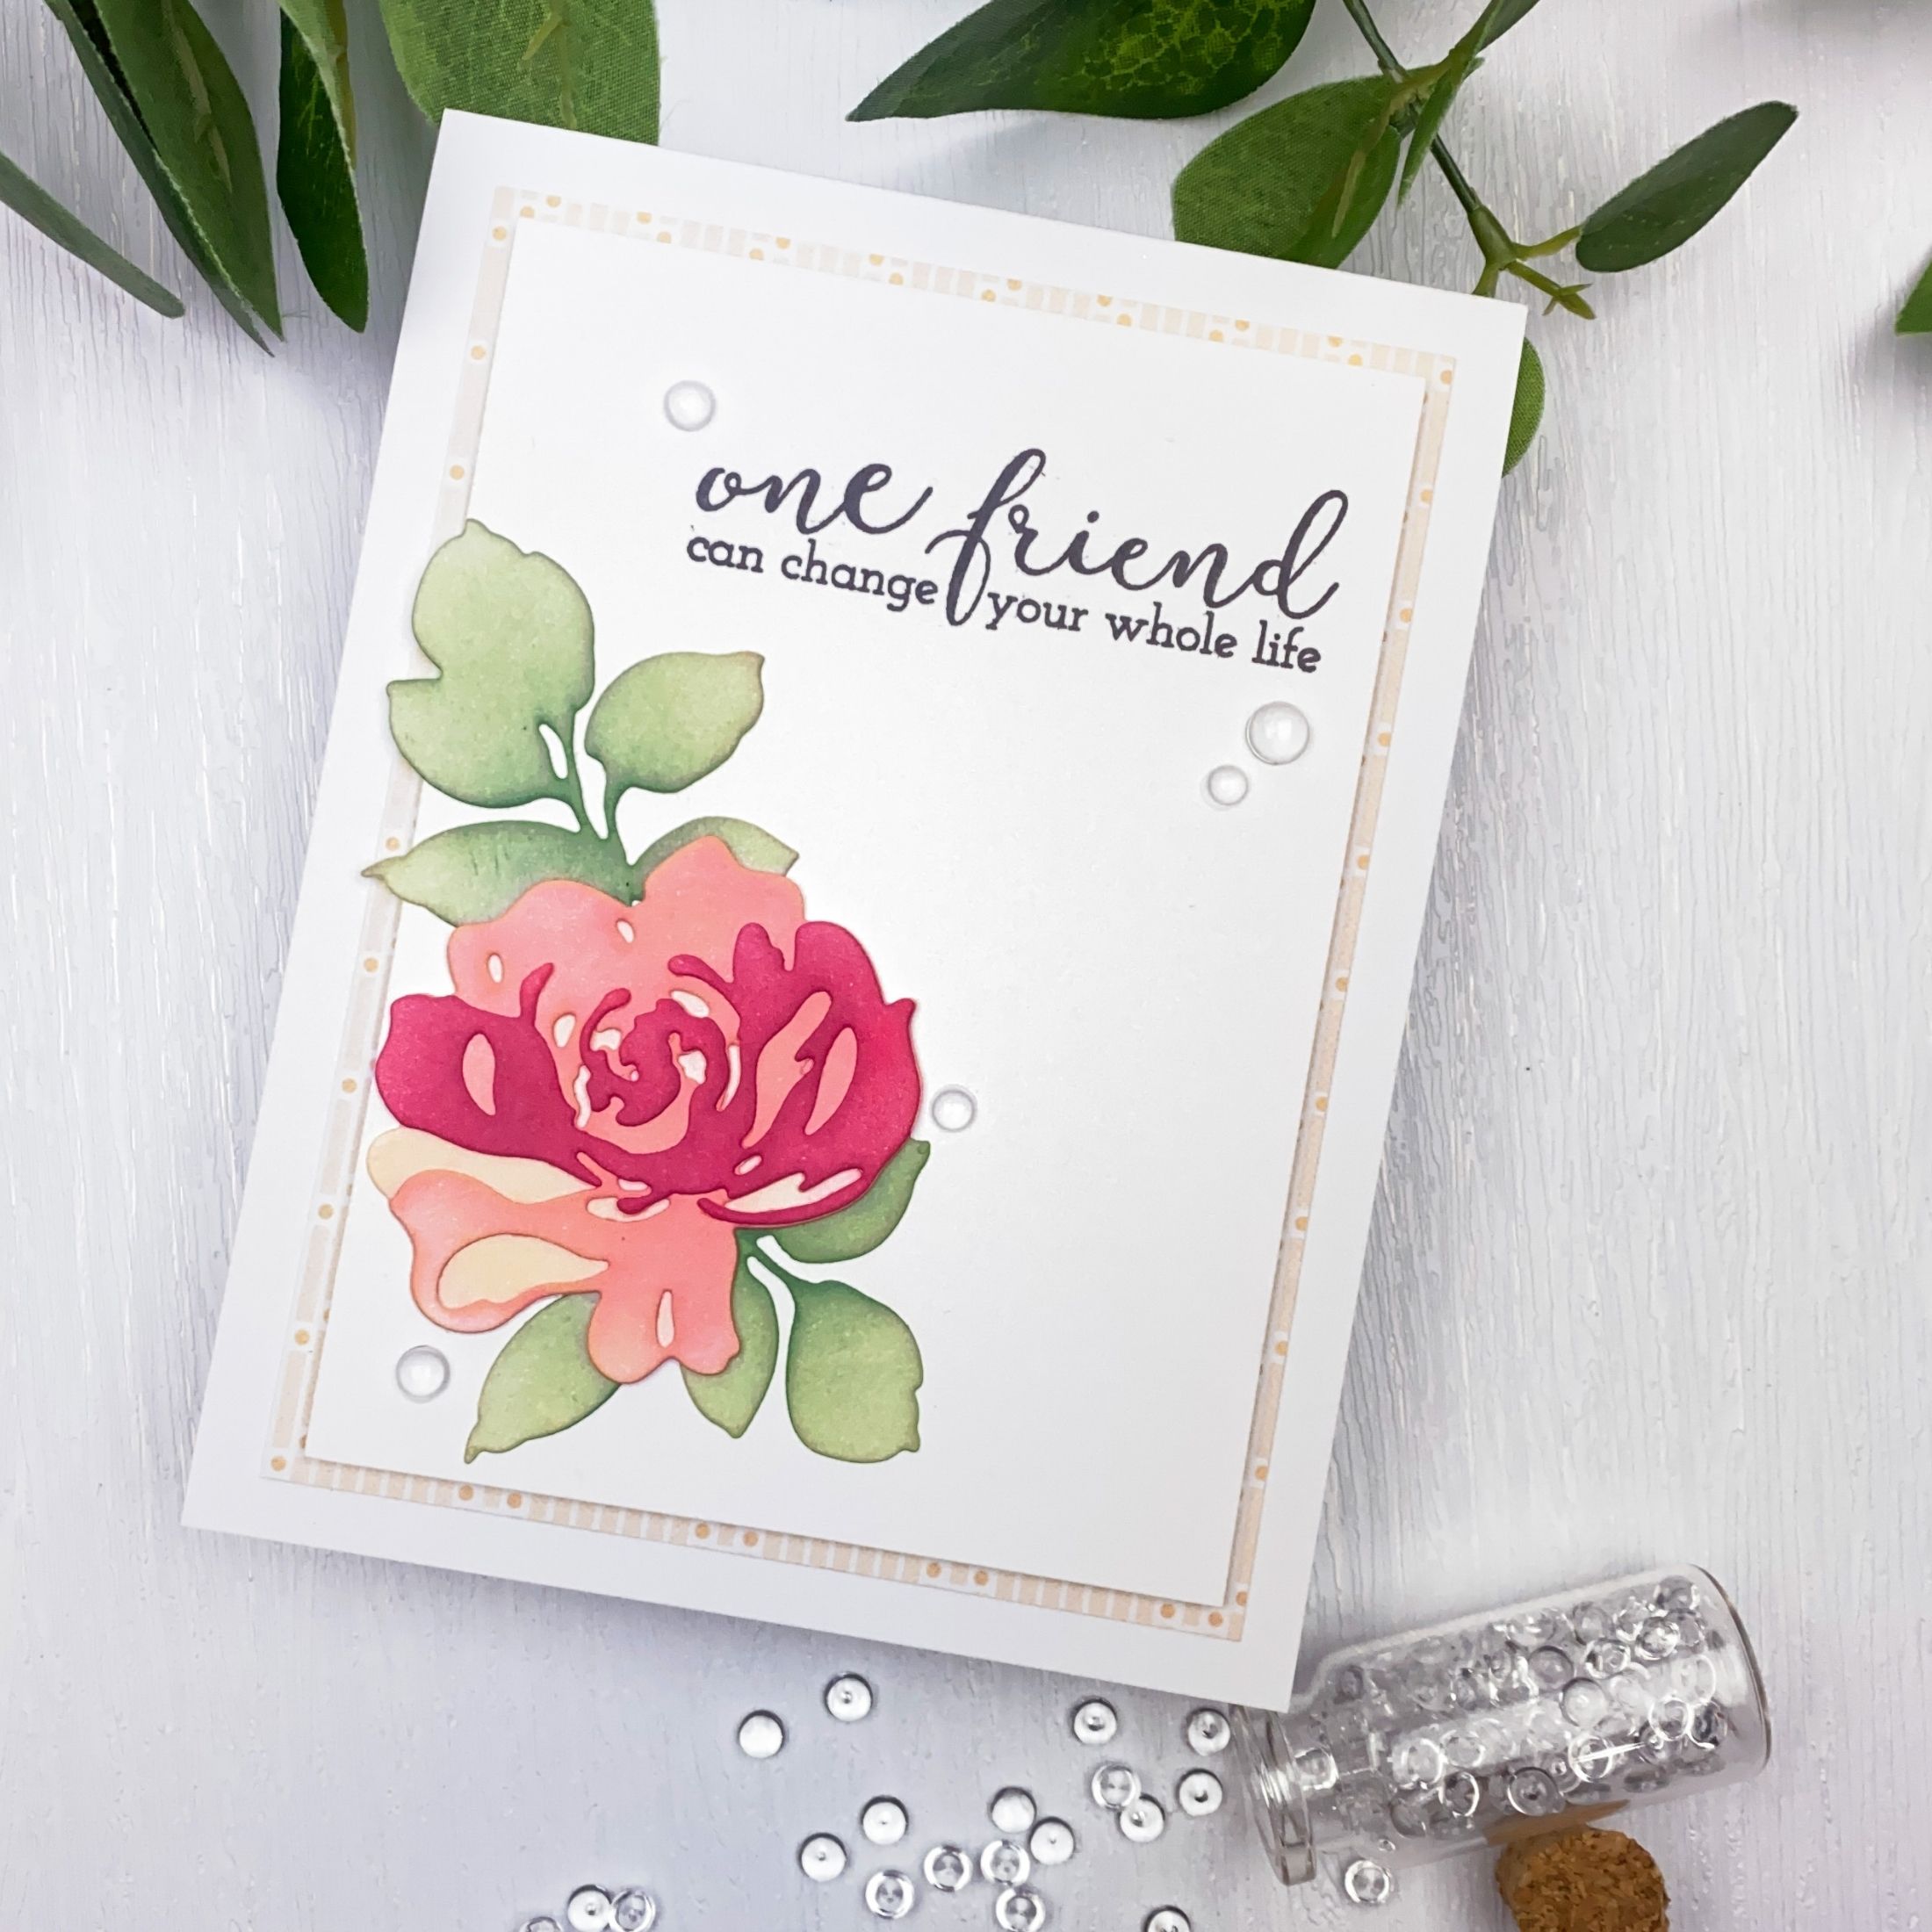
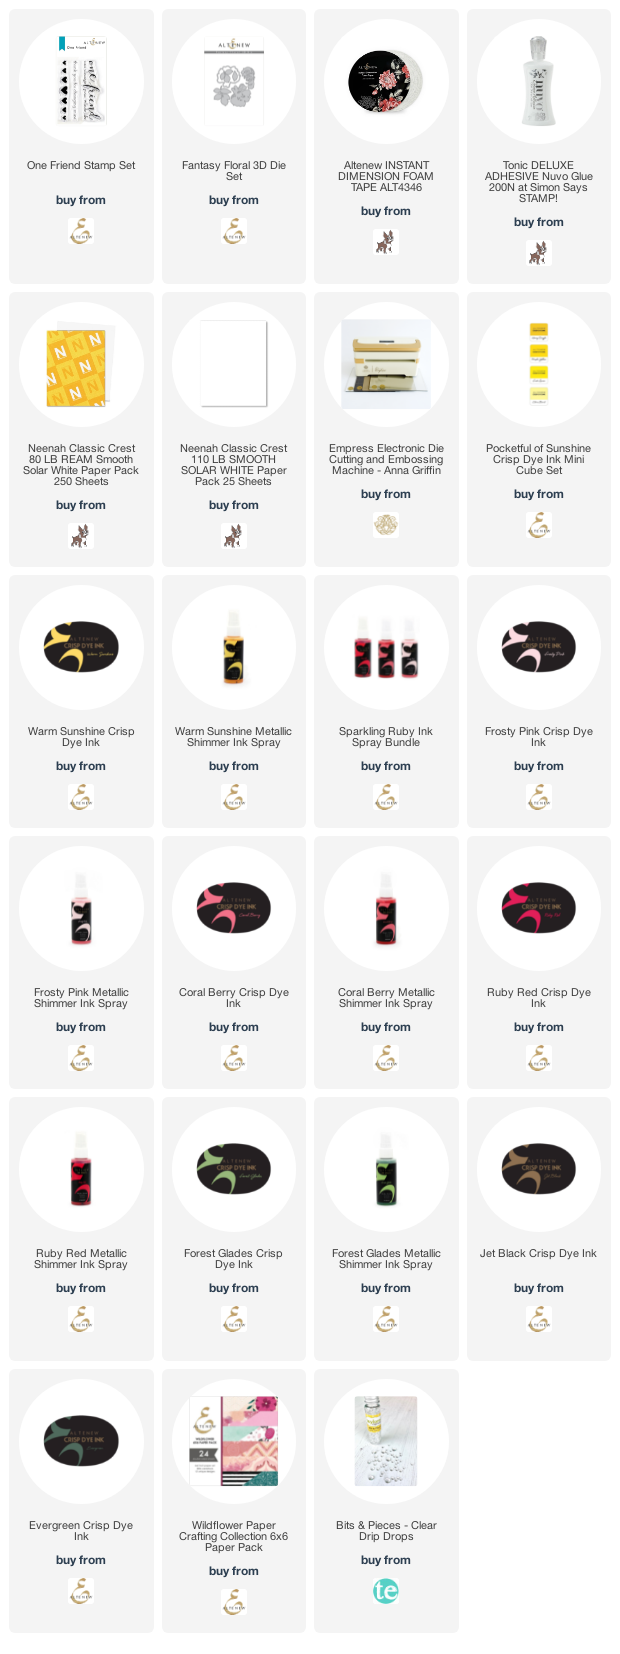
This is a really long post, so grab a cup of coffee or a glass of wine and let’s get started! Or, if you want to, you can skip the instruction sections and look at the results at the end of this post! Instructions: Both of my cards feature Altenew’s “Fantasy Floral” 3D die set and “One Friend” stamp set. These products and the other products I used are listed in the supplies at the end of this post. Card 1: Ink Sprays 1. Die cut the flower and leaves out of watercolor cardstock. 2. Shake the ink sprays thoroughly. Since these are shimmer sprays, the shimmer materials can tend to settle to the bottom of the bottle. Shaking them up helps to get the “shimmer” distributed evenly. I used the following Altenew Shimmer Spray colors for this project: Frosty Pink, Coral Berry, Forest Glade, Ruby Red, and Warm Sunshine. Also, you’ll probably want to spray your die cuts inside a box to keep the spray contained and keeps your work surface relatively clean. 3. Spray all three layers of the flower with Warm Sunshine and set aside to dry (or dry them with a heat tool). The colors of the ink sprays “dry back”, or lighten, as they dry, so make sure you are happy with the color before you add more layers. This can take a bit of back-n-forth. 4. Spray the first (or bottom) flower layer die cut piece with Frosty Pink spray. This will give the yellow a more orangey color. You can also mist the piece with a bit of plain water to help blend and distribute the colors. Set aside to dry and repeat the process if needed until you get the desired color. 5. Spray the second layer of the flower die with Coral Berry (and more plain water). Set aside to dry. 6. Spray the third (topmost) layer with Ruby Red (and more plain water). The Ruby Red looks super intense when it is wet…. but remember, it will dry back! Set aside to dry. 7. Clean out your spray box before moving on to the leaves to avoid the colors getting muddy. 8. Spray the leaves using Forest Glade and a bit of water. Set aside to dry.
Card 2: Ink Blending 9. Die cut the pieces out of Neenah Solar White 80# cardstock. 10. Keep the cut-out pieces in the negative using Post It Removable tape. This will help make ink blending easier (see the video for details on how to do this – it truly helps)! 11. Blend the pieces using the same color sequence as you did for the sprays: Blend all flower pieces in Warm Sunshine, add Frosty Pink to the base flower layer, add Coral Berry to the second flower layer, and add Ruby Red to the third (top) flower layer. 12. Ink-blend the leaves using Forest Glade. Note: when I was done with the leaves, I didn’t feel that they had enough color variation, so I ink-blended a tiny bit of Evergreen ink to the middle and bottom portion of the leaves.
Putting them all Together 13. Assemble the layers of the flowers but do not mix the blended and sprayed pieces. You’ll want one whole flower made with sprayed pieces and one whole flower made with ink-blended pieces. 14. Cut two panels of Neenah Solar White 80# card stock down to 3 ½ x 4 ¾ inches and stamp the sentiment in Altenew Jet Black ink on each one using a stamp platform. Before stamping, take a minute to figure out the layout so that you are sure to leave enough room for your flower. Tip: Use a grid sheet to help ensure the sentiment is straight before stamping it. 15. Attach a 3 ¾ in. by 5 in. piece of patterned paper (I used paper from the Altenew “Wildflower” 6×6 paper pack) to each card front. 16. Add foam tape to the back the sentiment panels and pop those up on your card bases. 17. Arrange the flowers and leaves on the card fronts. Tip: Arrange your pieces and then use Press-n-Seal to hold the arrangements in place. Turn the whole arrangement over and add liquid glue to the back of the pieces, then secured them to the card fronts. 18. Add a few Drip Drops for a bit of shine!
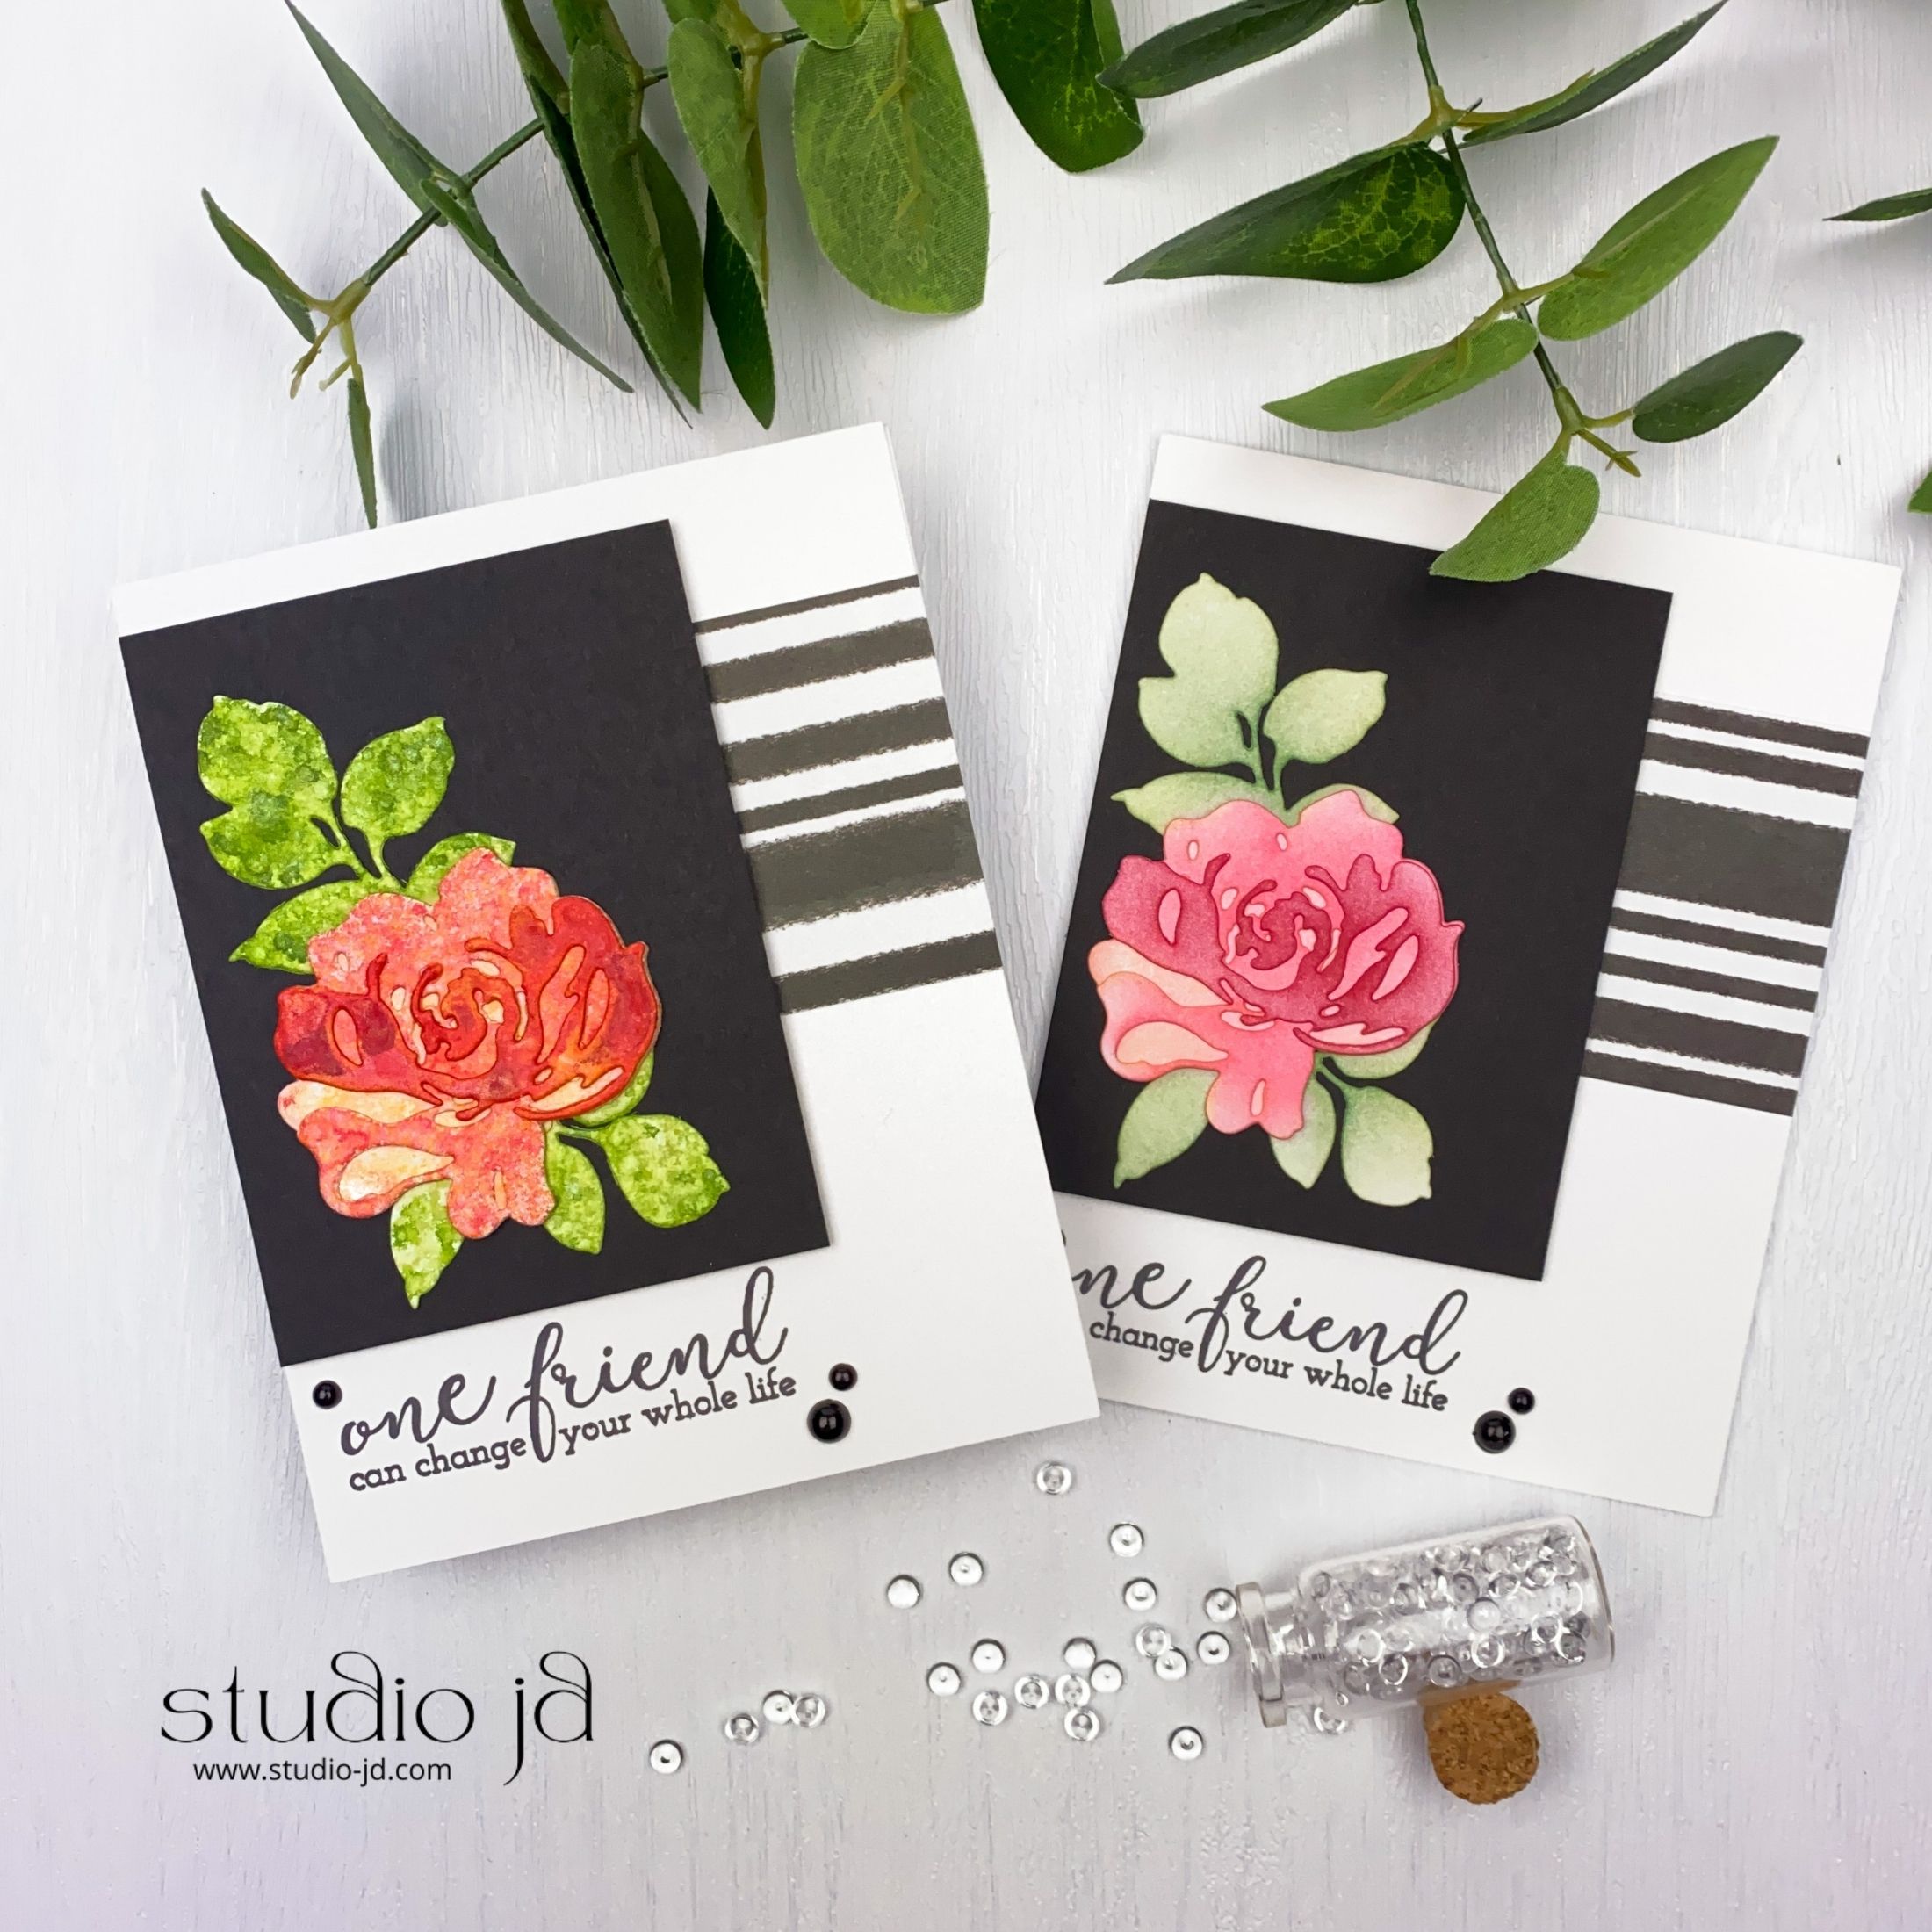
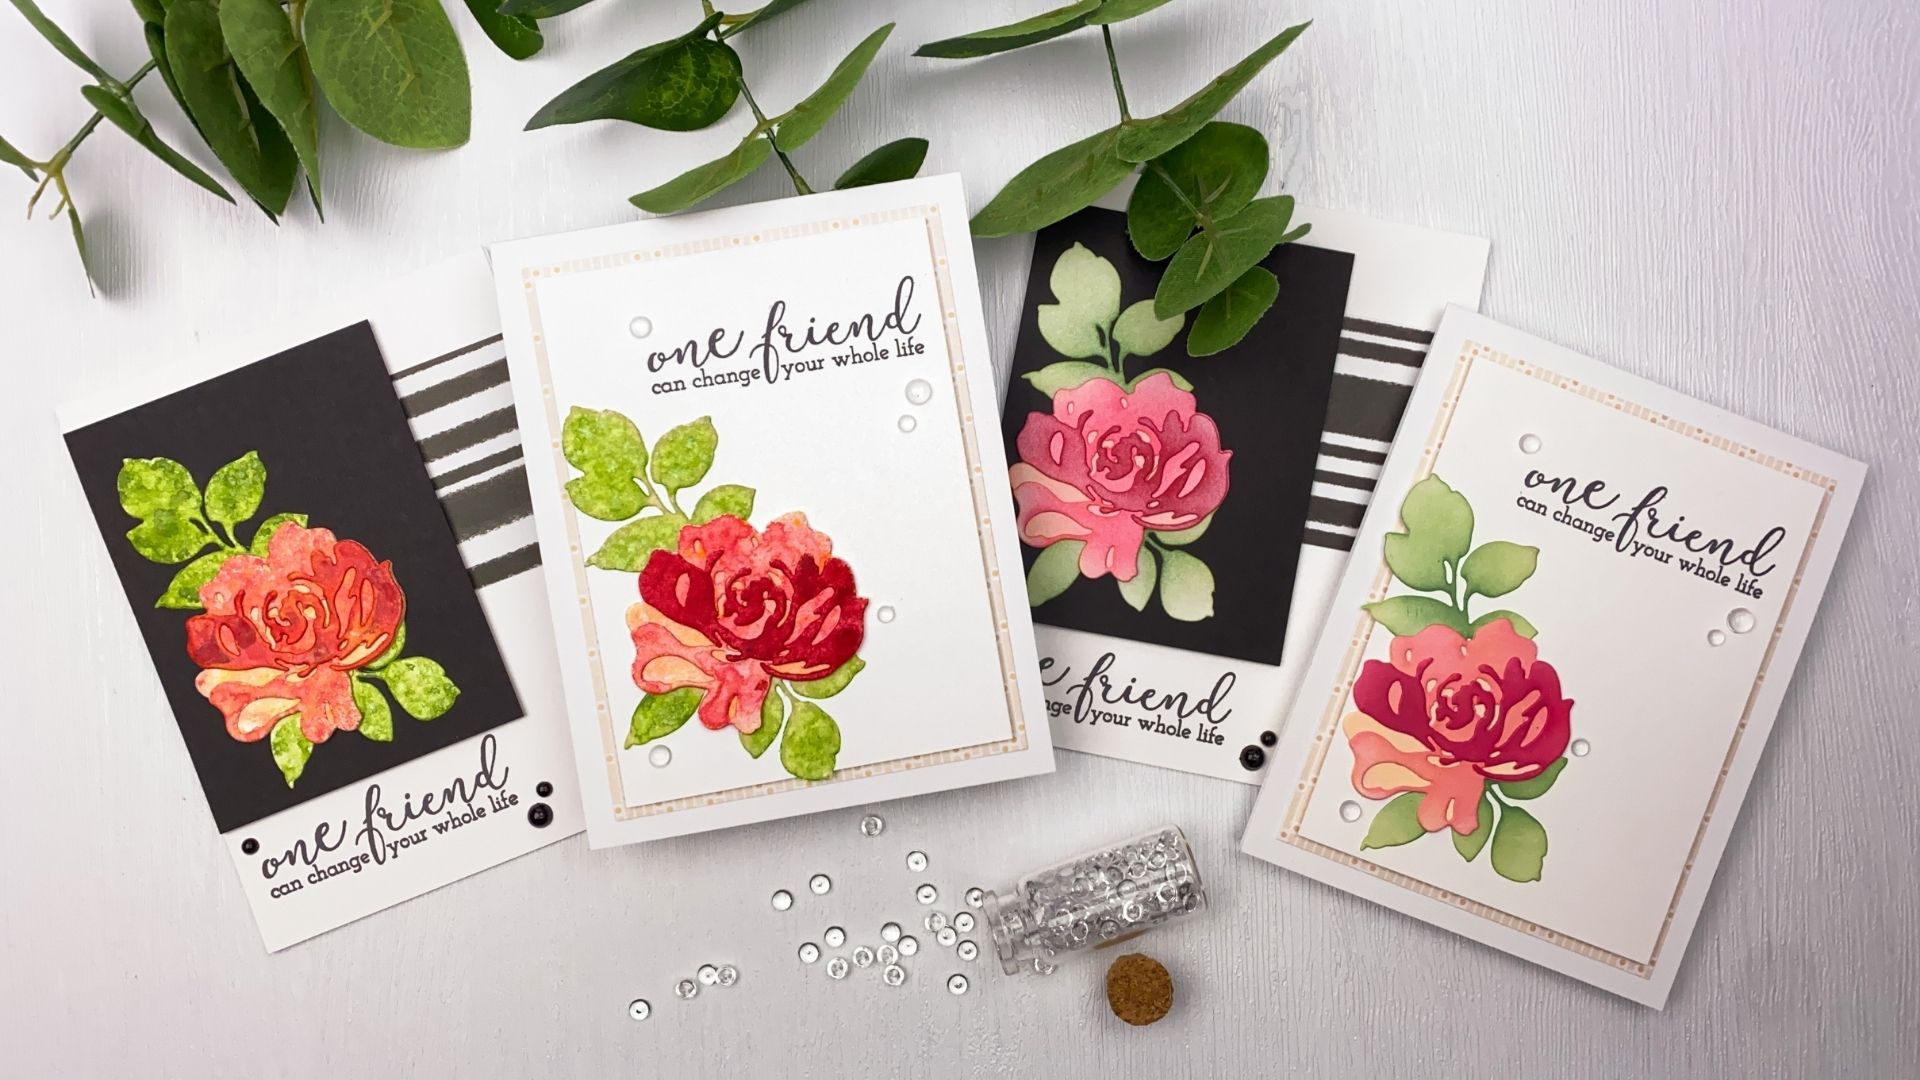
With the cards completed, you can really see the differences between each of the mediums! The ink-blended flowers are soft looking and, at least to me, make the card look more calming. The ink sprayed flowers are bold and the color is more intense, resulting in more contrast. I think both of these turned out beautiful! I love a lot of white space on my cards, but I wondered how these different mediums would look on darker backgrounds, so I made two more cards to check it out! What do you think???
And…here’s a look at all of them side-by-side:

I hope you liked these projects and I really appreciate you sticking with me ‘til the end! Please don’t forget to check out my video!

I hope you have a wonderfully creative day!

      jd

supplies

This list may contain affiliate links, which means I’ll receive a small commission if you purchase through my links, at no extra cost to you. Also, as an Amazon Associate, I earn from your qualifying purchases at Amazon.Please see my About section and my Disclaimers for more details.

6 Comments

  1. Virginia Lu

    This video is simply awesome! Your clear instructions along with the display of video are so clear and eye-pleasing! I can’t believe this is your FIRST. I know it is a lot of work, but knowing that you are able to do this and do it WELL, I hope this truly encourages you to post more videos! BRAVO on your post and video! I thoroughly enjoyed it!! SO much.

    • Jean

      Thank you so much, Virginia!

  2. Carol R

    Nice job on your video and beautiful cards. I think I prefer the bolder color of the ink sprays but both are lovely.

    • Jean

      Thank you, Carol!

  3. Kris Boydstun

    Gorgeous cards!! I love the contrast between the two different mediums. I think you’re right, the ink blended one has a very different look depending on the light and dark background. I loved the dark background more than the light background for that card, but they are all such beautiful cards!

    • Jean

      Thank you so much, Kris!

jean

designer & content creator

I fell in love with card-making many years ago and I’ve been hooked on it ever since. I love trying out new techniques and finding the perfect color combination for whatever I’m creating.

By nature, I am an uber-organizer and a steadfast planner, but as you’ll see, my creations are much more fluid. And while I love color theory, the concept of lights and shadows, and the importance of depth and perspective – these are not things I worry about when it comes to my creations.

I simply find joy in creating and delight in sharing.

I hope that by sharing my cards and other art with you here on my blog I can inspire you to create something you love!

categories

shop with me